1. Introduction
This manual provides detailed instructions for the assembly, installation, operation, and maintenance of your Vanity Art 24-Inch Wall Mounted Bathroom Vanity Set, Model VA6024W-A. Please read all instructions carefully before beginning installation to ensure safe and correct usage. Keep this manual for future reference.
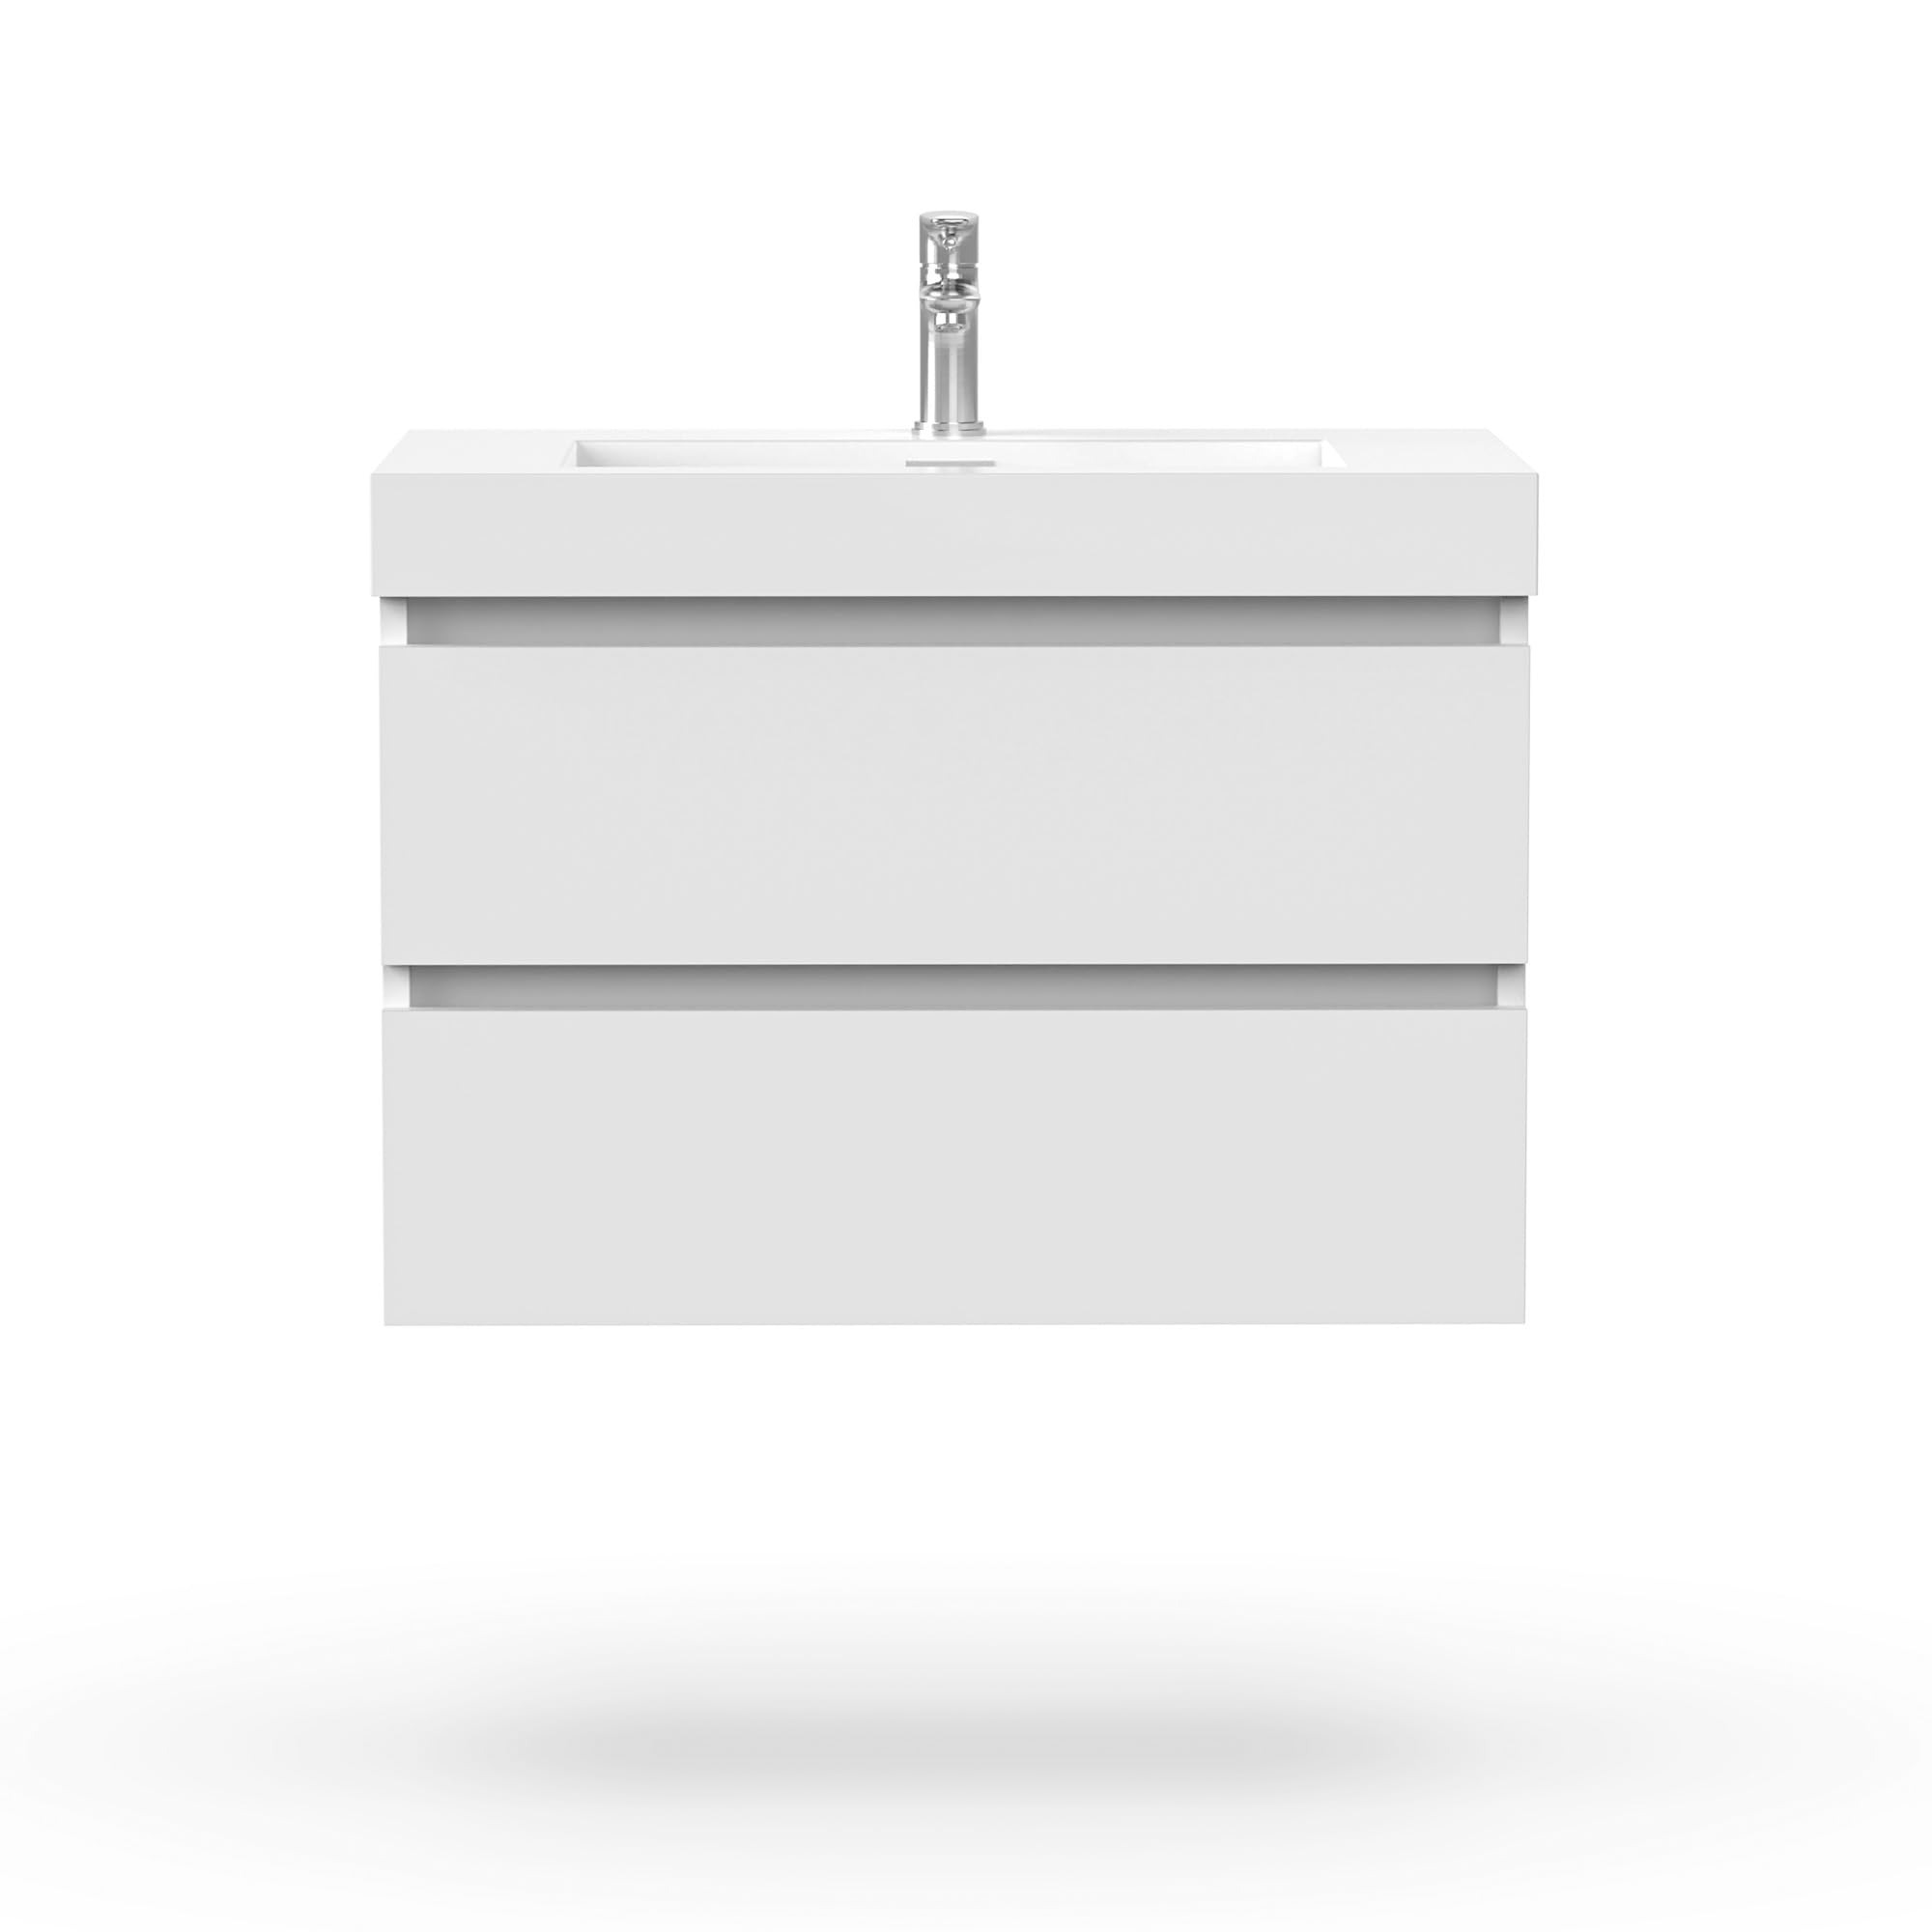
Image 1.1: Overview of the Vanity Art 24-inch wall mounted vanity set, including the main cabinet with open drawers, a side storage cabinet, and a mirror.
2. Safety Information
Please observe the following safety precautions during installation and use:
- Professional Installation Recommended: If you are unsure about any part of the installation process, consult a qualified professional.
- Weight Limit: The vanity has a weight limit of 96 pounds. Do not exceed this limit.
- Secure Mounting: Ensure the vanity is securely mounted to a structural wall stud or appropriate wall anchors capable of supporting its weight and contents. Improper installation can lead to injury or damage.
- Water Connections: All plumbing connections should be performed by a licensed plumber to prevent leaks and water damage.
- Electrical Safety: If installing a mirror with integrated lighting (not included with this set), ensure all electrical work is done by a qualified electrician and complies with local codes.
- Handle with Care: The engineered stone top and ceramic sink can be fragile. Handle with care to avoid chipping or cracking.
- Children and Pets: Keep children and pets away from the installation area.
3. Package Contents
Verify that all components are present before beginning assembly. The package includes:
- Vanity Cabinet Unit (Wall-Mounted)
- Engineered Stone Countertop
- Undermount Rectangle Sink
Note: Faucet, drain, and mirror are not included and must be purchased separately.
4. Specifications
| Feature | Detail |
|---|---|
| Brand | Vanity Art |
| Model Number | VA6024W-A |
| Color | White |
| Product Dimensions | 18"D x 24"W x 20"H |
| Mounting Type | Wall Mount |
| Weight Limit | 96 Pounds |
| Included Components | Cabinet, Countertop, Sink |
| Finish Type | Polished (High-Glossy) |
| Material | Engineered Wood (MDF) |
| Top Material Type | Engineered Stone |
| Storage Options | 2 drawers, cabinet space |
| Assembly Required | Yes |
| Item Weight | 96 Pounds |
| UPC | 811593035627 |

Image 4.1: Product dimensions for the Vanity Art 24-inch wall mounted vanity.
5. Setup and Installation
This vanity requires assembly and wall-mounting. Follow these general steps. Refer to the included hardware instructions for specific assembly details.
5.1 Tools and Materials Required (Not Included)
- Drill and drill bits
- Level
- Measuring tape
- Stud finder
- Pencil
- Safety glasses
- Appropriate wall anchors (if not mounting into studs)
- Plumbing supplies (faucet, drain, P-trap, supply lines)
- Sealant (silicone caulk)
5.2 Assembly Steps
- Unpack Components: Carefully remove all parts from the packaging. Inspect for any damage.
- Assemble Cabinet: Follow the specific assembly instructions provided with the hardware to construct the vanity cabinet. Ensure all connections are tight and secure.
- Install Drawers: Assemble and install the soft-closing drawers into the cabinet according to the instructions.
- Attach Sink and Countertop: Secure the undermount sink to the engineered stone countertop using appropriate sealant and clips (if provided). Then, attach the countertop assembly to the vanity cabinet.
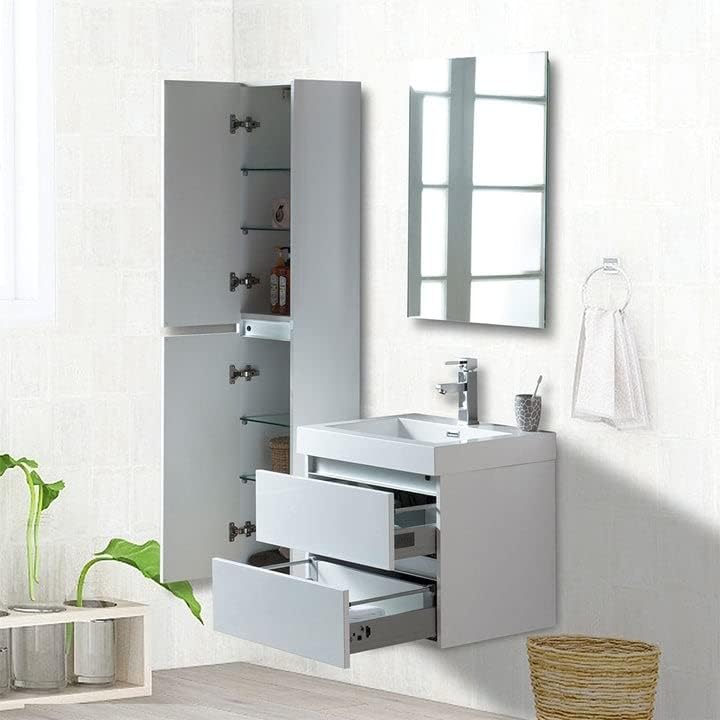
Image 5.1: The vanity cabinet with drawers open, illustrating the storage capacity and soft-closing feature.
5.3 Wall Mounting
- Determine Mounting Location: Choose a suitable location on the wall, ensuring there are no hidden pipes or electrical wires. Use a stud finder to locate wall studs for secure mounting.
- Mark Mounting Points: Hold the assembled vanity against the wall at the desired height. Use a level to ensure it is straight and mark the mounting points for the brackets or screws.
- Drill Pilot Holes: Drill pilot holes at the marked locations. If mounting into drywall without studs, use appropriate heavy-duty wall anchors.
- Mount Vanity: Carefully lift the vanity and align the mounting holes with the pilot holes. Secure the vanity to the wall using the provided mounting hardware or suitable screws. Ensure it is firmly attached and level.
- Connect Plumbing: Install the faucet and connect the water supply lines and drain according to local plumbing codes. Test for leaks.

Image 5.2: Example of a properly installed Vanity Art wall-mounted vanity.
6. Operating Instructions
The Vanity Art VA6024W-A is designed for straightforward use.
- Drawer Operation: The vanity features soft-closing drawers. To open, gently pull the drawer handle. To close, push the drawer until the soft-close mechanism engages, allowing it to close smoothly and quietly. Avoid forcing the drawers.
- Sink Usage: Use the integrated ceramic sink for washing. Ensure the faucet is properly installed and connected to water supply lines.
- Storage: Utilize the two drawers for organizing toiletries, cleaning supplies, and other bathroom essentials. Distribute weight evenly within the drawers and do not exceed the overall weight limit of the vanity.
7. Maintenance
Proper care will ensure the longevity and appearance of your vanity.
- Cleaning the Cabinet: Wipe the high-glossy finish with a soft, damp cloth. Avoid abrasive cleaners, harsh chemicals, or scouring pads, as these can damage the finish.
- Cleaning the Sink and Countertop: Clean the engineered stone countertop and ceramic sink with mild soap and water. Rinse thoroughly and dry with a soft cloth to prevent water spots. Do not use acidic cleaners or products containing bleach on the engineered stone.
- Spills: Wipe up spills immediately to prevent staining or water damage, especially on the engineered wood cabinet.
- Drawer Slides: Periodically check drawer slides for smooth operation. If they become stiff, a small amount of silicone lubricant can be applied.
- Hardware: Periodically check all screws and fasteners to ensure they remain tight. Retighten if necessary.
8. Troubleshooting
Refer to this section for common issues and their solutions.
| Problem | Possible Cause | Solution |
|---|---|---|
| Vanity feels unstable or wobbly. | Improper wall mounting; loose fasteners. | Ensure the vanity is securely fastened to wall studs or appropriate anchors. Retighten all mounting screws. If necessary, consult a professional for re-installation. |
| Drawers do not close smoothly. | Obstruction in drawer slides; misaligned slides; excessive weight. | Check for any objects blocking the drawer slides. Ensure drawers are not overloaded. Verify that drawer slides are properly aligned and secured. Apply silicone lubricant if needed. |
| Water leaks from plumbing connections. | Loose connections; improper sealant application. | Turn off water supply. Check all plumbing connections for tightness. Ensure proper use of plumber's tape or sealant. If leaks persist, contact a licensed plumber. |
| Surface scratches or dull finish. | Abrasive cleaning; impact damage. | Use only soft cloths and mild cleaners for maintenance. For minor scratches on the high-gloss finish, specialized repair kits may be available (consult manufacturer). |
9. Warranty Information
Specific warranty details for Vanity Art products are typically provided at the point of purchase or on the manufacturer's official website. Please retain your proof of purchase for any warranty claims. For detailed warranty terms and conditions, please contact Vanity Art customer support directly.
10. Customer Support
For assistance with your Vanity Art product, including questions about assembly, parts, or warranty, please contact Vanity Art customer support.
- Contact Method: Email or phone (refer to Vanity Art's official website for current contact information).
- Online Resources: Visit the official Vanity Art store on Amazon for FAQs and additional product information: Vanity Art Store
11. Video Resources
There are no official product videos provided by the seller for this specific model in the available data. Please refer to the written instructions and images for guidance.