
Green Valley TRAX 120 cm Aluminum Roof Bars
Green Valley TRAX 120 cm Aluminum Roof Bars
User Manual
1. Safety Information
Please read all instructions carefully before installation and use. Failure to follow these instructions may result in property damage or personal injury.
- Maximum Load Capacity: Do not exceed the maximum load capacity of 90 kg (198 lbs) for these roof bars. Always refer to your vehicle's owner's manual for its specific roof load limit, and use the lower of the two values.
- Secure Fastening: Ensure all components are securely fastened before driving. Periodically check the tightness of all screws and connections, especially after the first few kilometers of driving and after driving on rough terrain.
- Load Distribution: Distribute the load evenly across the roof bars. Secure items properly to prevent shifting during transit.
- Driving Speed: Adjust your driving speed to suit the load and road conditions. High speeds, sudden braking, or sharp turns can affect vehicle stability with a roof load.
- Height Clearance: Be aware of the increased height of your vehicle when roof bars and cargo are installed, especially when entering garages, car washes, or low-clearance areas.
- Antitheft System: The roof bars are equipped with antitheft locks. Always lock the bars after installation to prevent unauthorized removal.
2. Product Overview
The Green Valley TRAX 120 cm Aluminum Roof Bars are designed for vehicles equipped with standard open longitudinal roof railings. These pre-assembled roof bars offer a robust and lightweight solution for transporting various items on your vehicle's roof, such as roof boxes, ski carriers, or bike racks.
Key Features:
- Robust and lightweight aluminum construction.
- Pre-assembled feet for quick installation.
- Rubber protection in contact areas to protect your vehicle's paintwork.
- Aerodynamic profile to reduce noise and fuel consumption.
- Integrated antitheft locking system (2 real locks and 2 plastic covers).
- T-slot channel for easy accessory mounting.
Components:
- 2 x Aluminum Roof Bars
- Mounting Kit (including necessary tools and keys)

Image: Green Valley TRAX 120 cm Aluminum Roof Bars installed on a white car with open roof railings.

Image: Diagram highlighting key features: Aluminum construction, Max 90 kg capacity, T-slot channel, and Antitheft system.

Image: Detailed view of the roof bar foot, showing the aluminum crossbar, EPDM sheath, EPDM anti-slip protection, antitheft lock with key, and the copolymer foot designed for open railings.
3. Setup and Installation
The Green Valley TRAX roof bars are designed for quick and simple installation on vehicles with standard open longitudinal roof railings. They come pre-assembled and ready for use.
Compatibility:
These roof bars are compatible with vehicles featuring standard open longitudinal roof railings. Please verify compatibility with your specific vehicle model before installation.

Image: Vehicle compatibility diagram. Green Valley TRAX bars are compatible with 'Railing Ouvert' (Open Railing) type roofs.
Installation Steps:
- Prepare the Vehicle: Ensure your vehicle's roof railings are clean and free from debris.
- Position the Bars: Place the pre-assembled roof bars onto your vehicle's longitudinal railings. Ensure they are correctly oriented (the wider part of the foot should face outwards).
- Adjust Spacing: Adjust the spacing between the front and rear bars according to the recommended distance for your vehicle or the cargo you intend to carry. Ensure the bars are parallel to each other.
- Secure the Feet: Each foot is secured with a single screw. Use the provided tool to tighten this screw. This single screw simultaneously tightens the foot onto the car's railing and secures the foot to the bar. Tighten until firm, but do not overtighten.
- Lock the Bars: Once both bars are securely fastened, insert the keys into the antitheft locks and turn to lock the covers. Remove the keys.
- Final Check: Gently pull on each bar to ensure it is firmly attached and does not move. Check all connections again after driving a short distance (e.g., 5-10 km) to ensure they remain tight.
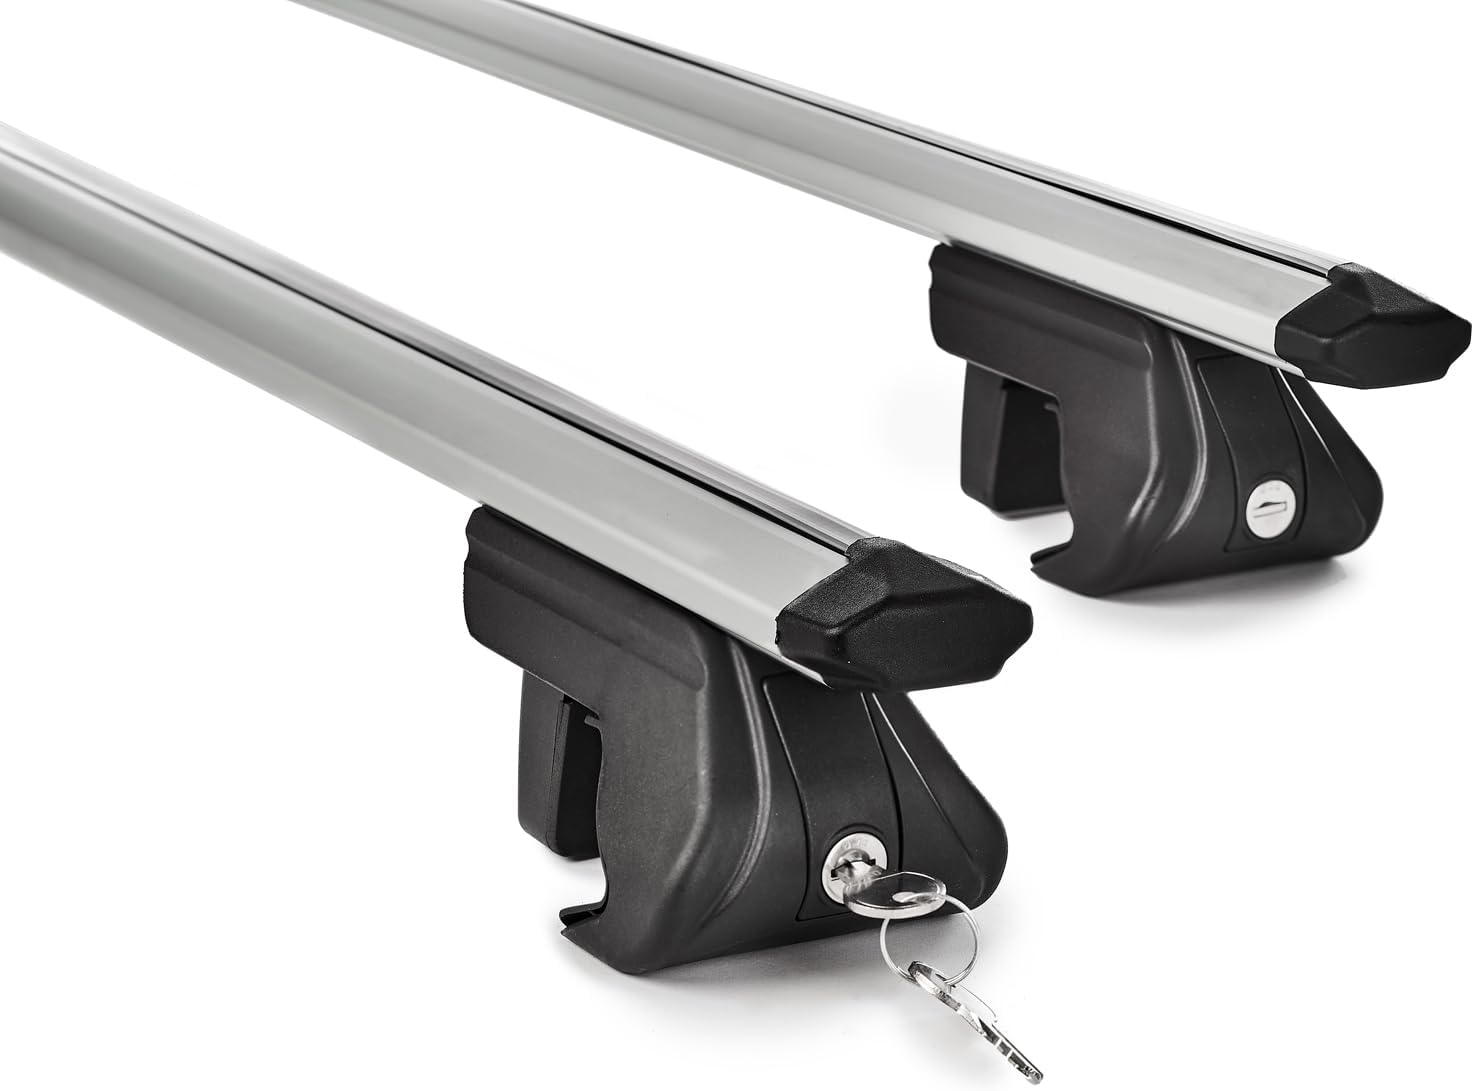
Image: Close-up of the antitheft lock mechanism with the key inserted, demonstrating the security feature.

Image: Technical drawing of the roof bar profile, showing dimensions (e.g., 20.50mm x 50mm) and the 20x20 mm T-slot compatible with most commercial accessories.
4. Operating Instructions
Once installed, your Green Valley TRAX roof bars are ready to carry various roof-mounted accessories and cargo.
- Accessory Mounting: The roof bars feature a T-slot channel (20x20 mm) that is compatible with most standard roof rack accessories such as bike carriers, ski carriers, and roof boxes. Follow the installation instructions provided with your specific accessories.
- Load Securement: Always ensure that any cargo placed on the roof bars is securely fastened using appropriate straps, nets, or mounting hardware. Prevent any part of the load from obstructing your view or interfering with vehicle operation.
- Weight Distribution: Distribute the weight of your cargo as evenly as possible across the roof bars. Heavy items should be placed centrally and as low as possible.
- Aerodynamic Considerations: For optimal fuel efficiency and reduced wind noise, consider using aerodynamic roof boxes or fairings, especially for long journeys.
5. Maintenance
Regular maintenance will ensure the longevity and safe operation of your Green Valley TRAX roof bars.
- Cleaning: Clean the roof bars regularly with mild soap and water. Avoid abrasive cleaners or solvents that could damage the aluminum finish or rubber components.
- Inspection: Periodically inspect the roof bars for any signs of wear, damage, or corrosion. Check the rubber protections for cracks or deterioration.
- Tightness Check: Regularly check the tightness of all mounting screws and bolts, especially before and after long trips or when carrying heavy loads.
- Storage: If you remove the roof bars for extended periods, store them in a clean, dry place away from direct sunlight and extreme temperatures.
6. Troubleshooting
Excessive Noise or Whistling:
- Cause: Improper installation, missing end caps, or turbulent airflow.
- Solution: Ensure all components are correctly installed and tightened. Check that all end caps are securely in place. Verify that the rubber strip in the T-slot is properly seated.
Bars Feel Loose After Installation:
- Cause: Screws not tightened sufficiently.
- Solution: Re-tighten the single screw on each foot using the provided tool until the bars are firmly secured to the railings. Do not overtighten.
Difficulty Locking/Unlocking:
- Cause: Debris in the lock, or key not fully inserted.
- Solution: Ensure the key is fully inserted and try wiggling it gently. If debris is suspected, use a small amount of graphite lubricant in the lock mechanism.
7. Specifications
| Attribute | Value |
|---|---|
| Model Name | TRAX 120 cm Aluminum Roof Bars |
| Brand | Green Valley |
| Manufacturer | AURILIS |
| Material | Aluminum |
| Length | 120 cm |
| Maximum Load Capacity | 90 kg (198 lbs) |
| Item Weight | 2.88 kg |
| Package Dimensions | 136.6 x 12.6 x 12 cm |
| Manufacturer Part Number | 157920 |
| Compatibility | Vehicles with standard open longitudinal roof railings |
| T-slot Dimensions | 20x20 mm |
| Certifications | TÜV Rheinland Certified, City Crash Tested, Conforms to DIN 75302:2019, ISO 11154:2023 |
| Country of Origin | Italy |
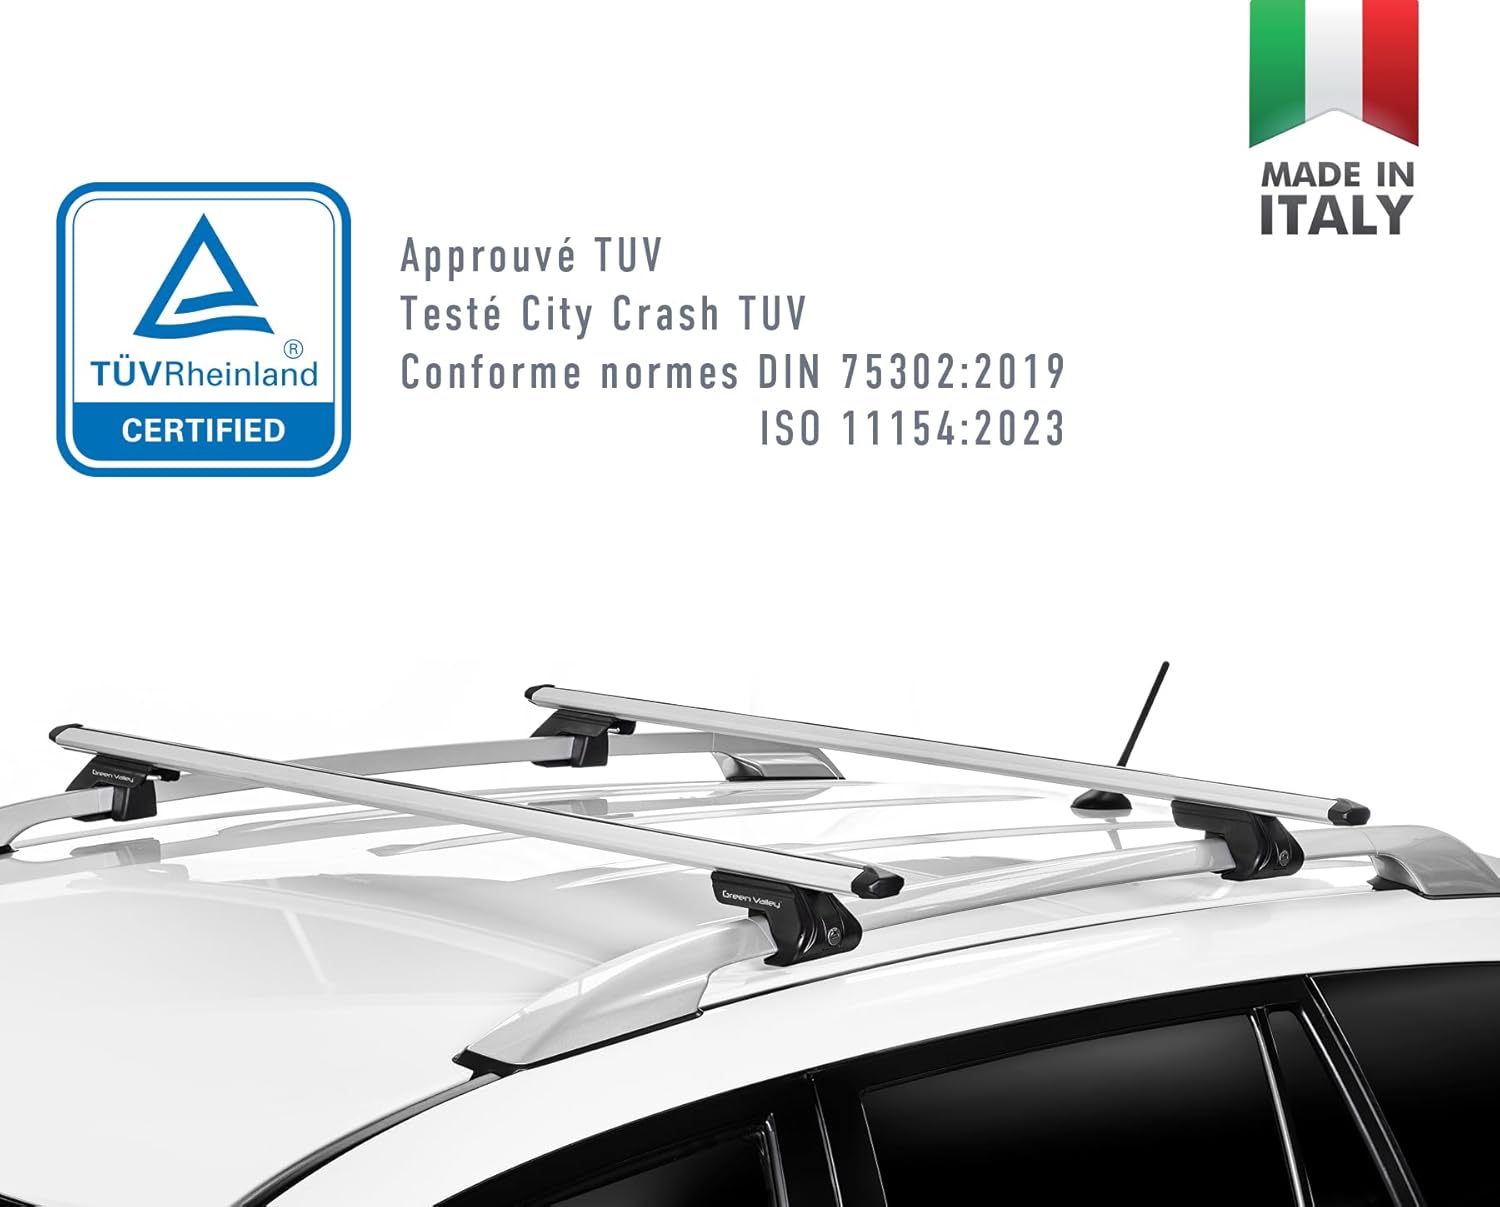
Image: TÜV Rheinland Certified logo, indicating compliance with safety standards, and 'Made in Italy' stamp.
8. Warranty and Support
Warranty Information:
Green Valley TRAX 120 cm Aluminum Roof Bars come with a 3-year warranty from the date of purchase, covering manufacturing defects in materials and workmanship. This warranty does not cover damage caused by improper installation, misuse, accidents, modifications, or normal wear and tear.
Customer Support:
For technical assistance, warranty claims, or any questions regarding your Green Valley TRAX roof bars, please contact Green Valley customer support through their official website or the retailer from whom you purchased the product. Please have your proof of purchase and model number (157920) ready when contacting support.
Ask a question about this manual
Ask about setup, troubleshooting, compatibility, parts, safety, or missing instructions. Manuals+ will review the question and use this page’s manual context to help answer it.