1. Introduction
This manual provides detailed instructions for the safe and efficient installation, operation, and maintenance of your Extralink EX.8567 6U Wall-Mounted Rack. Please read this manual thoroughly before attempting to install or use the product. Keep this manual for future reference.
The Extralink EX.8567 is a 6U wall-mounted rack designed for housing network, server, and other IT equipment in a secure and organized manner. Its robust alloy steel construction ensures durability and protection for your valuable equipment.
2. Safety Information
WARNING: Failure to follow these safety instructions may result in injury, damage to the product, or damage to other equipment.
- Always ensure the rack is securely mounted to a structurally sound wall capable of supporting the rack's weight plus the weight of all installed equipment. Consult a structural engineer if unsure.
- Do not overload the rack. Refer to the specifications for maximum weight capacity.
- Use appropriate tools and personal protective equipment (PPE) during installation.
- Ensure all electrical connections for equipment installed within the rack comply with local electrical codes.
- Keep children and pets away from the installation area.
- Avoid sharp edges and pinch points during assembly and installation.
3. Package Contents
Carefully unpack the box and verify that all components are present and undamaged. If any parts are missing or damaged, contact your retailer immediately.
- Extralink EX.8567 6U Wall-Mounted Rack enclosure
- Mounting hardware (screws, nuts, washers for rack assembly)
- Keys for front door lock
- Instruction Manual (this document)

Figure 3.1: Extralink EX.8567 rack with the front door open, revealing the internal mounting rails and structure.
4. Setup and Installation
Assembly and installation of the Extralink EX.8567 rack require careful attention to detail. It is recommended that two people perform the wall mounting due to the rack's weight and size.
4.1. Rack Assembly
- Unpack all components and lay them out on a clean, flat surface.
- Identify the top, bottom, side panels, and front/rear frames.
- Assemble the main frame using the provided screws and nuts. Ensure all connections are secure but do not overtighten until the entire frame is aligned.
- Attach the front and rear mounting rails to the frame. These rails are adjustable to accommodate different equipment depths.
- Install the front door and side panels. Ensure the door hinges operate smoothly and the lock functions correctly.

Figure 4.1: Interior view of the rack, highlighting the adjustable mounting rails for equipment.
4.2. Wall Mounting
- Select Location: Choose a wall location that is structurally sound and free from obstructions (e.g., electrical wiring, plumbing). Ensure adequate space for door opening and cable management.
- Mark Mounting Points: Hold the assembled rack against the wall at the desired height. Use a level to ensure it is straight. Mark the positions for the wall mounting holes.
- Drill Pilot Holes: Drill pilot holes at the marked locations using an appropriate drill bit for your wall type (e.g., concrete, wood studs).
- Secure Rack: Using appropriate wall anchors (not always included, purchase separately based on wall type) and heavy-duty screws, securely fasten the rack to the wall. Ensure all mounting points are used and tightened.

Figure 4.2: Side view illustrating the wall mounting points on the rack.
4.3. Equipment Installation
- Plan Layout: Before installing equipment, plan its placement within the rack. Consider weight distribution, airflow, and cable routing.
- Mount Equipment: Use appropriate rack screws and cage nuts (typically supplied with your equipment or purchased separately) to secure devices to the front and/or rear mounting rails.
- Cable Management: Route cables neatly using cable ties or management panels (if installed) to maintain airflow and prevent damage.

Figure 4.3: Rack interior with an example of a mounted shelf or bracket.
5. Operating the Rack
The Extralink EX.8567 rack is designed for straightforward operation once installed.
- Accessing Equipment: Use the provided keys to unlock and open the front door for access to your equipment. The door can be opened wide for full access.
- Security: Always lock the front door when equipment is not being accessed to prevent unauthorized entry.
- Ventilation: The rack features ventilation slots on the top and bottom panels to facilitate airflow. Ensure these slots are not obstructed to maintain proper cooling for your equipment.

Figure 5.1: Front view of the rack with the door closed, showing the lock mechanism.
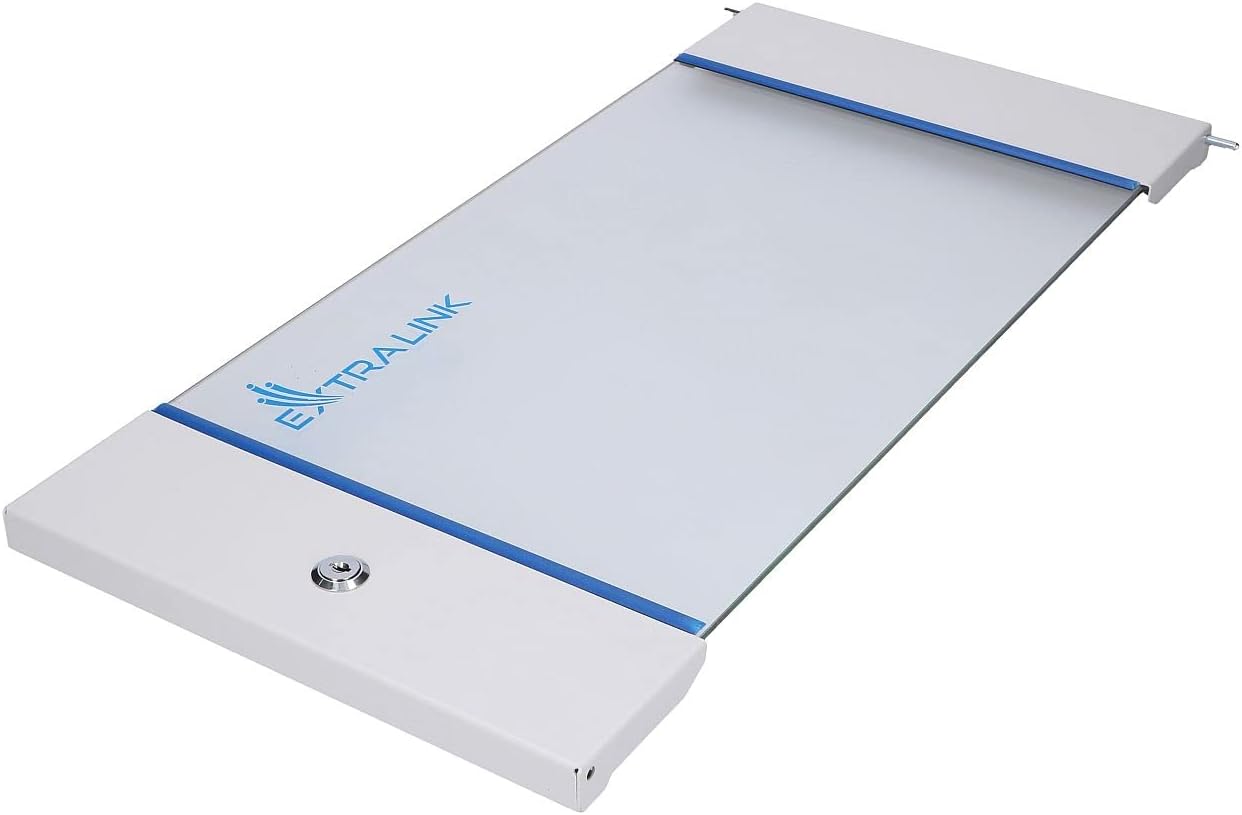
Figure 5.2: Top view of the rack, showing ventilation details.
6. Maintenance
Regular maintenance ensures the longevity and optimal performance of your rack.
- Cleaning: Periodically wipe down the exterior surfaces with a soft, damp cloth. Avoid abrasive cleaners or solvents.
- Inspection: Annually inspect all mounting hardware (wall and equipment) for tightness. Check door hinges and lock for smooth operation.
- Ventilation: Ensure ventilation openings are free from dust and debris to maintain proper airflow.
7. Troubleshooting
This section addresses common issues you might encounter.
- Rack feels unstable after mounting: Re-check all wall mounting screws and anchors. Ensure they are appropriate for your wall type and fully tightened. The wall structure itself might be insufficient.
- Equipment does not fit: Verify the equipment's width and depth against the rack's specifications. Ensure rack rails are adjusted to the correct depth.
- Door not closing/locking properly: Check for obstructions. Ensure hinges are not bent and the door is properly aligned. Lubricate the lock mechanism if necessary.
8. Specifications
| Feature | Specification |
|---|---|
| Brand | EXTRALINK |
| Model | EX.8567 |
| Rack Units | 6U |
| Dimensions (Approx.) | 600x600mm (Width x Depth) |
| Color | Grey |
| Material | Alloy Steel |
| Item Weight | 18 Kilograms |
| Mounting Type | Wall-Mounted, Rack Mount |
| Assembly Required | Yes |
| Compatible Devices | Server and other 19-inch rack-mountable equipment |
9. Warranty and Support
For warranty information and technical support, please refer to the documentation provided with your purchase or contact your Extralink retailer. Keep your proof of purchase for warranty claims.