Introduction
This manual provides detailed instructions for the assembly, installation, operation, and maintenance of your Extralink EX.2893 4U Wall-Mounted Rack Shelf. Please read this manual thoroughly before proceeding with installation to ensure safe and correct usage. This rack is designed to house standard 19-inch rack-mountable equipment in a secure, wall-mounted configuration.
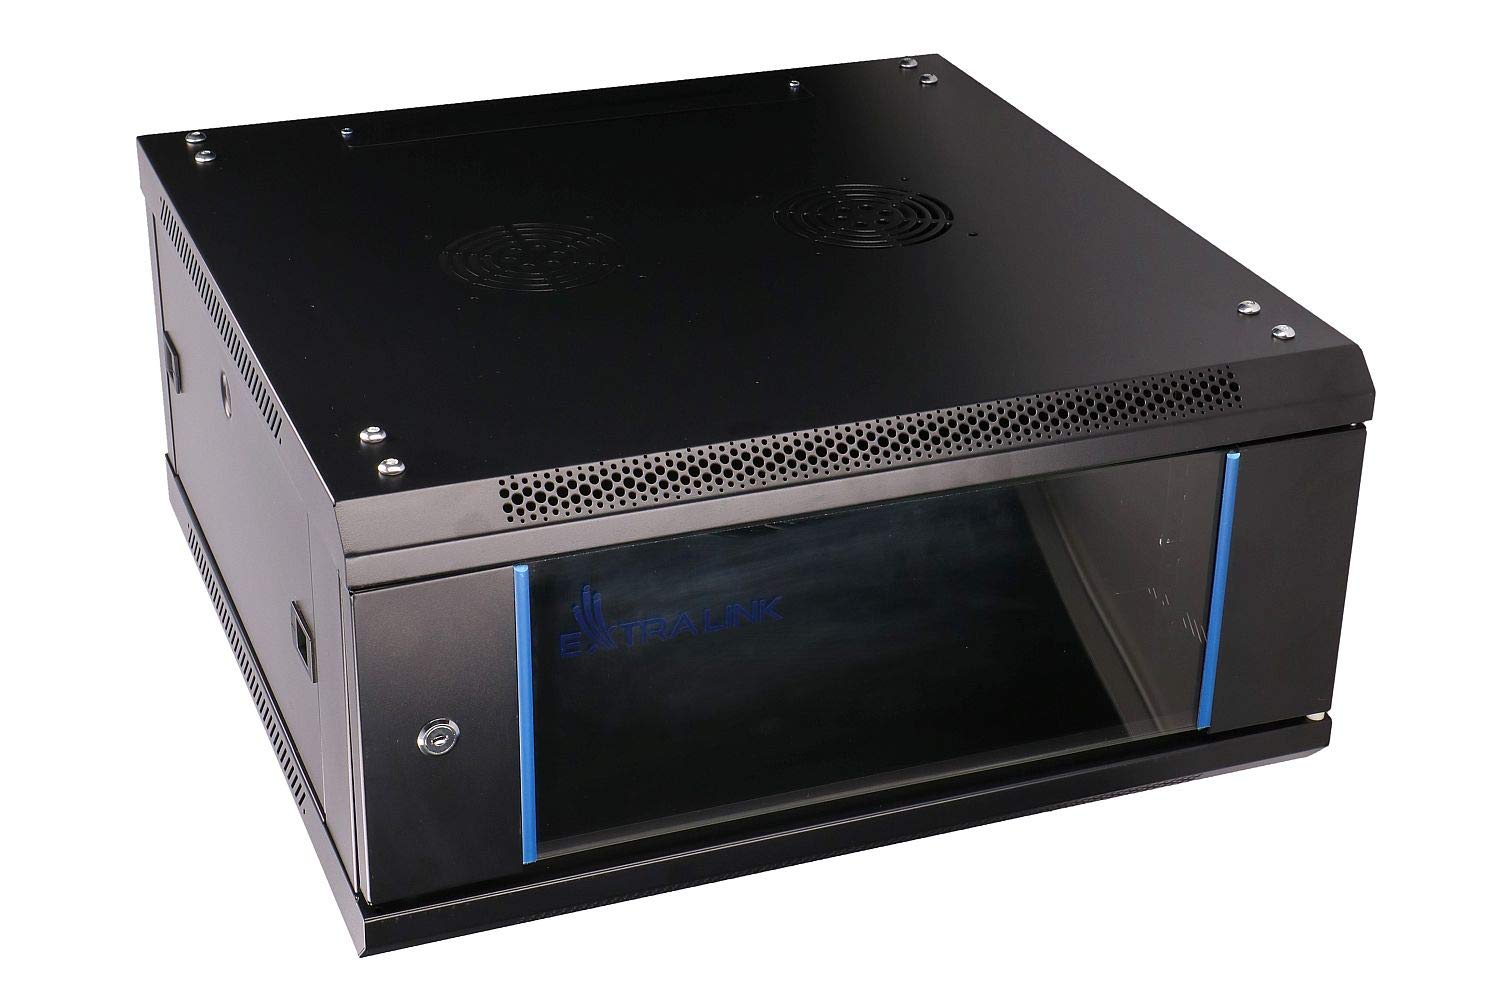
Figure 1: Front view of the Extralink EX.2893 4U Wall-Mounted Rack Shelf. This image displays the overall design of the rack, featuring a black finish, a front door with a lock, and ventilation on the top and bottom.
Safety Guidelines
Observe the following safety precautions during assembly, installation, and operation:
- Ensure the wall structure can support the combined weight of the rack and all installed equipment. The rack itself weighs 15 kg.
- Use appropriate mounting hardware for your wall type (e.g., concrete, drywall with studs).
- Always have at least two people for lifting and mounting the rack to prevent injury.
- Do not overload the rack beyond its specified weight capacity.
- Keep all cables organized to prevent tripping hazards and ensure proper airflow.
- Ensure adequate ventilation around the rack to prevent overheating of equipment.
- Disconnect power from all equipment before performing any installation or maintenance inside the rack.
Package Contents
Verify that all components are present and undamaged before beginning assembly. If any parts are missing or damaged, contact your retailer.
- Extralink EX.2893 4U Rack Frame
- Front Door (with lock and keys)
- Side Panels (2x)
- Mounting Rails (4x, adjustable)
- Wall Mounting Brackets
- Assembly Hardware (screws, nuts, washers)
- User Manual (this document)
Setup
1. Assembly Instructions
While the main frame may be largely pre-assembled, some components like side panels, doors, or internal rails might require attachment. Refer to the included diagrams for specific steps.
- Unpack all components and lay them out on a clean, flat surface.
- Attach the side panels to the main rack frame using the provided screws. Ensure they are securely fastened.
- Install the front door. The door is typically hinged and secured with pins or screws. Ensure the lock mechanism functions correctly.
- Insert the adjustable mounting rails into the rack frame. These rails can be moved forward or backward to accommodate different equipment depths. Secure them at the desired depth using the provided hardware.

Figure 2: Interior view of the Extralink EX.2893 rack, highlighting the adjustable mounting rails. These rails allow for flexible positioning of equipment within the rack.
2. Wall Mounting Instructions
Proper wall mounting is critical for safety and stability.
- Select Location: Choose a sturdy wall location free from obstructions (electrical wires, plumbing). Ensure sufficient space for opening the door and accessing the rear of the rack if necessary.
- Marking: Hold the rack or its mounting template against the wall at the desired height. Use a pencil to mark the positions for the wall mounting brackets. Ensure the marks are level.
- Drilling: Drill pilot holes at the marked locations using an appropriate drill bit for your wall material.
- Install Brackets: Secure the wall mounting brackets to the wall using heavy-duty screws and anchors suitable for the wall type. Ensure they are firmly attached.
- Mount Rack: With assistance, carefully lift the rack and align its rear mounting points with the installed wall brackets. Secure the rack to the brackets using the provided hardware. Double-check that the rack is stable and level.

Figure 3: Rear view of the Extralink EX.2893 rack, illustrating the designated wall mounting points. These points are used to secure the rack to a wall using appropriate hardware.
Operating
1. Equipment Installation
Install your 19-inch rack-mountable equipment into the rack.
- Open the front door using the key.
- Align your equipment with the rack units (U) on the mounting rails.
- Secure the equipment to the rails using appropriate rack screws (not typically included with the rack).
- Ensure equipment is evenly distributed to maintain balance and prevent strain on the rack and wall mounts.
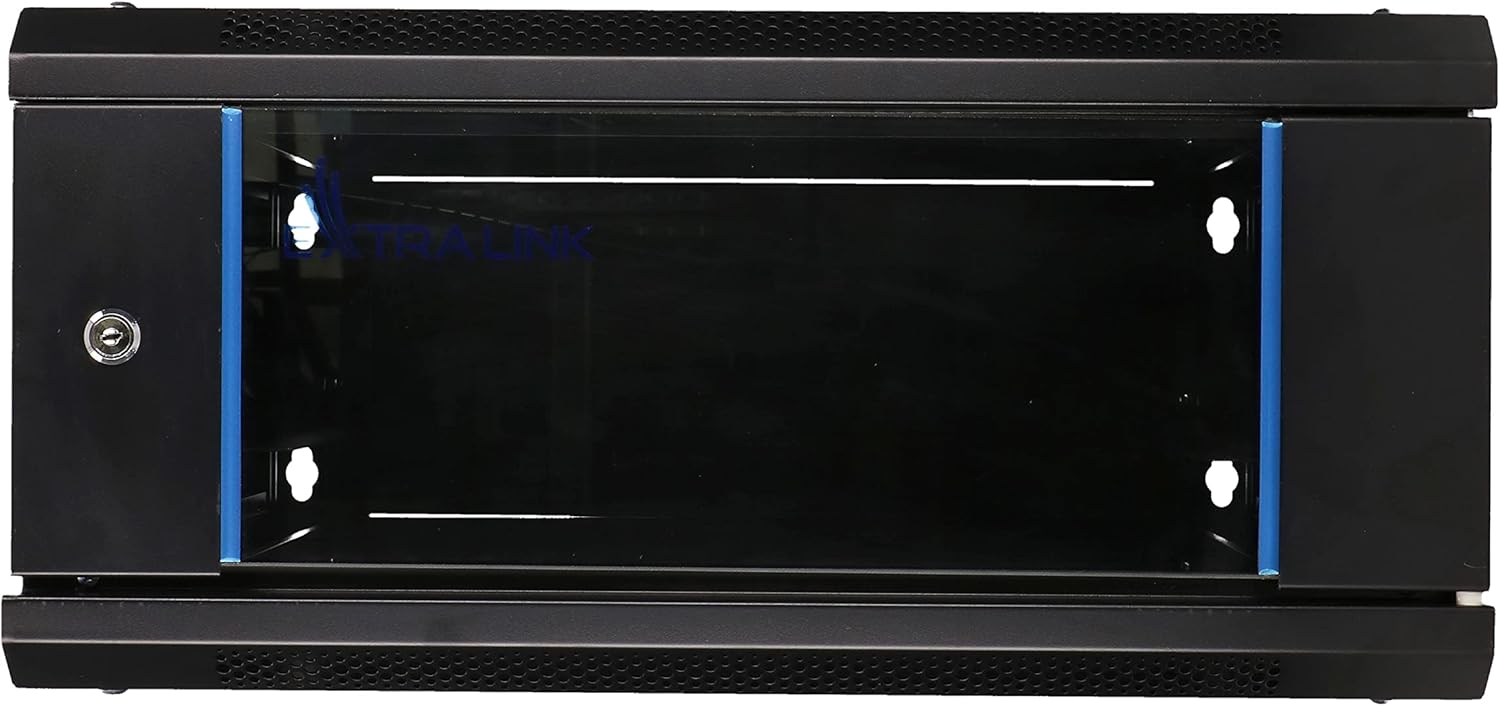
Figure 4: Front view of the Extralink EX.2893 rack with the door open, revealing the interior space ready for equipment installation. The rack units (U) are visible along the vertical rails.
2. Cable Management
Proper cable management is essential for airflow and ease of maintenance.
- Route cables neatly using cable ties or Velcro straps.
- Leave enough slack in cables to allow for equipment removal or adjustments.
- Avoid blocking ventilation openings with cables.
3. Ventilation
The rack features ventilation cutouts to facilitate airflow. For optimal cooling, consider installing optional rack-mount fans if your equipment generates significant heat.

Figure 5: Top view of the Extralink EX.2893 rack, displaying the fan cutouts. These openings are designed for optional fan installation to enhance cooling within the enclosure.
Maintenance
- Cleaning: Periodically wipe down the exterior of the rack with a soft, damp cloth. Avoid abrasive cleaners.
- Inspection: Regularly check all mounting hardware and screws for tightness. Ensure the rack remains securely attached to the wall.
- Airflow: Keep ventilation openings clear of dust and debris to ensure proper airflow.
Troubleshooting
- Rack feels unstable after mounting:
- Ensure all wall mounting brackets are securely fastened and that the rack is properly attached to them. Verify that the wall material is suitable for the weight. Re-tighten all screws.
- Equipment does not fit into the rack:
- Confirm that your equipment is standard 19-inch rack-mountable. Check if the adjustable mounting rails are set to the correct depth for your equipment. Ensure the equipment height matches the available rack units (U).
- Overheating of equipment:
- Verify that all ventilation openings are clear. Improve cable management to enhance airflow. Consider installing optional rack-mount fans for active cooling.
Specifications
| Feature | Detail |
|---|---|
| Brand | EXTRALINK |
| Model Number | EX.2893 |
| Rack Units (U) | 4U |
| Color | Black |
| Material | Alloy Steel |
| Item Weight | 15 Kilograms |
| Mounting Type | Wall Mount |
| Assembly Required | No (Note: Minor assembly for accessories/rails may be required.) |
Warranty and Support
For warranty information, technical support, or to inquire about replacement parts, please contact your retailer or the manufacturer directly. Keep your purchase receipt as proof of purchase.
- Manufacturer: Extralink
- Contact: Refer to the contact information provided by your point of purchase or the official Extralink website.