1. Introduction
This manual provides essential instructions for the assembly, operation, and maintenance of your Schulte Complete Shower Cabin Kit (Model D581123 68 50). Please read this manual thoroughly before installation and use to ensure safe and efficient operation of your shower cabin.

Image 1.1: The Schulte Complete Shower Cabin Kit (120x80x224 cm) in a bathroom setting.
2. Safety Information
Always observe the following safety precautions to prevent injury or damage to the product:
- Ensure all components are securely fastened according to the assembly instructions.
- Use appropriate tools and wear protective gear during installation.
- Verify that the floor can support the weight of the shower cabin and water.
- All plumbing and electrical connections (if applicable) must be performed by qualified professionals and comply with local regulations.
- Avoid using abrasive cleaners or sharp objects on glass surfaces to prevent scratches or damage.
- Regularly check for leaks and address them promptly to prevent water damage.
3. Product Components
The Schulte Complete Shower Cabin Kit includes the following main components:
- Rectangular Shower Cabin Structure
- Shower Tray with Integrated Apron
- Drainage System (flexible hose not included)
- 3 Wall Panels (black glass, 5mm)
- Storage Shelf (glass)
- Towel Holder
- Metal Shower Column with:
- 2x50 Massage Jets
- Overhead Shower
- Hand Shower with 3 Jet Types
- Mechanical Mixer Tap
- Mounting Kit and Accessories
- Assembly Instructions

Image 3.1: Detail of the shower column featuring massage jets and controls.

Image 3.2: The overhead shower head.
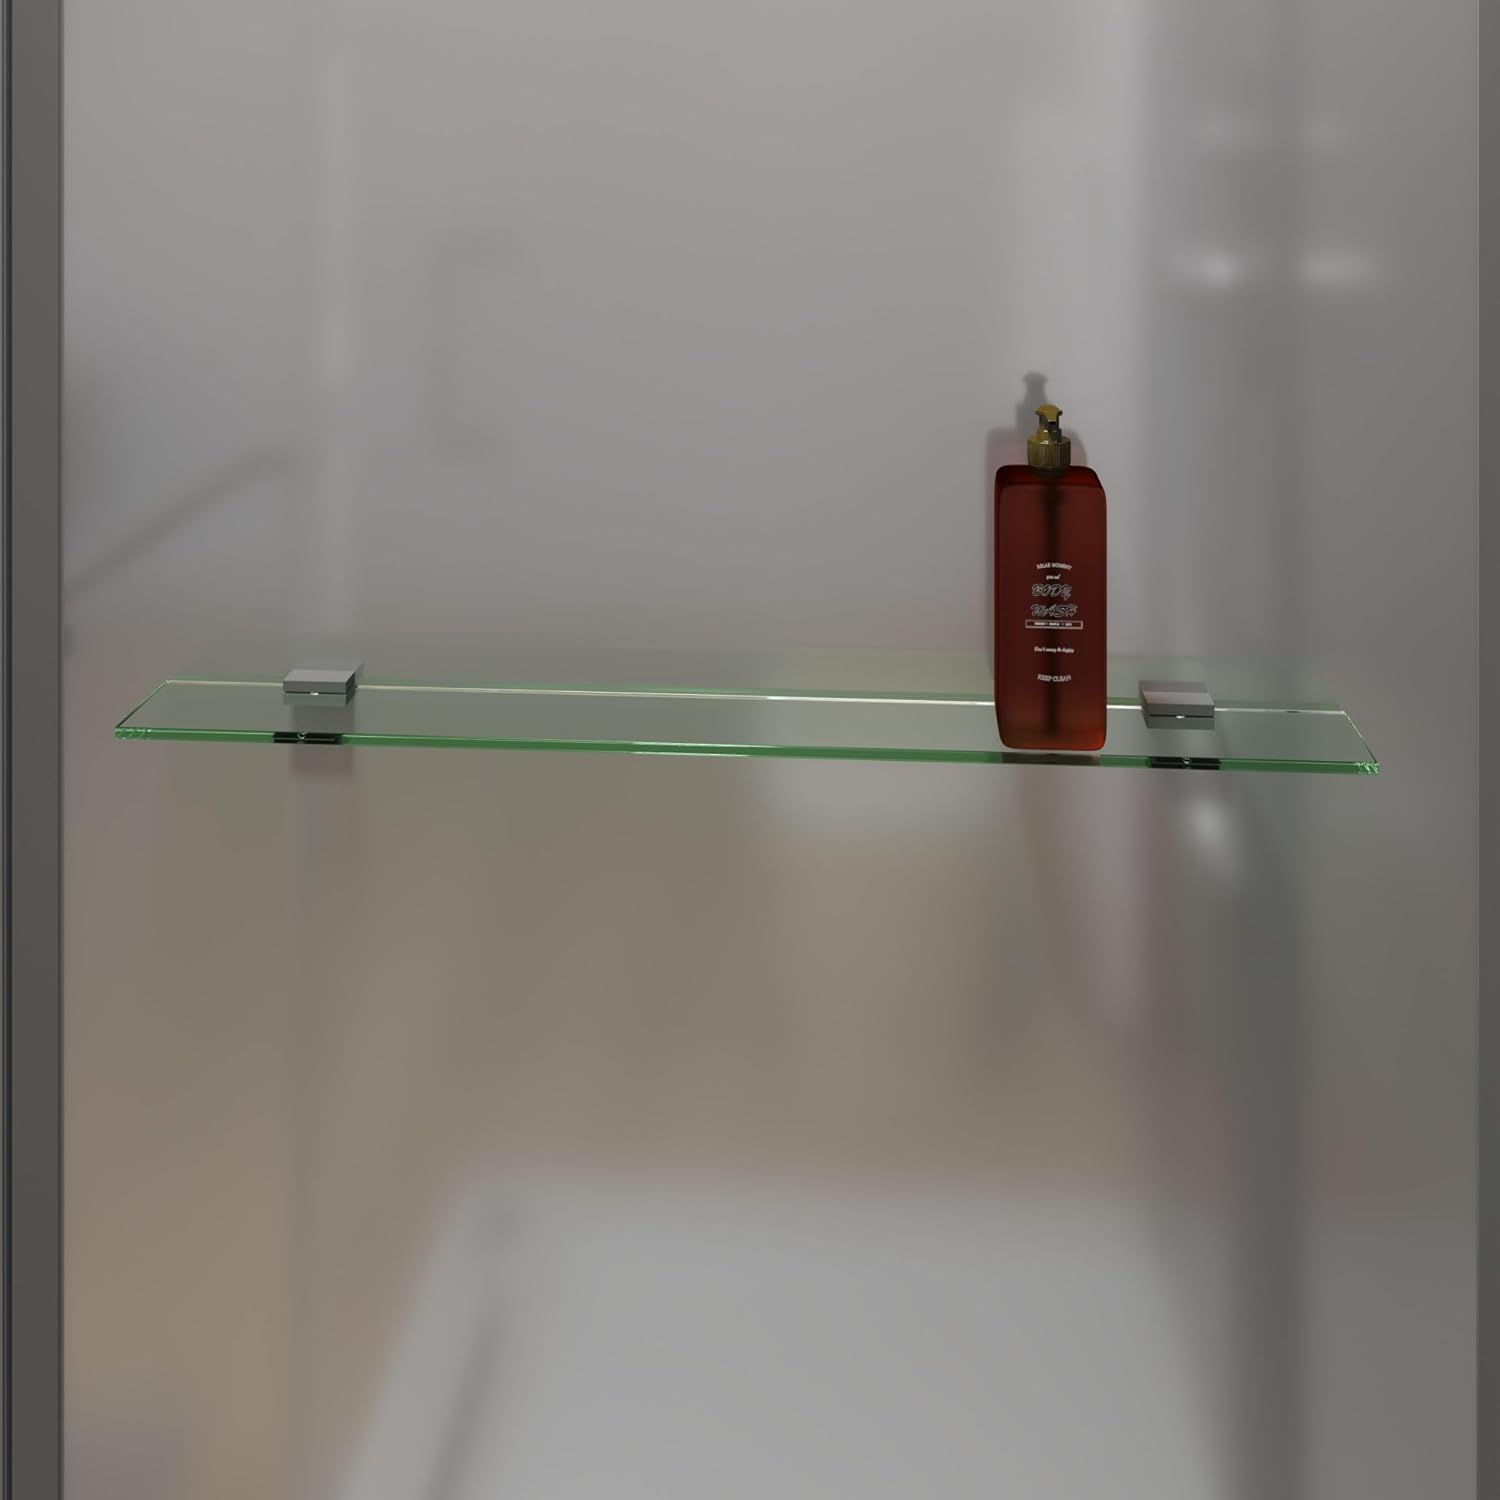
Image 3.3: The integrated glass storage shelf.

Image 3.4: The towel holder.
4. Setup and Installation
The Schulte Complete Shower Cabin Kit is designed for assembly. Detailed instructions are included with your product. The following provides a general overview of the installation process.
4.1 Pre-Installation Checks
- Unpack all components and verify against the packing list.
- Inspect all parts for damage. Do not proceed with installation if any parts are damaged.
- Ensure the installation area is level, clean, and has adequate water supply and drainage connections.
- Gather all necessary tools (e.g., screwdrivers, level, silicone sealant, drill).
4.2 Assembly Steps (General)
- Shower Tray Placement: Position the shower tray on a level surface, ensuring proper drainage connection.
- Wall Panel Installation: Mount the three black glass wall panels securely to the designated frame sections.
- Frame Assembly: Assemble the main frame structure around the shower tray and wall panels.
- Shower Column Integration: Install the metal shower column, connecting the water supply lines and ensuring all massage jets, overhead shower, and hand shower connections are secure.
- Door Installation: Install the sliding door mechanism and the safety glass door panel. Ensure smooth operation of the sliding door.
- Accessory Attachment: Attach the glass storage shelf and towel holder.
- Sealing: Apply silicone sealant as instructed in the detailed manual to ensure watertight seals, especially around the shower tray and panel joints.
- Water Test: After assembly, perform a thorough water test to check for any leaks before regular use.
Note on Reversibility: The shower cabin is designed to be reversible, allowing for left or right-hand installation depending on your bathroom layout. Refer to the specific diagrams in your included assembly instructions for guidance on reversible mounting.
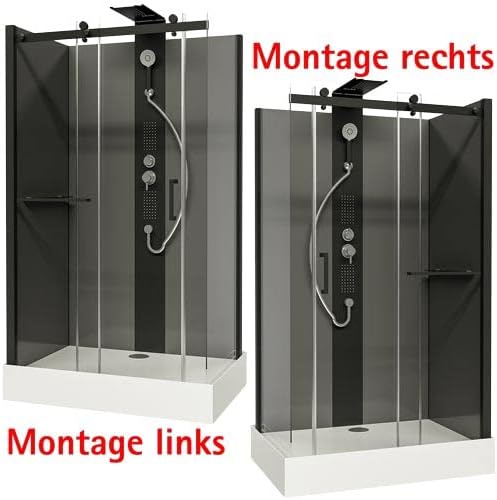
Image 4.1: Illustration of the reversible design for left or right-hand assembly.

Image 4.2: Detail of the sliding door mechanism.
5. Operating Instructions
Your Schulte shower cabin features a multi-functional shower column for a customized showering experience.
5.1 Water Flow and Temperature Control
- Use the mechanical mixer tap on the shower column to adjust water temperature and flow. Turn the handle to select desired temperature (typically left for hot, right for cold).
- The other control knob allows you to divert water flow to the overhead shower, hand shower, or massage jets.
5.2 Shower Functions
- Overhead Shower: Select this function for a wide, rain-like spray.
- Hand Shower: Detach the hand shower from its holder. Adjust the spray pattern by rotating the shower head or pressing a button (depending on the model) to cycle through the 3 available jet types.
- Massage Jets: Activate the massage jets for a stimulating and relaxing experience. There are 2x50 jets designed to provide a comprehensive massage.
Image 5.1: Controls for water flow, temperature, and shower functions.
6. Maintenance
Regular cleaning and maintenance will prolong the life and appearance of your shower cabin.
6.1 Cleaning Glass Surfaces
- Clean glass panels regularly with a soft cloth and a mild, non-abrasive glass cleaner.
- For stubborn water spots, use a vinegar-based solution (diluted) and rinse thoroughly.
- Avoid harsh chemicals, abrasive sponges, or scouring powders, as these can scratch the glass or damage the black finish of the profiles.
6.2 Cleaning Profiles and Fixtures
- Wipe down black profiles, the shower column, and other fixtures with a soft, damp cloth.
- Use a mild soap solution if necessary, then rinse and dry to prevent water spots.
- Periodically check and clean the nozzles of the overhead shower, hand shower, and massage jets to remove limescale buildup. Many modern shower heads have flexible silicone nozzles that can be easily cleaned by rubbing them.
6.3 Drainage System
- Regularly clean the shower tray and drain cover to prevent hair and soap scum buildup, which can lead to blockages.
- Ensure the drainage system is free of obstructions for efficient water evacuation.
7. Troubleshooting
This section addresses common issues you might encounter with your shower cabin.
| Problem | Possible Cause | Solution |
|---|---|---|
| Water Leakage | Improper sealing during installation; damaged seals; loose connections. | Check all silicone seals and reapply if necessary. Tighten all plumbing connections. Inspect rubber seals for damage and replace if worn. |
| Poor Drainage | Drain blockage (hair, soap scum); improper slope of shower tray. | Remove drain cover and clear any obstructions. Clean the drain regularly. Ensure the shower tray is level during installation. |
| Low Water Pressure | Clogged shower head/jets; low household water pressure. | Clean shower head and massage jet nozzles to remove limescale. Check household water supply pressure. |
| Sliding Door Sticking | Dirt or debris in tracks; worn rollers; misaligned door. | Clean door tracks thoroughly. Inspect rollers for wear and replace if needed. Adjust door alignment as per assembly instructions. |
| Mixer Tap Malfunction | Internal component wear; limescale buildup. | If the mixer tap is leaking or not functioning correctly, it may require professional inspection or replacement of internal cartridges. Contact customer support. |
8. Product Specifications
| Feature | Detail |
|---|---|
| Model Number | D581123 68 50 |
| Dimensions (L x W x H) | 120 x 80 x 220 cm (cabin) / 120 x 80 x 224 cm (total with tray) |
| Shower Tray Height | 16 cm |
| Maximum Access Width | Approx. 47 cm |
| Glass Thickness (Front/Side) | 6 mm Safety Glass (transparent) |
| Glass Thickness (Rear Wall Panels) | 5 mm Black Glass |
| Profile Color | Black |
| Handle | Black Stainless Steel Bar Handle |
| Material | Glass, Metal |
| Assembly Required | Yes |
| Number of Doors | 1 (Sliding) |
| Number of Panels | 2 (front/side) + 3 (rear) |
| Item Weight | 129.4 Kilograms |
| Style | Modern |
| Installation Type | Floor Installation |
| Shape | Rectangular |
9. Warranty and Support
9.1 Warranty Information
Your Schulte Complete Shower Cabin Kit comes with a 2-year product warranty. This warranty covers manufacturing defects and material faults under normal use conditions. Please retain your proof of purchase for warranty claims.
Note: Information regarding the availability of spare parts is currently unavailable. Please contact customer support for specific inquiries.
9.2 Customer Support
For technical assistance, spare parts inquiries, or warranty claims, please contact Schulte customer service. Refer to the contact information provided with your purchase documentation or visit the official Schulte website.
You can also visit the Schulte Brand Store on Amazon for more information about Schulte products.


