
1. Introduction
This manual provides detailed instructions for the installation, operation, and maintenance of your Humminbird HELIX 7 CHIRP GPS G3 Fish Finder. This device is designed to enhance your fishing experience by providing clear underwater imaging and precise navigation capabilities.
The HELIX 7 CHIRP GPS G3 features a 7-inch color TFT display, Dual Spectrum CHIRP Sonar, SwitchFire Sonar, built-in Humminbird Basemap, and AutoChart Live functionality. It is also compatible with Humminbird LakeMaster maps.
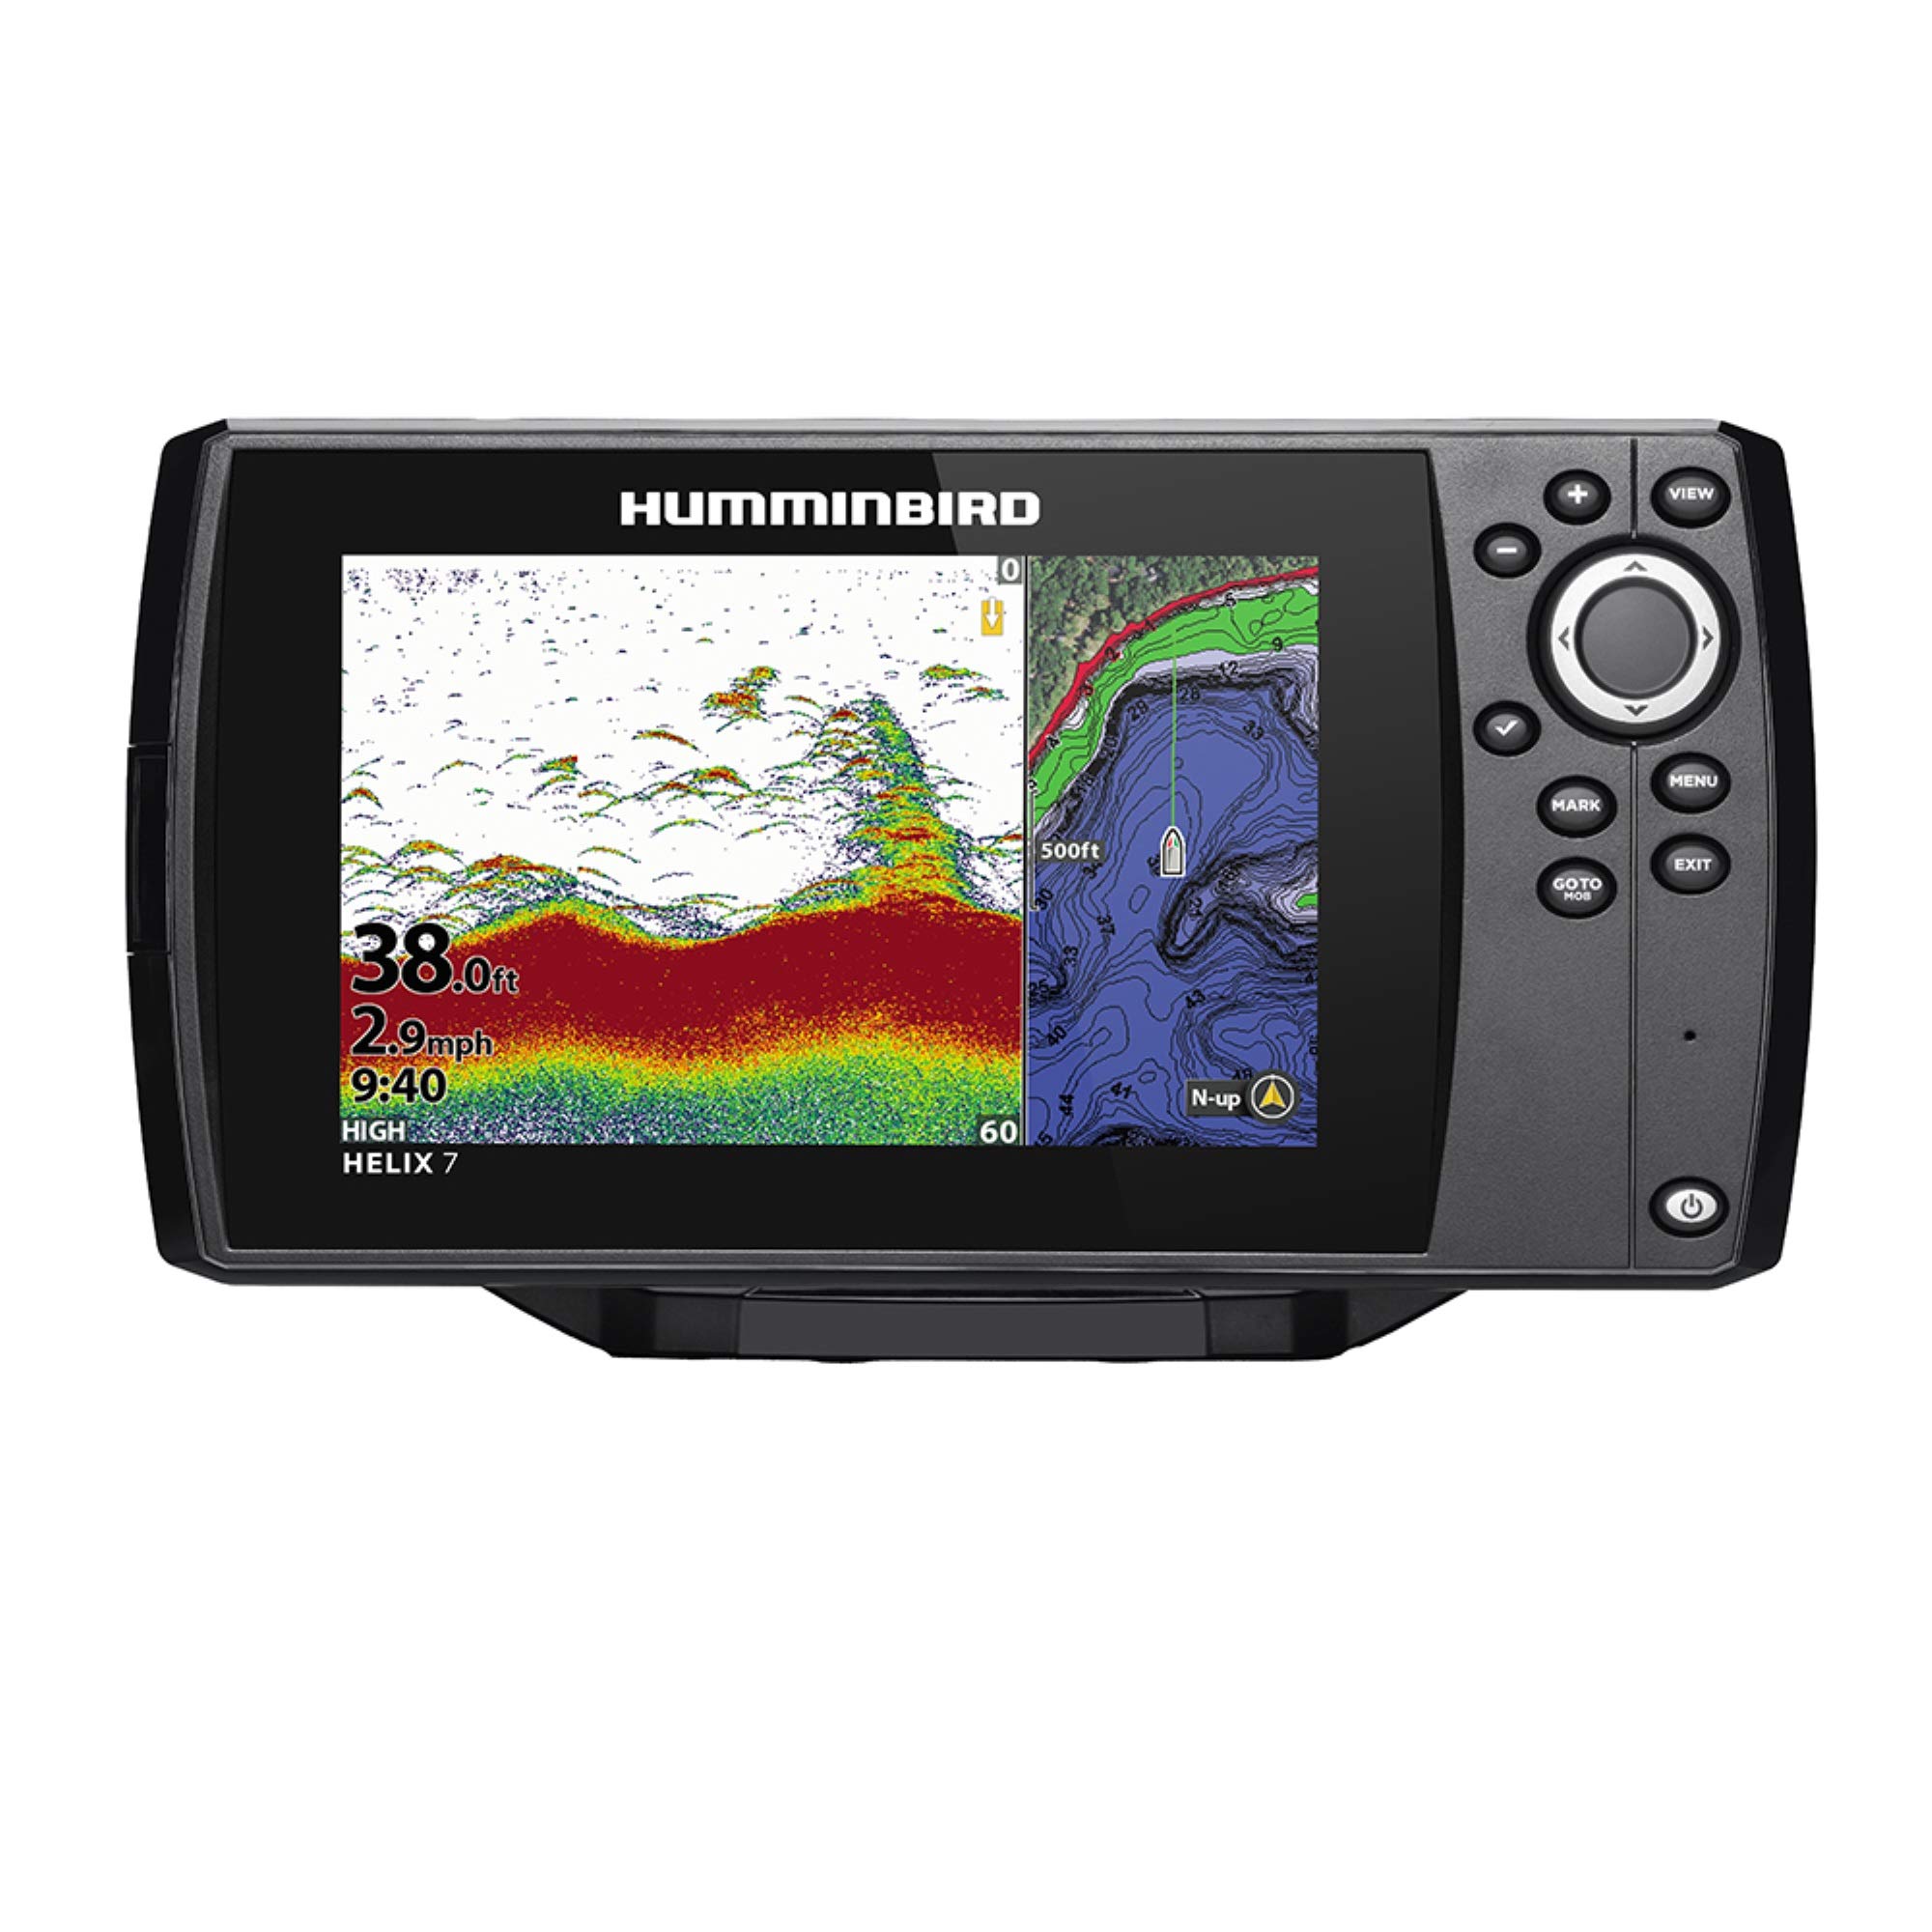
Image 1.1: The Humminbird HELIX 7 CHIRP GPS G3 Fish Finder unit.
2. What's in the Box
Verify that all components are present before beginning installation.
- HELIX 7 CHIRP GPS G3 fishfinder unit
- Transducer
- Mounting hardware for transducer
- Power cable
- Gimbal mounting bracket
3. Setup and Installation
Proper installation is crucial for optimal performance of your fish finder. This section outlines the general steps for mounting the unit and transducer, and connecting power.
3.1 Mounting the Display Unit
The HELIX 7 unit is designed for gimbal mounting.
- Select a suitable location on your boat's dashboard or console that provides clear visibility and easy access to controls.
- Use the gimbal mounting bracket as a template to mark drilling locations.
- Drill pilot holes and secure the gimbal bracket using appropriate fasteners.
- Attach the HELIX 7 unit to the gimbal bracket.

Image 3.1: The HELIX 7 display unit, ready for mounting.
3.2 Transducer Installation
The transducer is a critical component for sonar performance. It should be mounted in a location that provides an unobstructed view of the water beneath your boat.
- Choose a transom-mount location that is free from turbulence and obstructions.
- Attach the transducer mounting bracket to the transom, ensuring it is level and submerged when the boat is in the water.
- Secure the transducer to the bracket.
- Route the transducer cable to the HELIX 7 unit, avoiding sharp bends and interference with other electrical cables.

Image 3.2: The XNT 9 HW T transducer included with the unit.
3.3 Power Connection
Connect the power cable to a 12V DC power source on your boat. Ensure proper polarity (red to positive, black to negative) and use an inline fuse for protection.
4. Operating Instructions
This section covers the basic operation and key features of your HELIX 7 CHIRP GPS G3.
4.1 Powering On/Off and Basic Navigation
Press and hold the POWER button to turn the unit on or off. Use the VIEW button to cycle through different display views (Sonar, Map, Split-screen). The directional keypad and MENU button allow you to navigate menus and adjust settings.

Image 4.1: Close-up of the HELIX 7 keypad controls.
4.2 Dual Spectrum CHIRP Sonar
Dual Spectrum CHIRP Sonar provides detailed underwater views. It operates in two modes:
- Wide Mode: Offers maximum coverage for scanning large areas.
- Narrow Mode: Provides maximum detail for identifying individual fish and structure.
Adjust sonar settings via the MENU to optimize for depth, water conditions, and target separation.

Image 4.2: Example of a Dual Spectrum CHIRP Sonar display.
4.3 SwitchFire Sonar
SwitchFire Sonar allows you to control how sonar returns appear on the screen.
- Clear Mode: Filters out clutter for a clearer view of fish and structure.
- Max Mode: Displays all sonar returns, including thermoclines and baitfish, for maximum information.
Toggle between modes using the appropriate button or menu option to adapt to changing fishing conditions.
4.4 GPS and Humminbird Basemap
The built-in GPS provides accurate positioning and navigation. The Humminbird Basemap offers a clear view of underwater terrain and points of interest for over 10,000 lakes and coastal coverage for the U.S.
- Use the map view to navigate, mark waypoints, and plan routes.
- Identify buoys, day markers, hazards, marinas, and depth contours.

Image 4.3: A typical Humminbird Basemap display showing contours and points of interest.
4.5 AutoChart Live and LakeMaster Compatibility
AutoChart Live: Create real-time maps of your fishing spots. This feature allows you to map depth contours, bottom hardness, and vegetation as you drive your boat. The unit has eight hours of built-in recording time for this data.
LakeMaster Compatible: The unit supports Humminbird LakeMaster maps (sold separately) for enhanced accuracy and detail, including highlighted depth ranges and scrollable lake lists.

Image 4.4: Example of a Humminbird LakeMaster map display.
5. Maintenance
Regular maintenance ensures the longevity and optimal performance of your HELIX 7 unit.
- Cleaning the Display: Use a soft, damp cloth to clean the screen. Avoid abrasive cleaners or solvents that could damage the display.
- Transducer Care: Periodically inspect the transducer for marine growth or damage. Clean it gently with a soft brush and fresh water.
- Cable Inspection: Check all cables for cuts, kinks, or corrosion. Ensure connections are secure.
- Storage: When not in use for extended periods, store the unit in a dry, temperate environment. Consider removing it from the boat to prevent theft or environmental damage.
6. Troubleshooting
If you encounter issues with your HELIX 7 CHIRP GPS G3, refer to the following common problems and solutions.
6.1 Unit Does Not Power On
- Check power cable connections at both the unit and the power source.
- Verify the inline fuse is not blown.
- Ensure the boat's battery has sufficient charge.
6.2 No Sonar Readings or Poor Performance
- Ensure the transducer cable is securely connected to the unit.
- Check the transducer for obstructions or marine growth.
- Verify the transducer is properly submerged and not experiencing excessive turbulence.
- Adjust sonar sensitivity and range settings.
6.3 GPS Not Acquiring Signal
- Ensure the unit has a clear view of the sky.
- Move away from tall structures or other electronic devices that may cause interference.
- Allow several minutes for the unit to acquire satellites.
For further assistance, contact Humminbird customer support.
7. Specifications
| Feature | Specification |
|---|---|
| Model Name | HELIX 7 CHIRP GPS G3 |
| Model Number | 410930-1 |
| Screen Size | 7 inches |
| Display Resolution | 800H x 480V |
| Display Type | Color TFT |
| Sonar Type | Dual Spectrum CHIRP, SwitchFire |
| Maximum Measuring Depth | 3500 feet |
| GPS | Built-in GPS, Humminbird Basemap |
| Mapping Compatibility | AutoChart Live, LakeMaster (optional) |
| Memory Slots | 1 Micro SD |
| Power Source | DC Power Supply (12V) |
| Mounting Type | Gimbal Mount |
| Item Weight | 5.3 pounds |
8. Warranty and Support
8.1 Warranty Information
The Humminbird HELIX 7 CHIRP GPS G3 Fish Finder comes with a 1-year manufacturer's warranty. This warranty covers defects in materials and workmanship under normal use. Please retain your proof of purchase for warranty claims.
For full warranty terms and conditions, please refer to the official Humminbird website or the documentation included with your product.
8.2 Customer Support
If you require technical assistance, have questions about your product, or need to initiate a warranty claim, please contact Humminbird customer support.
Visit the official Humminbird website for contact information, FAQs, and additional resources: www.humminbird.com


