
1. Introduction
This manual provides essential instructions for the proper installation, operation, and maintenance of your Air Lift 88288 LoadLifter 5000 Ultimate Air Spring Kit Rear. This kit is designed to enhance vehicle stability and load-carrying capacity, particularly when towing or hauling heavy loads. Please read these instructions thoroughly before proceeding with installation or use to ensure safety and optimal performance.
2. Product Overview and Components
The Air Lift 88288 LoadLifter 5000 Ultimate Air Spring Kit includes components necessary for a complete rear air suspension upgrade. Key features include an internal jounce bumper, allowing safe operation even with zero air pressure.
Included Components:
- Air Springs with Internal Jounce Bumpers
- Mounting Brackets (Upper and Lower)
- Air Lines and Fittings
- Hardware (bolts, nuts, washers, zip ties)
- Heat Shield and Clamps (if applicable for exhaust clearance)
- Instruction Manual
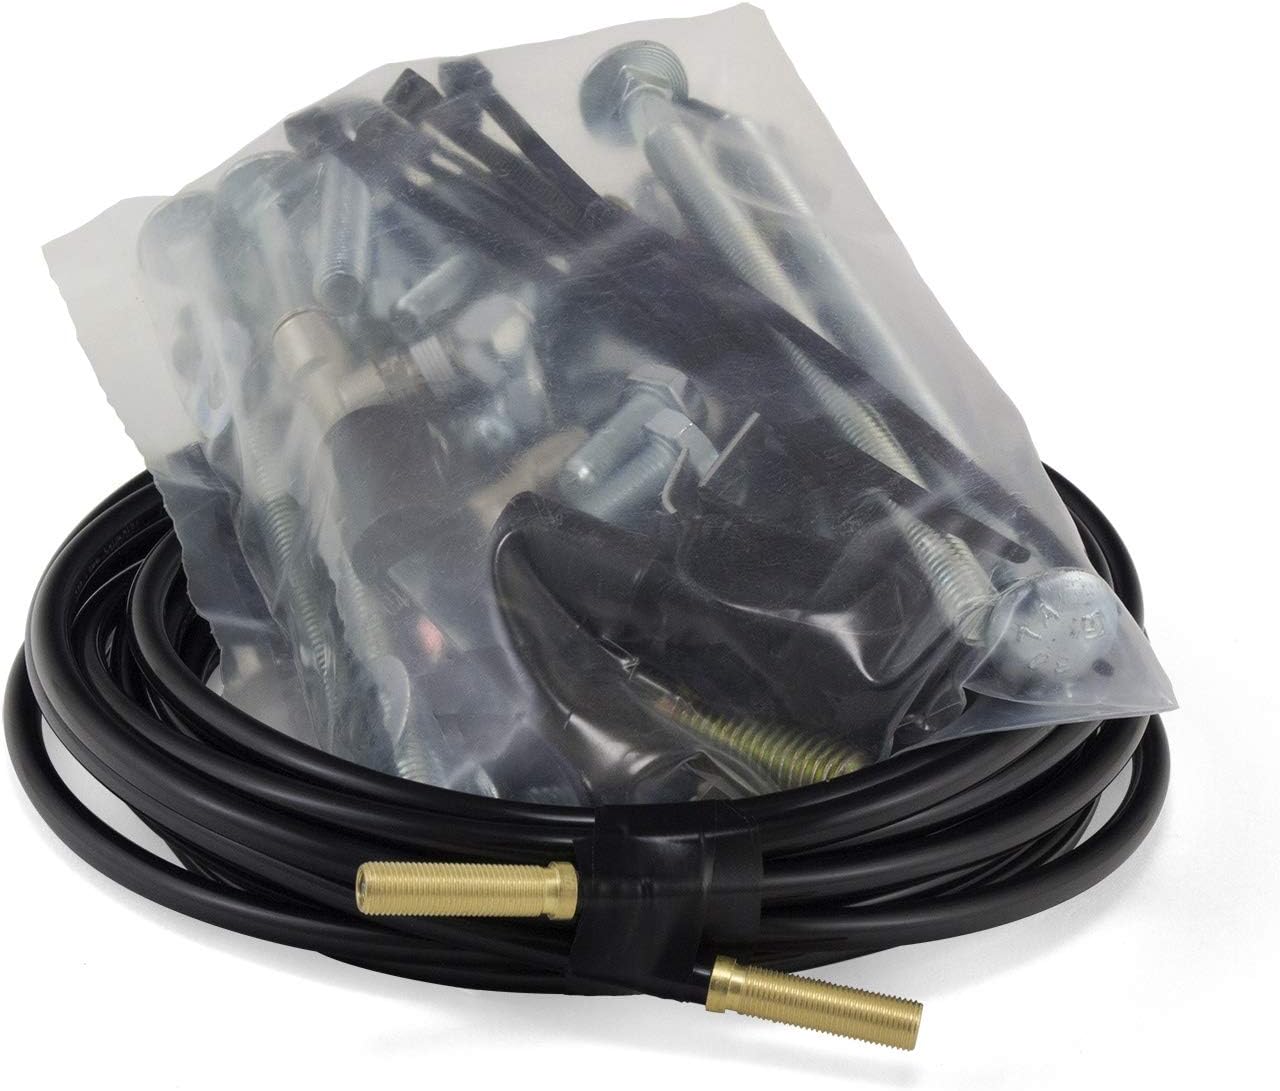
Figure 2.1: Overview of the Air Lift 88288 LoadLifter 5000 Ultimate Air Spring Kit. This image displays the main components including the air springs, mounting hardware, air lines, and fittings.

Figure 2.2: Close-up of the air lines and brass fittings included in the kit, essential for connecting the air springs to the inflation valves.

Figure 2.3: The black powder-coated mounting brackets, designed to secure the air springs to the vehicle's frame and axle.
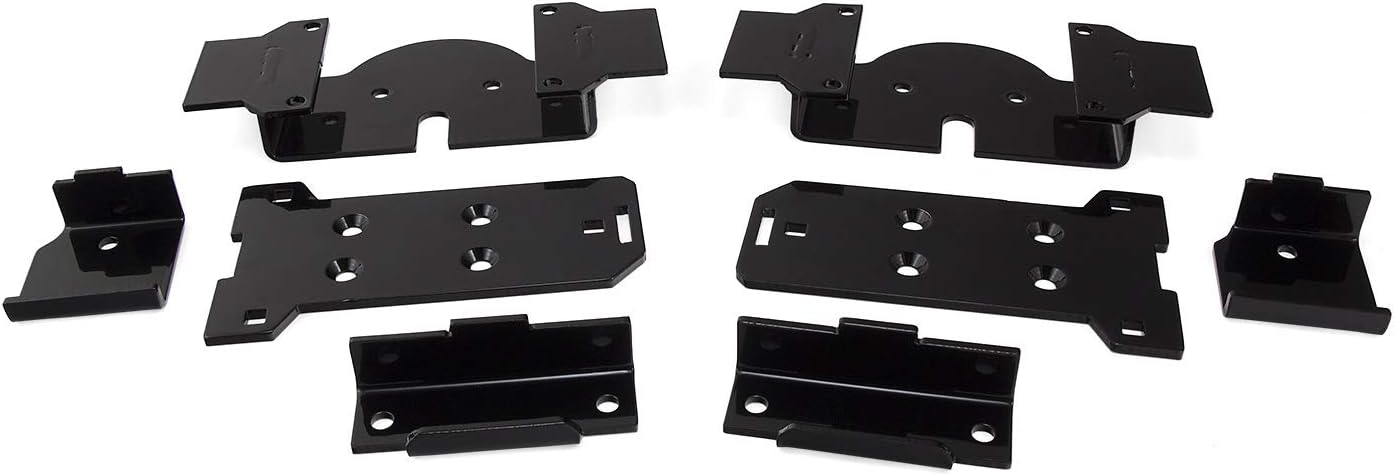
Figure 2.4: Various clamps and a heat shield, typically used for securing air lines and protecting them from exhaust heat.
3. Setup and Installation
Installation of the LoadLifter 5000 Ultimate kit is designed to be vehicle-specific and typically requires no drilling for many applications. While some users report installation times of approximately 1-4 hours, actual time may vary based on experience and vehicle configuration.
General Installation Steps:
- Preparation: Park the vehicle on a level surface, engage the parking brake, and block the wheels. For easier access, consider lifting the vehicle and removing the rear wheels.
- Remove Factory Components: Carefully remove any factory jounce bumpers or other components as specified in the detailed vehicle-specific instructions (not provided in this general manual).
- Install Brackets: Attach the upper and lower mounting brackets to the vehicle's frame and axle, respectively, using the provided hardware. Ensure all bolts are tightened to the manufacturer's specifications.
- Install Air Springs: Position the air springs between the upper and lower brackets. Secure them using the designated hardware.
- Route Air Lines: Connect the air lines to the air springs and route them to a convenient location for the inflation valves. Ensure lines are clear of moving parts, sharp edges, and heat sources (like the exhaust). Use the provided heat shield and zip ties as needed.
- Install Inflation Valves: Mount the inflation valves in an accessible location, such as the bumper or fender well.
- Check for Leaks: Inflate the air springs to approximately 20-30 PSI and spray all connections with a soapy water solution to check for air leaks. Tighten connections as necessary.
- Final Checks: Lower the vehicle, re-install wheels if removed, and ensure all components are securely fastened and clear of interference.
Important Note for Lifted Trucks: If your vehicle has a lift kit, it is crucial to ensure the correct spacer size is used to prevent the air springs from bottoming out on the internal jounce bumper when unloaded. Consult Air Lift's vehicle-specific guidelines or a qualified technician for appropriate spacer recommendations.
4. Operating Instructions
The LoadLifter 5000 Ultimate air springs are designed to be adjustable, allowing you to customize your vehicle's ride height and support based on load conditions. They can also be safely run with zero air pressure when unloaded, thanks to the internal jounce bumper.
Recommended Air Pressure Guidelines:
- Minimum Pressure (Unloaded): Maintain a minimum of 5-10 PSI to prevent damage to the air springs and ensure proper function. The internal jounce bumper allows for safe operation at zero pressure, but a small amount of air is recommended for longevity.
- Daily Driving (Unloaded): For optimal ride quality when unloaded, an air pressure of approximately 20 PSI is often recommended.
- Towing/Hauling (Loaded): When towing or hauling heavy loads, inflate the air springs to a higher pressure, typically between 30-75 PSI, to level the vehicle and improve stability. Some users find 50 PSI effective for heavy towing. Adjust pressure as needed to achieve a level stance and comfortable ride.
Always inflate the air springs before loading the vehicle and deflate them (to minimum pressure) before unloading. Never exceed the maximum recommended air pressure for your specific air springs or the Gross Vehicle Weight Rating (GVWR) of your vehicle.
5. Maintenance
Regular maintenance ensures the longevity and optimal performance of your Air Lift air spring system.
- Monthly Pressure Check: Check air pressure monthly, as temperature changes can affect pressure. Maintain recommended minimum pressure.
- Inspect Air Lines and Connections: Periodically inspect air lines for kinks, chafing, or damage. Check all connections for leaks using a soapy water solution.
- Inspect Air Springs: Examine the air springs for any signs of wear, cracks, or damage. Ensure they are securely mounted.
- Clean Components: Keep air springs and surrounding components free of dirt, debris, and corrosive materials.
6. Troubleshooting
This section addresses common issues you might encounter with your air spring system.
- Vehicle Sags or Does Not Level:
- Check air pressure. Inflate to recommended levels for the load.
- Inspect for air leaks at fittings, air lines, and the air springs themselves using soapy water.
- Ensure air lines are not kinked or pinched.
- Harsh Ride or Bounciness (Unloaded):
- Excessive air pressure when unloaded can cause a harsh ride. Reduce pressure to the recommended daily driving PSI (e.g., 20 PSI).
- If the suspension bottoms out on the internal jounce bumper, especially with a lifted truck, verify that the correct spacers are installed.
- Air Leakage:
- Locate the leak using soapy water.
- For fitting leaks, ensure the air line is cut straight and fully inserted into the fitting. Tighten threaded connections.
- If the air spring itself is leaking, it may require replacement.
If you are unable to resolve an issue, contact Air Lift customer support or a qualified automotive technician.
7. Specifications
| Specification | Detail |
|---|---|
| Brand | Air Lift |
| Model Number | 88288 |
| Product Type | LoadLifter 5000 Ultimate Air Spring Kit Rear |
| Automotive Fit Type | Vehicle Specific Fit |
| Item Weight | 28 pounds |
| Product Dimensions | 14.12 x 10.75 x 9.25 inches |
| UPC | 729199882883 |
| Included Components | Auto Parts (Air Springs, Brackets, Hardware, Air Lines) |
8. Warranty and Support
Air Lift Company stands behind its products. For specific warranty details, including coverage period and terms, please refer to the warranty card included with your product or visit the official Air Lift website. Keep your proof of purchase for warranty claims.
For technical assistance, installation questions, or troubleshooting support, please contact Air Lift customer service. Contact information can typically be found on the Air Lift website or in the packaging materials.
Online Resources: For additional information, FAQs, and vehicle-specific installation guides, visit the Air Lift Store on Amazon or the official Air Lift Company website.


