1. Introduction
The TRENDnet TC-K50C6 Cat6 Keystone Jack is designed for high-speed network applications. This 50-pack bundle provides reliable connectivity for Cat6 Ethernet cabling, supporting speeds up to 10Gbps over distances of 55 meters (180 feet). These keystone jacks feature a tool-less design for simplified installation and are compatible with TRENDnet's TC-KP24 or TC-KP48 Blank Keystone Patch Panels (sold separately).

Image 1.1: Overview of the TRENDnet TC-K50C6 Cat6 Keystone Jack 50-Pack.
2. Package Contents
Verify that all items are present in your package:
- TC-K50C6 Cat6 RJ45 Keystone Jacks (50 units)
- Cable ties (50 units)
3. Key Features
- Cat6 Performance: Each keystone jack supports up to 10Gbps speeds over 55m (180 ft.) of Cat6 RJ45 Ethernet cabling for stable connections to Gigabit and 10G switches.
- Tool-Less Design: Features a 90-degree angle cable termination tool-less design with convenient wire separation for easy installation.
- Color-Coded Labeling: Includes color-coded labeling for T568B wiring standards, simplifying correct wire placement.
- Cabling Compatibility: Compatible with Cat5, Cat5e, and Cat6 cabling, and designed to work with blank keystone patch panels and wall plates.
- Gold-Plated Contacts: Designed with gold-plated contacts for improved conductivity and corrosion resistance, ensuring long-term performance.
- NDAA + TAA Compliant: Meets U.S. integrity and supply chain standards for government contracts (U.S. and Canada Only).

Cat6 Performance

Tool-less Design

Color-Coded Labeling

Compatibility
4. Setup and Installation
The TRENDnet TC-K50C6 keystone jack features a tool-less design for easy termination. Follow these steps for proper installation:
Video 4.1: Official TRENDnet Keystone Setup Video. This video demonstrates the step-by-step process of terminating an Ethernet cable with a keystone jack.
4.1. Prepare the Cable
Strip approximately 1 inch of the outer jacket from your Cat6 Ethernet cable to expose the twisted pairs. Untwist the pairs and straighten the individual wires.

Image 4.1.1: Exploded view of the keystone jack, showing the main body, termination cap, and dust cover.
4.2. Insert Wires into Termination Cap
Insert the stripped cable into the termination cap. Using the color-coded labeling (T568B standard) printed on the termination cap, position each wire appropriately into the color-labeled slots. Ensure each wire is fully seated.

Image 4.2.1: The keystone jack open, showing the internal wiring guide and color-coded slots for wire placement.
4.3. Close the Termination Cap
Press the termination cap down firmly until it is flush with the keystone jack body. This action will seat the wires into the IDC (Insulation Displacement Connector) terminals, making the electrical connection.
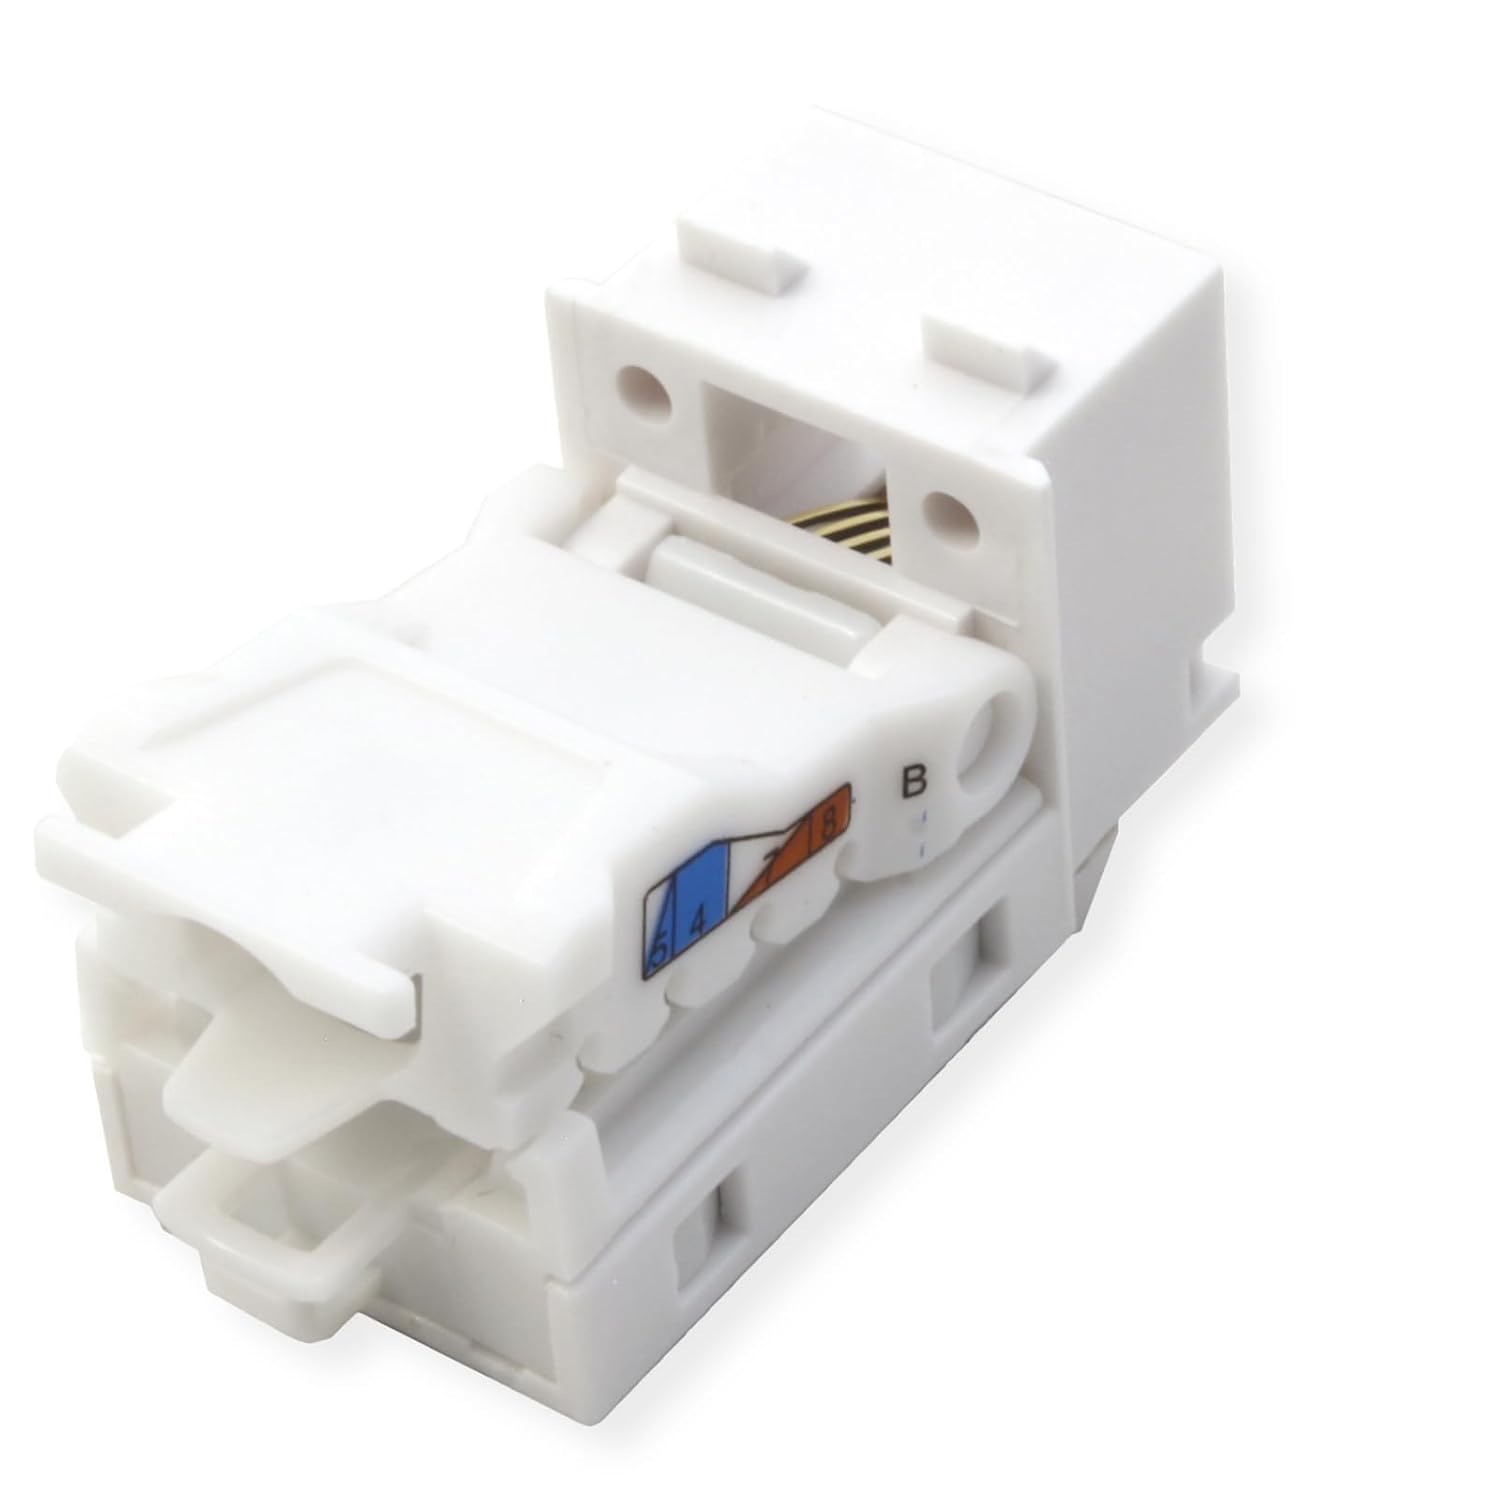
Image 4.3.1: A keystone jack with the termination cap closed, showing the terminated wires.
4.4. Secure with Zip Tie
Feed the included zip tie through the cable fixture hole on the keystone jack and tighten it to secure the termination cap and cable firmly to the jack. This provides strain relief and prevents accidental disconnection.
4.5. Trim Excess Wires
Using a pair of flush-cut wire cutters, carefully cut off any excess wires protruding from the termination cap and the excess portion of the zip tie. Ensure a clean, flush finish.
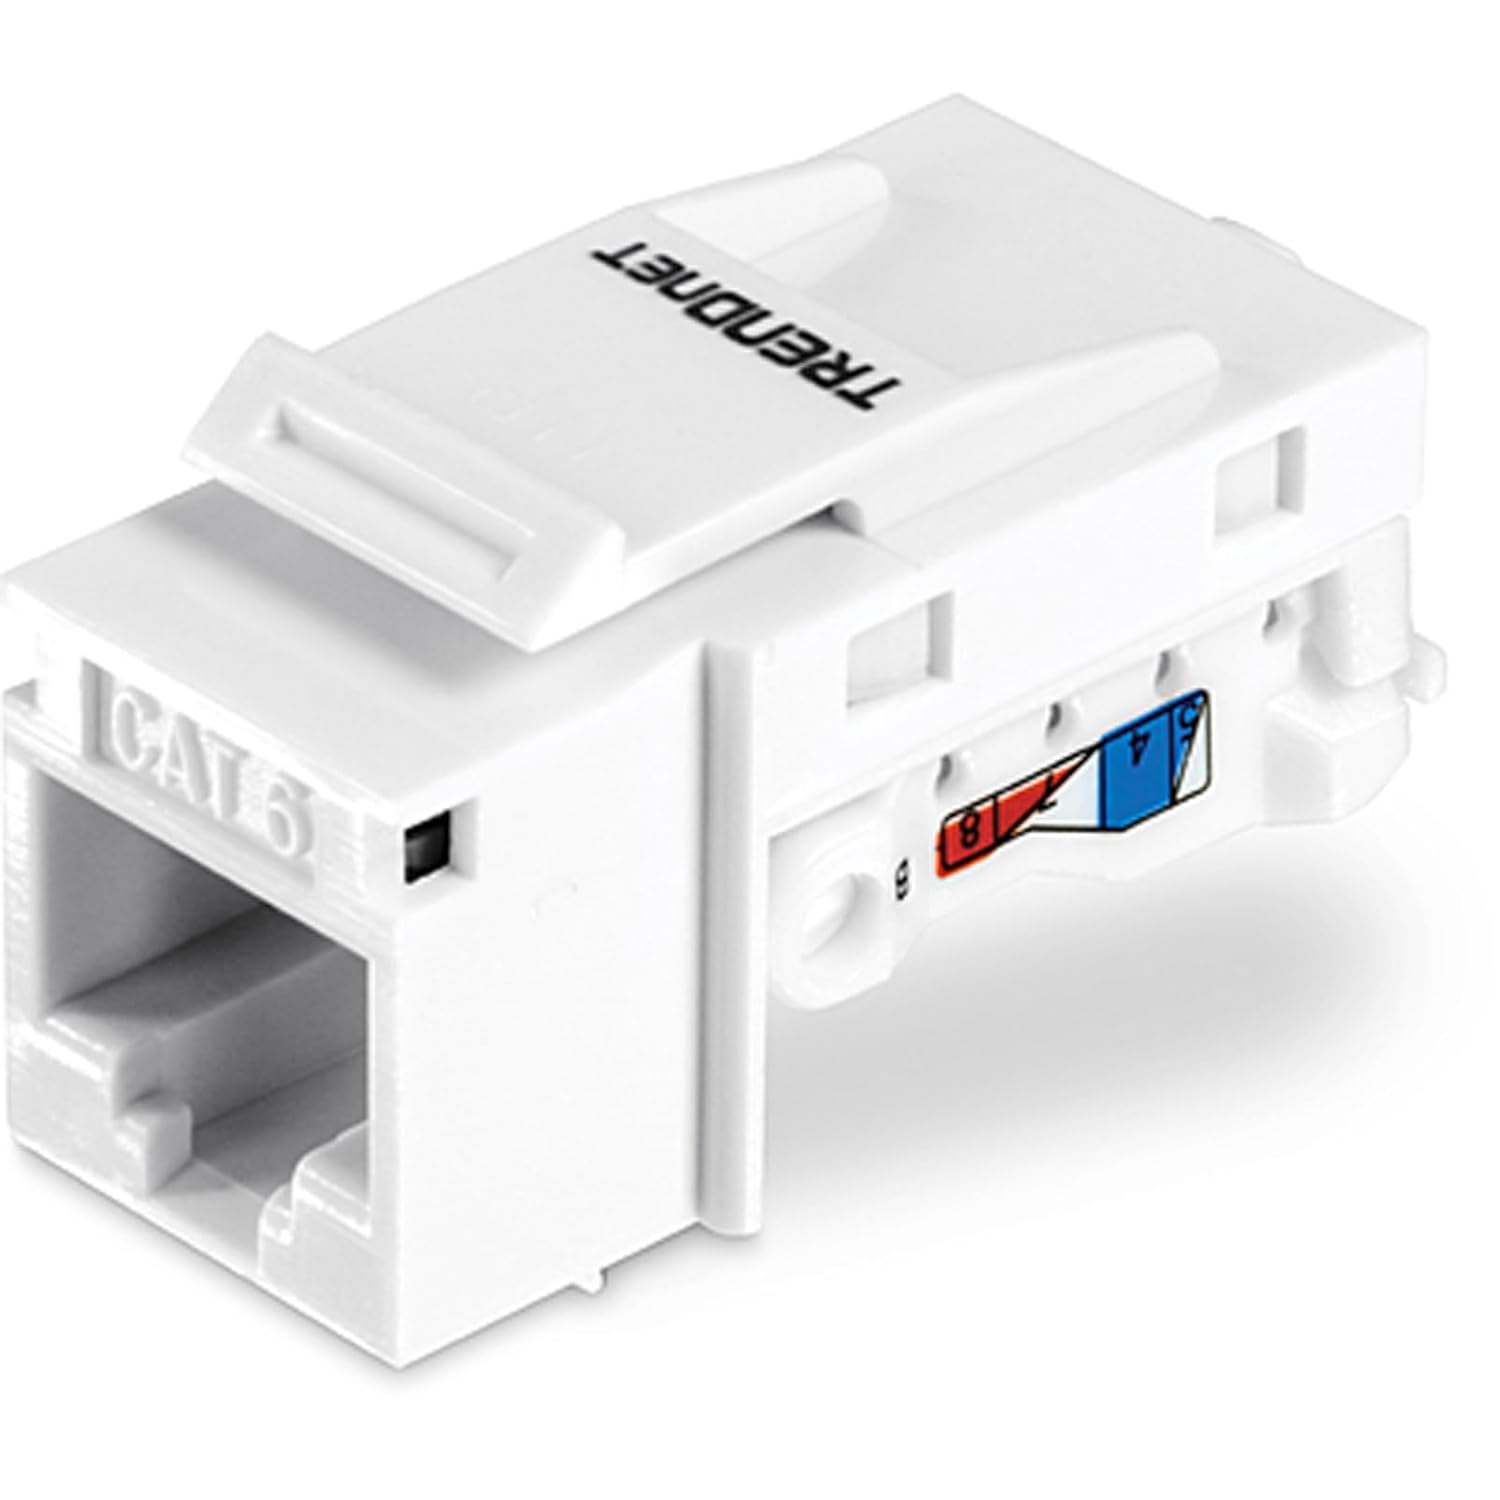
Image 4.5.1: A fully assembled keystone jack, ready for use.
5. Operating Instructions
Once the keystone jack is properly terminated and installed into a compatible patch panel or wall plate, it functions as a standard RJ45 port. Simply connect a standard Ethernet patch cable from your network device (e.g., computer, switch, router) to the keystone jack. Ensure the connection is secure and the cable clicks into place.
6. Maintenance
To ensure optimal performance and longevity of your keystone jacks:
- Keep the keystone jacks free from dust and debris. Use a can of compressed air or a soft, dry cloth for cleaning.
- Avoid exposing the jacks to excessive moisture or extreme temperatures.
- Do not apply excessive force when inserting or removing Ethernet cables to prevent damage to the RJ45 port.
- Ensure cables are properly routed and secured to prevent strain on the keystone jack connections.
7. Troubleshooting
If you experience connectivity issues after installation, consider the following troubleshooting steps:
- No Network Connectivity:
- Verify that all wires are correctly seated in the termination cap according to the T568B color code.
- Ensure the termination cap is fully pressed down and flush with the keystone jack.
- Check for any broken or bent pins inside the RJ45 port.
- Test the cable run with a cable tester to identify any breaks or miswires.
- Ensure the Ethernet cable connected to the keystone jack is functional and properly connected to your network device.
- Intermittent Connection:
- Re-check wire terminations for loose connections.
- Ensure the zip tie is securely fastened to provide adequate strain relief.
- Inspect the Ethernet cable for damage.
8. Specifications
| Feature | Detail |
|---|---|
| Brand | TRENDnet |
| Model | TC-K50C6 |
| Connector Type | RJ45 |
| Cable Type | Ethernet |
| Ethernet Cable Category | Cat 6 |
| Data Transfer Rate | 10 Gigabits Per Second |
| Number of Pins | 8 |
| Frequency | 10 GHz |
| Maximum Current | 6 Amps |
| Indoor/Outdoor Usage | Indoor, Outdoor |
| Unit Count | 50.0 Count |
| Item Weight | 1.6 ounces |
| Color | White |
| UPC | 710931401547 |
9. Warranty and Support
Manufacturer Protection: The TC-K50C6 Cat6 RJ45 Keystone Jack 50-Pack Bundle is backed by a 3-year TRENDnet Manufacturer Protection warranty.
Reliable Tech Support: TRENDnet provides English-speaking technical support during normal business hours. For assistance, please visit the official TRENDnet website or contact their support team directly.