JJC JW-JM-R2(II)
JJC JM-II Wireless Shutter Release Remote Control User Manual
Model: JW-JM-R2(II) | Brand: JJC
1. Product Overview
The JJC JM-II series Radio Frequency Wireless Shutter is designed for most DSLR and SLR cameras equipped with a remote socket. This system operates at a 433MHz frequency and offers 16 selectable channels, allowing the transmitter to trigger the receiver from up to 30 meters away. It provides both wireless and wired remote control capabilities for enhanced photographic flexibility.
Key features include:
- Wireless or wired camera triggering.
- Half-press for autofocus, full-press for shutter release.
- Wired mode: Receiver functions as a wired remote switch, powered by the camera, no battery required for receiver in this mode.
- Wireless mode: Both transmitter and receiver require battery power.
- 16 available channels to prevent interference.
- Ability for one transmitter to fire multiple receivers simultaneously.
- Maximum working distance of 30 meters (100 feet).
2. Package Contents
Please verify that all items listed below are included in your package:
- JM-II Transmitter x 1
- JM-II Receiver x 1
- CR-2 Battery x 1 (for receiver)
- 23A Battery x 1 (for transmitter)
- Connecting Cord x 1
- Instruction Manual x 1

Image: The complete package contents including the JM-II transmitter, JM-II receiver, and the connecting cable.
3. Setup Guide
3.1 Battery Installation
Transmitter:
- Open the battery compartment cover on the back of the transmitter.
- Insert one 23A battery, ensuring correct polarity (+/-).
- Close the battery compartment cover.
Receiver:
- Open the battery compartment cover on the bottom of the receiver.
- Insert one CR-2 lithium battery, ensuring correct polarity (+/-).
- Close the battery compartment cover.
3.2 Connecting the Receiver to Your Camera
- Slide the JM-II receiver onto your camera's hot shoe. The receiver has a 1/4"-20 tripod mount socket on the bottom, allowing it to be mounted on a tripod if preferred.
- Connect one end of the supplied connecting cord to the remote socket on your camera.
- Connect the other end of the connecting cord to the appropriate port on the JM-II receiver.
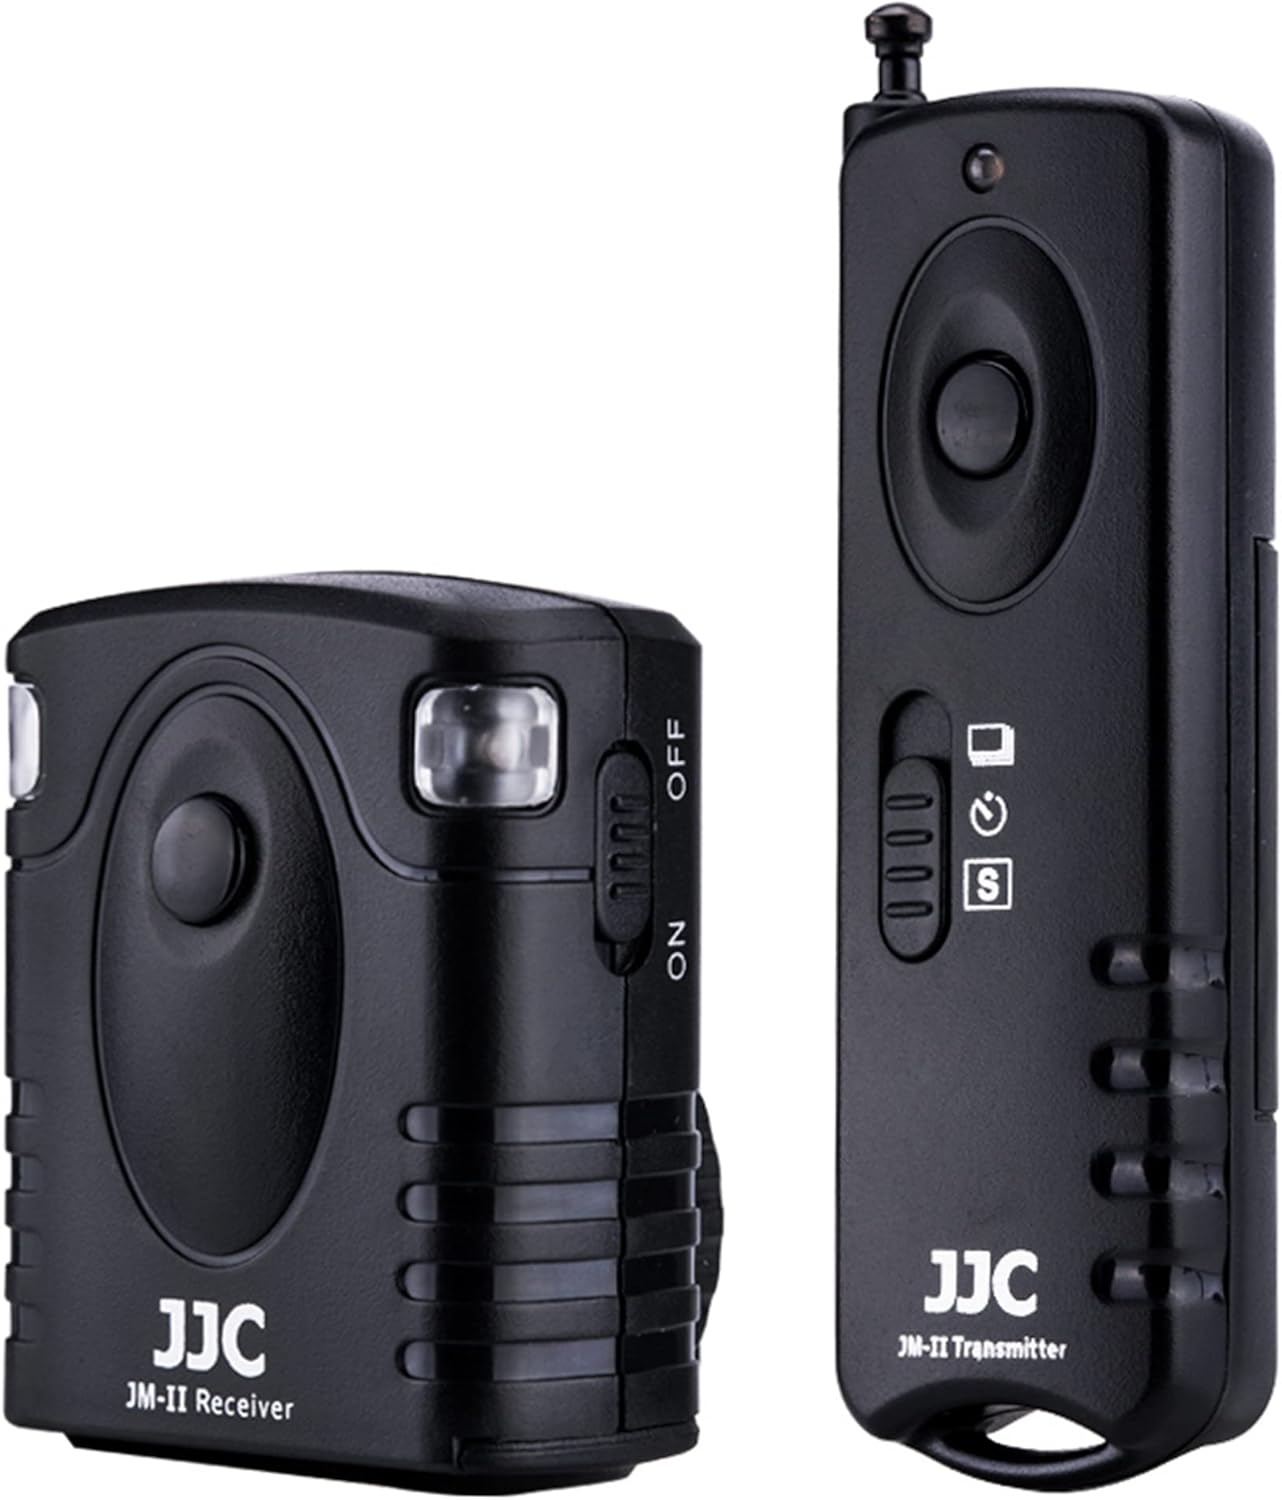
Image: The JM-II receiver attached to a camera's hot shoe and connected via the supplied cable, with the transmitter remote shown nearby.
3.3 Setting Channels (DIP Switches)
Both the transmitter and receiver feature DIP switches to select one of 16 available channels. To ensure proper communication, the channel settings on both units must match.
- Locate the DIP switches on the side of the receiver and the back of the transmitter.
- Use a small pointed object (like a pen tip) to set the switches to your desired channel. Ensure the pattern of ON/OFF switches is identical on both the transmitter and receiver.

Image: Rear view of the JM-II receiver and transmitter, highlighting the DIP switches used for channel selection.
4. Operating Modes
The JM-II remote control offers both wired and wireless operation, along with multiple shooting modes.
4.1 Wired Remote Control
The receiver unit, when connected to the camera via the supplied cable, can function as a wired remote switch. In this mode, the receiver is powered by the camera, and no battery is required for the receiver itself.
- Half-Press: Press the button on the receiver halfway down to activate autofocus.
- Full-Press: Press the button fully down to trigger the camera's shutter.
4.2 Wireless Remote Control
For wireless operation, ensure both the transmitter and receiver have batteries installed and are set to the same channel.
- Half-Press: Press the button on the transmitter halfway down to activate autofocus on the camera.
- Full-Press: Press the button fully down to trigger the camera's shutter.
4.3 Shooting Modes (Wireless)
The JM-II transmitter supports five distinct shooting modes, selectable via a switch on the transmitter:
- Single Shot: Triggers a single photo with each full press of the shutter button.
- 5 Seconds Delay Shot: Triggers a single photo after a 5-second delay.
- 3 Continuous Shots: Triggers three consecutive photos with a single full press.
- Unlimited Continuous Shots: Triggers continuous photos as long as the shutter button is held down.
- Bulb Shot: Allows for long exposure photography. Press the button once to open the shutter, press again to close it.

Image: Front view of the JM-II receiver and transmitter, highlighting the mode selection switch on the transmitter.
5. Compatible Cameras
The JJC JM-II Wireless Shutter Release Remote Control is compatible with a wide range of Fujifilm cameras, including but not limited to:
- FUJIFILM X-M5 / XM5
- X100VI
- X-H2 / X-H2S
- GFX100 / GFX 50S / GFX50S II / GFX 50R
- X-T30 II / X-T30
- X-H1
- X-Pro2
- X-T5 / X-T4 / X-T3 / X-T2 / X-T1
- X-T20 / X-T10 / X-T100
- X-E3 / X-E2S / X-E2
- X-A5 / X-A10
- X100F / X100T
- X70 / X30
- XF10
Note: Ensure your camera has a compatible remote socket for connection.
6. Maintenance
To ensure the longevity and optimal performance of your JM-II Wireless Shutter Release Remote Control, please follow these maintenance guidelines:
- Keep the device dry. Do not expose it to rain, moisture, or extreme humidity.
- Avoid extreme temperatures. Do not store or operate the device in very hot or cold environments.
- Clean the device with a soft, dry cloth. Do not use harsh chemicals or abrasive cleaners.
- When not in use for extended periods, remove the batteries from both the transmitter and receiver to prevent leakage.
- Store the device in a clean, dust-free environment.
7. Troubleshooting
If you encounter issues with your JM-II Wireless Shutter Release Remote Control, please refer to the following common problems and solutions:
| Problem | Possible Cause | Solution |
|---|---|---|
| Device does not respond (wireless mode) | Low or dead batteries in transmitter or receiver. Incorrect channel setting. Out of range. Interference. | Replace batteries in both units. Ensure transmitter and receiver are set to the same channel. Move closer to the camera (within 30 meters). Try a different channel to avoid interference. |
| Device does not respond (wired mode) | Connecting cable not properly inserted. Cable is damaged. Camera remote socket issue. | Ensure the connecting cable is securely plugged into both the receiver and the camera's remote socket. Try a different compatible cable if available. Consult your camera's manual or a camera technician. |
| Limited wireless range | Environmental obstructions (walls, large objects). Battery level. Directional signal blockage. | Minimize obstructions between transmitter and receiver. Ensure batteries are fresh. Adjust the angle or position of the transmitter relative to the receiver. Note that range may decrease if operating from directly behind the receiver. |
| Camera does not focus or trigger | Camera not in appropriate mode. Incorrect cable for camera model. | Ensure your camera is set to a mode that allows remote shutter release (e.g., single shot, continuous, bulb). Verify that the connecting cable is the correct type for your specific camera model. |
8. Specifications
| Feature | Detail |
|---|---|
| Model Number | JW-JM-R2(II) |
| Wireless Frequency | 433 MHz |
| Channels | 16 |
| Max Working Distance | 30 meters (100 feet) |
| Transmitter Battery | 1 x 23A battery (included) |
| Receiver Battery | 1 x CR-2 lithium battery (included) |
| Package Dimensions | 6.7 x 3 x 1.3 inches |
| Item Weight | 3.52 ounces |
| Color | Black |
| Manufacturer | Jinjiacheng Photography Equipment Co.,Ltd. |
9. Warranty and Support
For warranty information and technical support, please contact JJC customer service or visit the official JJC website. Keep your purchase receipt as proof of purchase for any warranty claims.
Official Website: www.jjc.cc