1. Important Safety Information
Please read this instruction manual carefully before using the appliance and save it for future reference. Incorrect use may result in electric shock, fire, or serious injury.
- This appliance is intended for household use only. Do not use outdoors or on wet surfaces.
- Do not allow children to operate the vacuum cleaner. Close supervision is necessary when used near children.
- Do not pick up flammable or combustible liquids, such as gasoline, or use in areas where they may be present.
- Do not pick up anything that is burning or smoking, such as cigarettes, matches, or hot ashes.
- Do not use without the dust cup and/or filters in place.
- Turn off the appliance before connecting or disconnecting the motorized brush, crevice tool, or square brush.
- Use only the charger supplied by the manufacturer to recharge.
- Do not handle the charger or appliance with wet hands.
2. Product Overview
The Princess 339490 Rapido Cordless Stick Vacuum Cleaner is designed for efficient cleaning of various surfaces. It features a powerful motor, a removable battery, and multiple attachments for versatile use.
Components Included:
- Princess Rapido Cordless Vacuum Unit
- Wall-mounted Charging Station
- Crevice Tool
- Square Brush
- Li-ion Battery Pack
- Main Brush Head (Motorized)
- Vacuum Tube
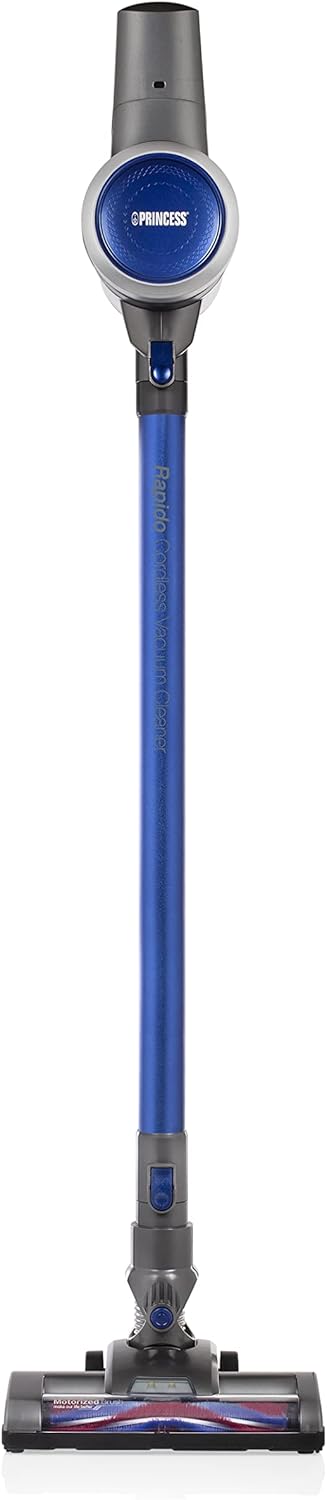
Figure 2.1: Front view of the Princess 339490 Rapido Cordless Stick Vacuum Cleaner.

Figure 2.2: Angled view of the Princess 339490 Rapido Cordless Stick Vacuum Cleaner, showing its sleek design.

Figure 2.3: Close-up of the motorized brush head, designed for effective cleaning on various floor types.

Figure 2.4: The vacuum unit configured as a handheld cleaner with the crevice tool attached, ideal for tight spaces.
3. Setup
3.1 Assembly
- Attach the Vacuum Tube: Insert the vacuum tube into the main vacuum unit until it clicks securely into place.
- Attach the Main Brush Head: Connect the motorized brush head to the other end of the vacuum tube, ensuring it locks firmly.
- Install the Battery: Slide the Li-ion battery pack into the designated slot on the main vacuum unit until it clicks. Ensure it is fully seated.

Figure 3.1: Proper insertion of the Li-ion battery pack into the main vacuum unit.
3.2 Charging
Before first use, fully charge the battery for approximately 4 hours.
- Mount the Charging Station: Secure the wall-mounted charging station in a convenient location near a power outlet.
- Place the Vacuum: Hang the assembled vacuum cleaner on the charging station. Ensure the charging contacts align.
- Connect to Power: Plug the charging station into a standard electrical outlet.
- Monitor Charging: The charging indicator light on the vacuum unit will illuminate during charging. It will change color or turn off when fully charged.
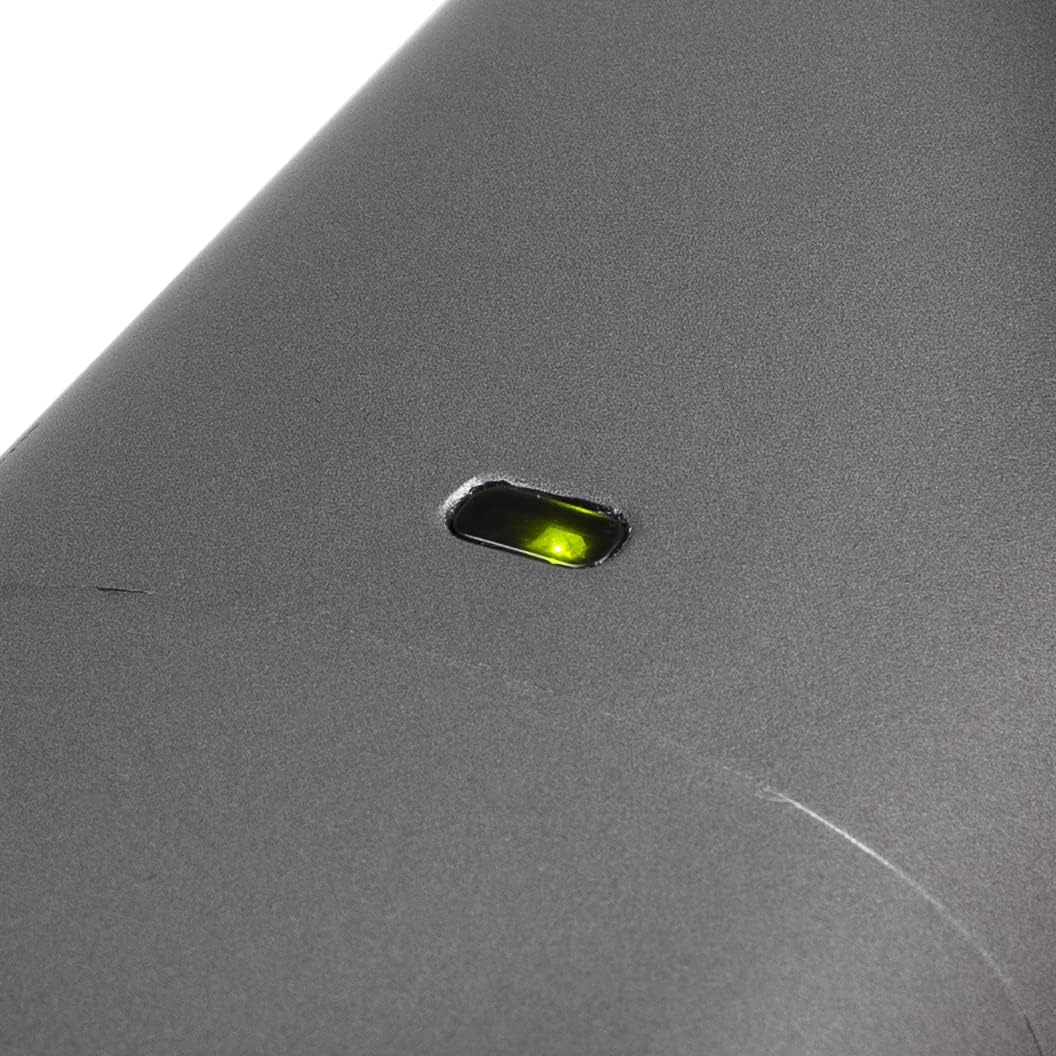
Figure 3.2: The charging indicator light, which shows the charging status of the battery.
4. Operating Instructions
4.1 Powering On/Off
To turn the vacuum cleaner on, press the power button located on the handle. Press it again to turn off the appliance.

Figure 4.1: The handle and trigger mechanism for operating the vacuum cleaner.
4.2 Using as a Stick Vacuum
With the vacuum tube and main brush head attached, the appliance functions as a stick vacuum, suitable for floors and carpets. The luxury brush head is designed to transition smoothly between hard floors and carpets without needing to change attachments.
4.3 Using as a Handheld Vacuum
To convert to a handheld vacuum, detach the vacuum tube and main brush head from the main unit. You can then attach the crevice tool or square brush directly to the main vacuum unit for cleaning stairs, upholstery, or car interiors.
Figure 4.2: The main unit used as a handheld vacuum with the crevice tool for detailed cleaning.
4.4 Battery Runtime
The fully charged Li-ion battery provides approximately 32 minutes of continuous operation, allowing you to clean an entire floor without interruption.
5. Maintenance
Regular maintenance ensures optimal performance and extends the lifespan of your vacuum cleaner.
5.1 Emptying the Dustbin
The dustbin should be emptied regularly, especially when the MAX line is reached.
- Ensure the vacuum cleaner is turned off.
- Hold the main unit over a waste bin.
- Press the dustbin release button to open the bottom flap and empty the contents.
- Close the flap securely until it clicks.

Figure 5.1: The transparent dustbin showing the HEPA filter inside, indicating the MAX fill line.
5.2 Cleaning the HEPA Filter
The removable HEPA filter should be cleaned periodically to maintain suction power.
- Turn off the vacuum cleaner and remove the dustbin.
- Carefully remove the HEPA filter from the dustbin.
- Tap the filter gently over a waste bin to remove loose dust.
- If necessary, rinse the filter under cold running water. Ensure it is completely dry before reinserting.
- Reassemble the filter and dustbin, then attach to the main unit.
5.3 Cleaning the Brush Roll
Periodically check the motorized brush roll for tangled hair or debris.
- Ensure the vacuum cleaner is turned off and disconnected from the charging station.
- Detach the main brush head from the vacuum tube.
- Locate the release mechanism for the brush roll (refer to diagrams in the full manual if needed).
- Remove the brush roll and carefully cut away any tangled hair or fibers using scissors.
- Reinsert the brush roll and secure it in place.
6. Troubleshooting
If you encounter issues with your Princess 339490 Rapido, refer to the following common problems and solutions:
| Problem | Possible Cause | Solution |
|---|---|---|
| Vacuum does not turn on | Battery not charged or not properly installed. | Ensure battery is fully charged and correctly inserted. Check charging station connection. |
| Low suction power | Dustbin full, filter clogged, or blockage in the tube/brush head. | Empty dustbin. Clean HEPA filter. Check for and remove any blockages in the tube or brush head. |
| Brush roll not spinning | Hair or debris tangled in the brush roll, or brush head not properly attached. | Clean the brush roll of any obstructions. Ensure the brush head is securely attached to the tube. |
| Short battery runtime | Battery not fully charged or battery degradation. | Ensure battery is fully charged (4 hours). If runtime remains significantly reduced, the battery may need replacement. |
7. Specifications
- Model Number: 01.339490.01.001
- Power: 130 Watts
- Voltage: 22.2 Volts
- Battery Type: Lithium-ion
- Battery Runtime: Up to 32 minutes
- Charging Time: Approximately 4 hours
- Dust Capacity: 0.8 Liters
- Filter Type: HEPA, Cartridge
- Noise Level: 70 Decibels
- Dimensions (L x W x H): 109 x 22 x 23 cm
- Weight: 2.6 kg
- Special Features: Cordless, Bagless, Handheld conversion, Motorized brush head
8. Warranty and Support
8.1 Warranty Information
The Princess 339490 Rapido Cordless Stick Vacuum Cleaner comes with a 24-month manufacturer's warranty from the date of purchase. This warranty covers defects in materials and workmanship under normal household use. It does not cover damage resulting from misuse, neglect, accident, alteration, or improper maintenance.
Please retain your proof of purchase for warranty claims.
8.2 Customer Support
For technical assistance, warranty claims, or to order replacement parts, please contact Princess customer support:
- Website: www.princesshome.eu/en-gb/service
- Email: support@princesshome.eu
- Phone: Refer to your regional Princess website for local contact numbers.


