1. Introduction
This manual provides essential information for the KESOTO 3DS XL Replacement Hinge Middle Bottom Housing Shell. It covers product specifications, package contents, and detailed installation instructions. This replacement part is designed for the Nintendo 3DS XL / LL console.
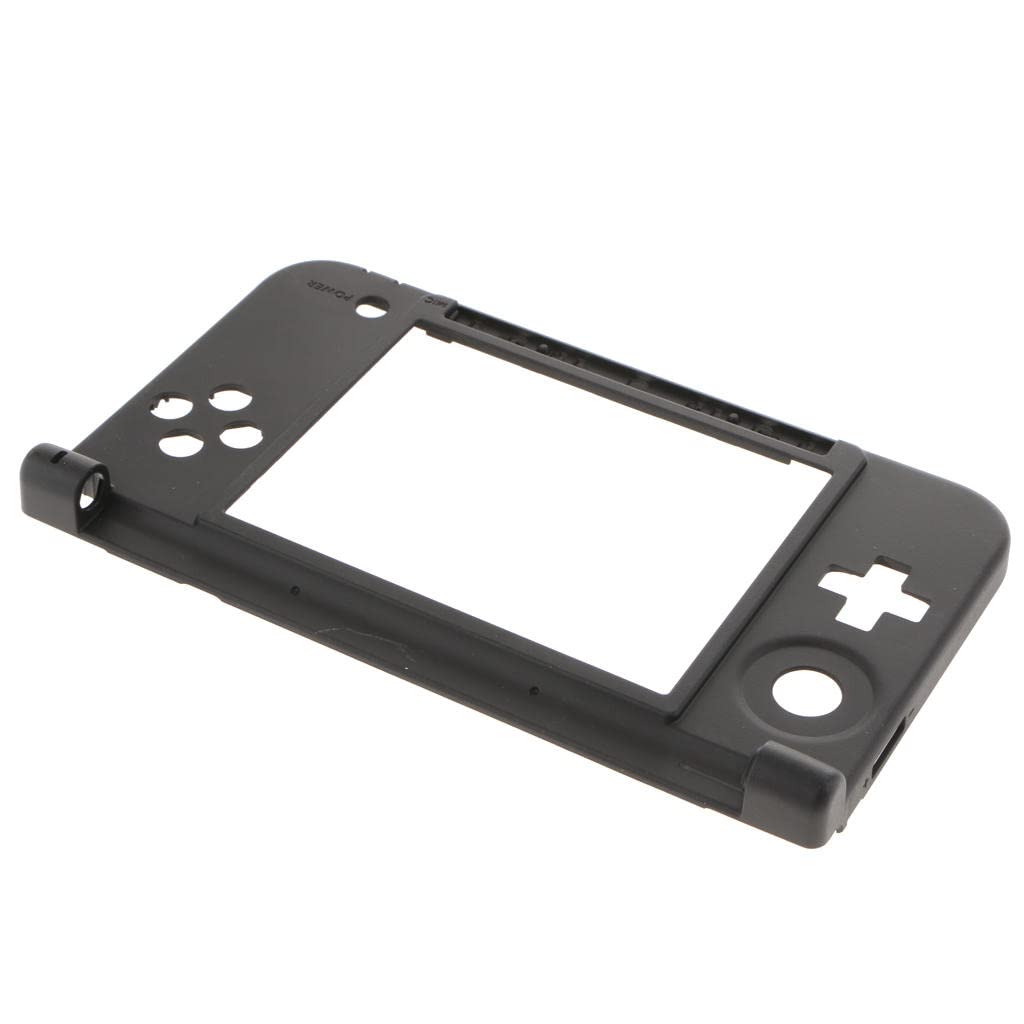
Image 1.1: Overview of the KESOTO 3DS XL Replacement Hinge Middle Bottom Housing Shell.
2. Safety Information
- Professional Installation Recommended: Due to the intricate nature of console repairs, professional installation is strongly recommended. Attempting installation without proper tools or experience may result in damage to your device.
- Handle with Care: The replacement part and internal components of your console are delicate. Handle all parts with care to prevent damage.
- Static Electricity: Take precautions against static electricity, which can damage electronic components. Use an anti-static wrist strap if available.
- Power Off Device: Always ensure your Nintendo 3DS XL console is completely powered off and disconnected from any power source before beginning installation.
- Small Parts: This product contains small parts. Keep out of reach of children to prevent choking hazards.
3. Package Contents
Verify that all items are present and in good condition upon opening the package.
- 1 x KESOTO 3DS XL Replacement Hinge Middle Bottom Housing Shell (Black)
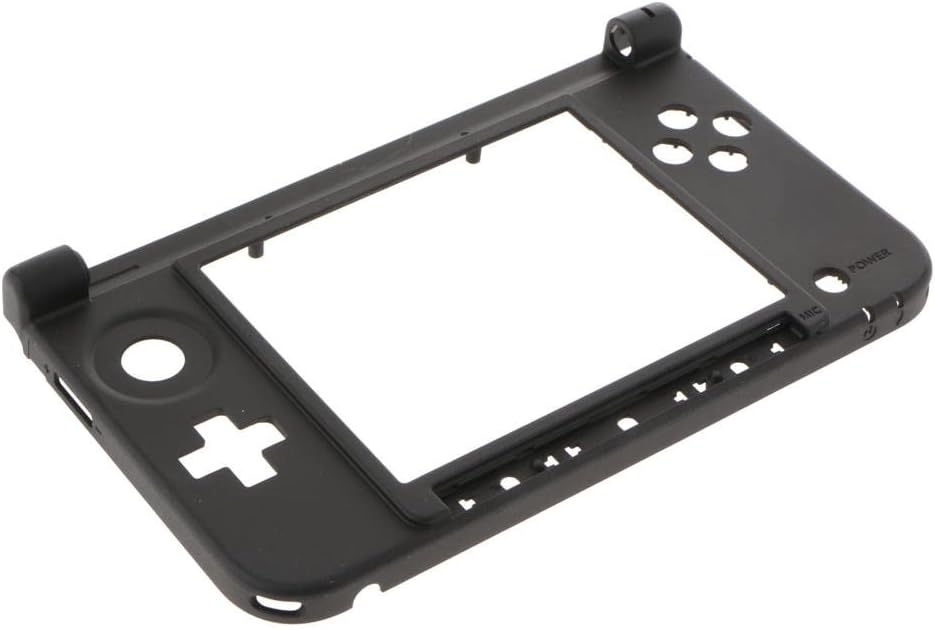
Image 3.1: Top view of the replacement housing shell, showing button cutouts and hinge points.
4. Specifications
| Product Name | KESOTO 3DS XL Replacement Hinge Middle Bottom Housing Shell |
| Model Compatibility | Nintendo 3DS XL / LL |
| Material | Plastic |
| Color | Black |
| Dimensions (Approx.) | 155 mm x 92 mm |
| Part Type | Middle Bottom Housing Shell |
5. Installation Guide
This section outlines the general steps for replacing the middle bottom housing shell. As previously stated, professional installation is highly recommended due to the complexity of disassembling and reassembling the Nintendo 3DS XL console. This guide is for informational purposes only and assumes a certain level of technical proficiency.
5.1. Required Tools (Not Included)
- Small Phillips head screwdriver
- Tri-wing screwdriver (for Nintendo consoles)
- Plastic opening tools (spudgers)
- Tweezers
- Anti-static wrist strap (recommended)
5.2. Disassembly Steps
- Power Off and Remove Battery: Ensure the 3DS XL is completely powered off. Remove the battery cover and then the battery.
- Remove Back Screws: Use the appropriate screwdriver to remove all screws securing the back panel.
- Carefully Open Console: Use plastic opening tools to gently pry open the console, separating the back panel from the main body. Be aware of any ribbon cables connecting the two halves.
- Disconnect Components: Systematically disconnect all ribbon cables and connectors that attach the internal components to the existing middle bottom housing. This may include speakers, Wi-Fi module, game card slot, and other circuit boards. Document or photograph each step for reassembly.
- Remove Motherboard and Other Boards: Carefully remove the motherboard and any other circuit boards from the old housing.
- Remove Hinge Components: The hinge mechanism is complex. Carefully remove the hinge components from the old housing. This often involves delicate plastic tabs and springs.

Image 5.1: Front view of the replacement housing, showing the screen cutout and button areas.
5.3. Reassembly Steps
- Install Hinge Components: Carefully transfer and install the hinge components into the new KESOTO middle bottom housing shell. Ensure they are correctly seated and functional.
- Install Motherboard and Other Boards: Place the motherboard and other circuit boards into the new housing, aligning them with the screw posts and ports.
- Reconnect Components: Reconnect all ribbon cables and connectors to their respective ports. Ensure all connections are secure and properly seated. Refer to your disassembly documentation if needed.
- Close Console: Carefully align the top and bottom halves of the console. Ensure no cables are pinched. Gently press the halves together until they snap into place.
- Replace Back Screws: Secure the back panel with all screws.
- Reinstall Battery: Insert the battery and replace the battery cover.
- Test Functionality: Power on the 3DS XL and test all functions, including buttons, screens, sound, and Wi-Fi, to ensure proper operation.

Image 5.2: Interior view of the replacement housing, showing mounting points for internal components.

Image 5.3: Angled view of the replacement housing, highlighting the hinge mechanism area.
6. Maintenance
The KESOTO 3DS XL Replacement Hinge Middle Bottom Housing Shell requires minimal maintenance once installed. To ensure longevity:
- Cleaning: Use a soft, dry cloth to wipe the exterior of the console. Avoid abrasive cleaners or solvents.
- Protection: Protect your console from drops and impacts, which can damage the housing and internal components.
- Storage: Store the console in a clean, dry environment away from extreme temperatures.
7. Troubleshooting
If you encounter issues after installing the replacement housing, consider the following:
- Console Not Powering On: Double-check that the battery is correctly seated and charged. Ensure all internal ribbon cables are securely connected, especially the power button cable and motherboard connections.
- Buttons Not Responding: Verify that the button membranes and associated ribbon cables are correctly aligned and connected.
- Screen Issues: If screens are blank or flickering, recheck the screen ribbon cable connections to the motherboard.
- Loose Housing: Ensure all screws are tightened appropriately and that the housing halves are properly snapped together.
- Hinge Stiffness/Looseness: Re-examine the hinge mechanism during reassembly to ensure all parts are correctly aligned and secured.
If problems persist, it is advisable to seek assistance from a professional repair technician.
8. Warranty and Support
For warranty information or technical support regarding your KESOTO 3DS XL Replacement Hinge Middle Bottom Housing Shell, please refer to the retailer or manufacturer's official website where the product was purchased. Keep your proof of purchase for any warranty claims.
Manufacturer: KESOTO
ASIN: B07K7G9MDY
GTIN/UPC: 798388826212