
Introduction
Thank you for choosing the Beltone Digital Behind-the-Ear (BTE) Hearing Aid turn BTE 75. This manual provides essential information for the proper setup, operation, and maintenance of your hearing aid. Please read these instructions carefully to ensure optimal performance and longevity of your device.
Product Overview and Parts Identification
Familiarize yourself with the components of your Beltone turn BTE 75 hearing aid:
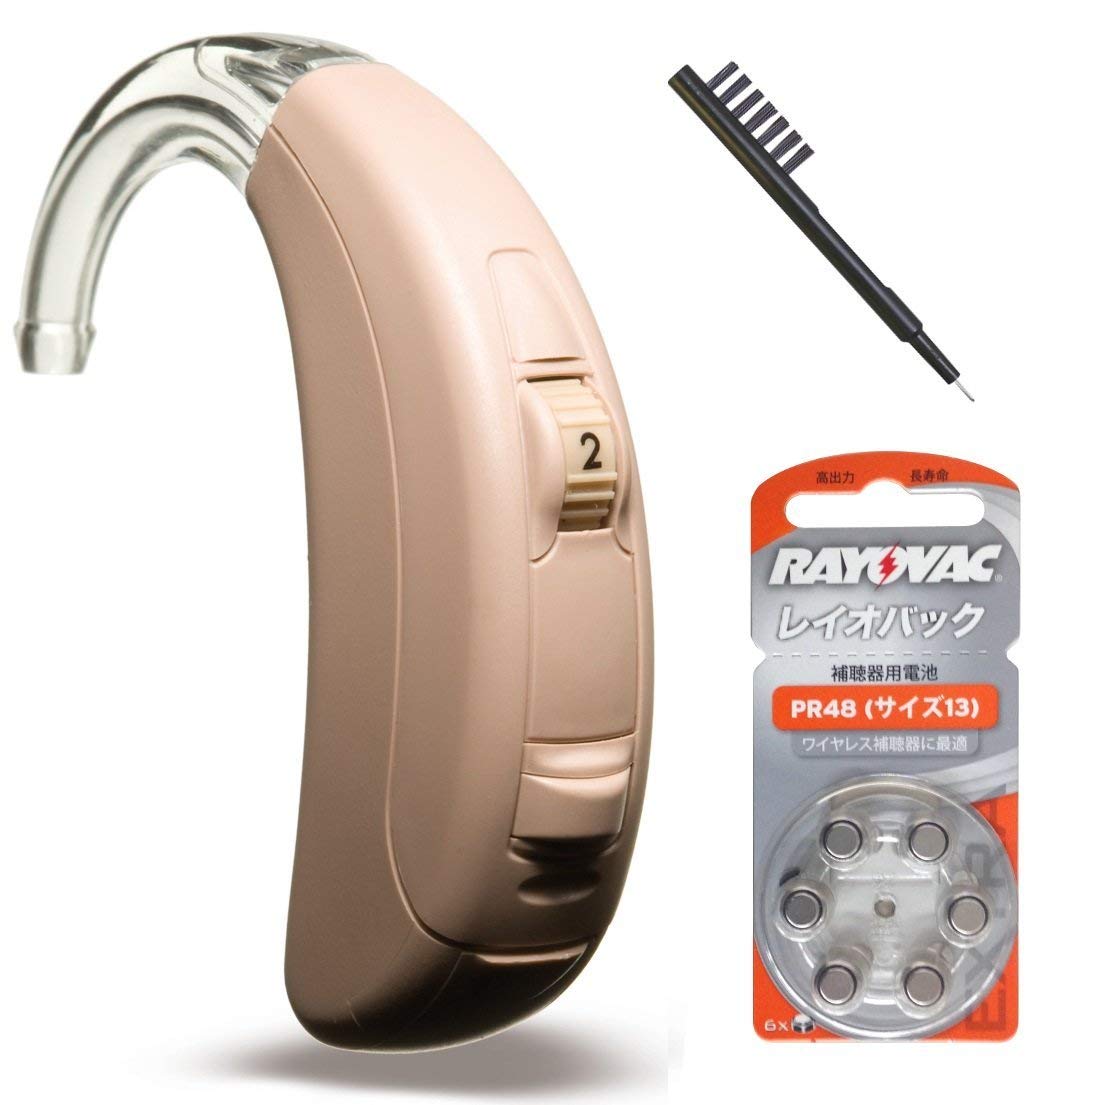
Image: Detailed diagram showing the various parts of the Beltone turn BTE 75 hearing aid, including the microphone, hook, joint tube, eartip, volume control, sound quality adjustment trimmer, program switching button, and battery compartment.
- Microphone: This component captures surrounding voices and sounds.
- Hook: Connects the main hearing aid unit to the joint tube.
- Joint Tube: Connects the hook to the eartip. Its length can be adjusted to fit different ear sizes.
- Eartip: Inserted into the ear canal, this is where amplified voices and sounds are delivered. It can be replaced with a custom eartip (earmold) tailored to your ear size.
- Volume Control (Analog Type): Rotate upwards to increase the volume and downwards to decrease it.
- Sound Quality Adjustment Trimmer: Open the cover to access and adjust the sound quality settings.
- Program Switching Button: Press this button to cycle through pre-programmed hearing modes.
- Battery Compartment (Battery Door): This is where the hearing aid air battery is inserted. The recommended battery type is 13 (PR48).
Setup
1. Battery Insertion
- Gently open the battery compartment door.
- Insert a new Type 13 (PR48) air battery with the positive (+) side facing the correct direction as indicated inside the compartment.
- Close the battery compartment door securely. The device will typically power on automatically.
2. Eartip and Joint Tube Adjustment
- Ensure the joint tube is securely connected to both the hook and the eartip.
- If necessary, adjust the length of the joint tube to ensure a comfortable and secure fit in your ear. A proper fit is crucial to prevent feedback (whistling).
- Carefully insert the eartip into your ear canal until it feels snug and comfortable.
Operating Instructions
1. Power On/Off
The hearing aid powers on when the battery compartment is fully closed and powers off when it is opened. For extended periods of non-use, it is recommended to open the battery compartment to conserve battery life.
2. Volume Adjustment
Use the analog volume control wheel located on the device:
- Rotate the wheel upwards to increase the listening volume.
- Rotate the wheel downwards to decrease the listening volume.
3. Program Selection
Press the program switching button to cycle through different listening programs. Each program is designed for specific listening environments (e.g., quiet, noisy, music). Experiment to find the program that best suits your current surroundings.
Maintenance
Regular cleaning and care will extend the life of your hearing aid:
- Daily Cleaning: Use the provided cleaning brush to gently remove any earwax or debris from the eartip, microphone, and other openings.
- Moisture Control: Store your hearing aid in a dry place. Consider using a drying kit or dehumidifier, especially in humid climates, to prevent moisture damage.
- Battery Care: Replace batteries as soon as you notice a decrease in sound quality or when the low battery warning sounds. Always dispose of used batteries responsibly.
- Avoid Harsh Chemicals: Do not use alcohol, solvents, or other harsh cleaning agents on your hearing aid. Wipe the device with a soft, dry cloth.
- Storage: When not in use, store the hearing aid in its protective case.
Troubleshooting
If you experience issues with your hearing aid, refer to the following common problems and solutions:
| Problem | Possible Cause | Solution |
|---|---|---|
| No sound or weak sound | Dead battery, clogged eartip, incorrect volume setting, device off. | Replace battery, clean eartip, increase volume, ensure battery door is closed. |
| Whistling or feedback | Improper eartip fit, earwax in ear canal, volume too high. | Re-insert eartip for a snug fit, check for earwax, lower volume. |
| Sound is distorted or unclear | Low battery, moisture, microphone clogged, sound quality trimmer setting. | Replace battery, dry the hearing aid, clean microphone, adjust sound quality trimmer. |
If problems persist after attempting these solutions, please contact your hearing care professional or the manufacturer for assistance.
Specifications
| Feature | Detail |
|---|---|
| Model | Beltone turn BTE 75 |
| Type | Behind-the-Ear (BTE) Digital Hearing Aid |
| Battery Type | Air Battery Type 13 (PR48) |
| Volume Control | Analog |
| Sound Adjustment | Trimmer for sound quality adjustment |
| Program Modes | Multiple pre-input hearing types via program button |
| ASIN | B07K787CBM |
Warranty and Support
Specific warranty details and support contact information are not provided within this manual. For warranty claims, technical support, or service inquiries, please refer to the documentation included with your purchase or contact the retailer or manufacturer directly.


