1. Introduction
Thank you for purchasing the Frigidaire Ice Maker. This manual provides important information regarding the safe operation, installation, maintenance, and troubleshooting of your appliance. Please read this manual thoroughly before using the ice maker and retain it for future reference.
Important Safety Instructions
- Read all instructions before using the appliance.
- Do not operate any appliance with a damaged cord or plug, or after the appliance malfunctions or has been damaged in any manner.
- Do not immerse cord, plug, or any part of the appliance in water or other liquids.
- Close supervision is necessary when any appliance is used by or near children.
- Ensure the appliance is placed on a stable, level surface.
- Use only potable water for ice production.
2. Product Overview
Familiarize yourself with the components of your Frigidaire Ice Maker.
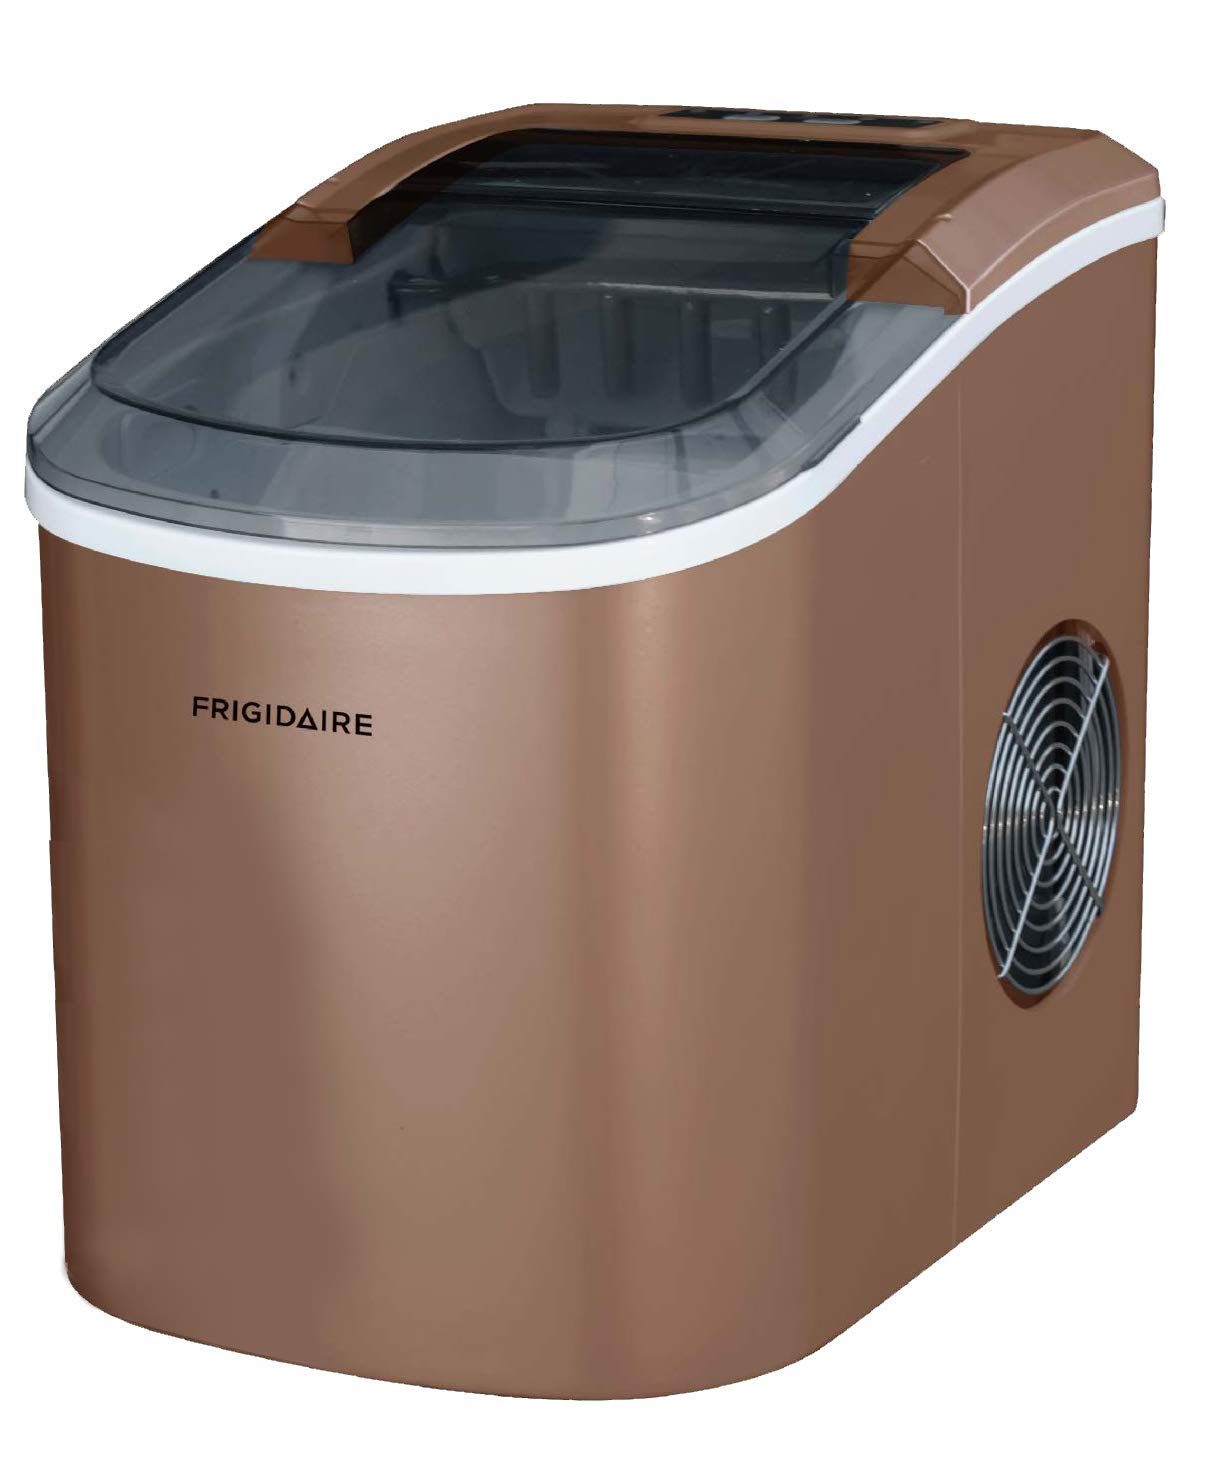
Figure 2.1: Front-right view of the Frigidaire EFIC206-TG-COPPER Ice Maker. This image shows the compact design, the transparent lid for viewing ice production, and the side ventilation grille. The control panel is visible on the top surface.
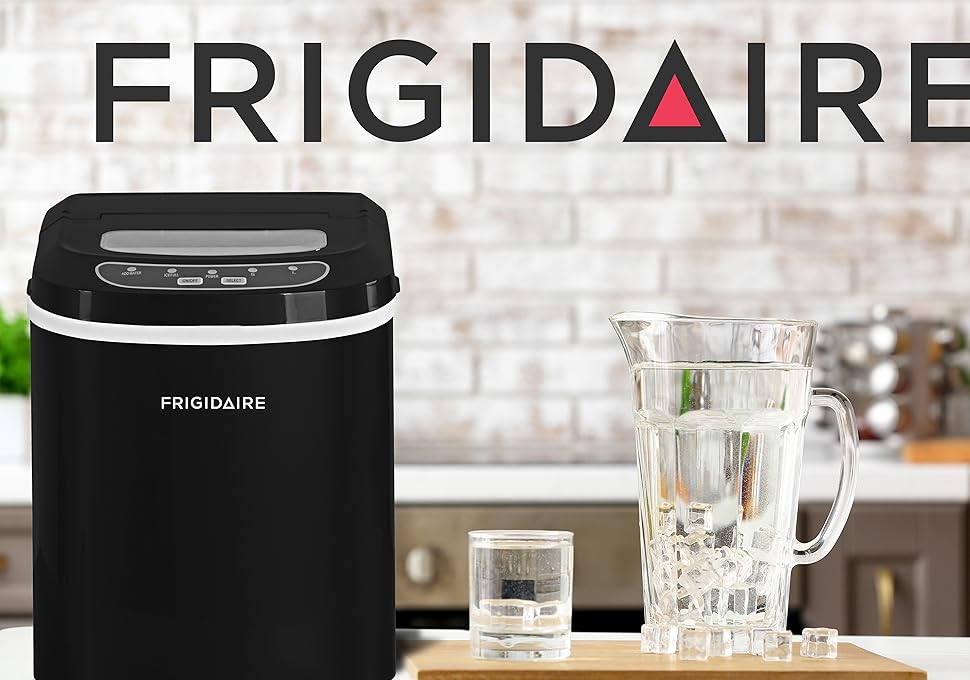
Figure 2.2: The Frigidaire Ice Maker (black model shown) positioned on a countertop in a kitchen environment, alongside a glass pitcher filled with water and ice cubes, demonstrating its use in a typical home setting. The Frigidaire logo is prominently displayed above the appliance.
Main Components:
- Control Panel: Buttons for power, ice size selection, and indicator lights.
- Ice Basket: Removable basket for collecting produced ice.
- Water Reservoir: Area for filling with water for ice production.
- Ice Scoop: For convenient ice retrieval.
- Transparent Lid: Allows observation of the ice making process.
- Air Vent: Located on the side, essential for proper ventilation.
3. Setup
Unpacking and Placement:
- Remove all packaging materials and tape.
- Place the ice maker on a flat, stable, and level surface, away from direct sunlight and heat sources (e.g., stove, furnace, radiator).
- Ensure there is at least 6 inches (15 cm) of space around the appliance for proper air circulation. Do not block the air vents.
- Allow the appliance to stand upright for at least 1 hour before plugging it in, especially if it was transported horizontally. This allows the refrigerant to settle.
Initial Cleaning:
- Before first use, clean the interior of the ice maker with a soft cloth and warm, soapy water.
- Rinse thoroughly with clean water and wipe dry.
- Discard the first few batches of ice produced to ensure cleanliness.
4. Operating Instructions
Getting Started:
- Open the lid and remove the ice basket.
- Fill the water reservoir with potable water up to the MAX fill line. Do not overfill.
- Replace the ice basket and close the lid.
- Plug the power cord into a grounded electrical outlet.
Making Ice:
- Press the "ON/OFF" button to start the ice making cycle. The "ICE" indicator light will illuminate.
- Select your desired ice cube size (small or large) by pressing the "SELECT" button. The corresponding indicator light will illuminate.
- The ice maker will begin producing ice. The first batch may take slightly longer.
- When the ice basket is full, the "ICE FULL" indicator light will illuminate, and the ice making process will pause. Remove ice to resume.
- When the water level is low, the "ADD WATER" indicator light will illuminate. Add more water to the reservoir to continue ice production.
- To stop the ice maker at any time, press the "ON/OFF" button.
Note: Ice cubes may appear cloudy initially. This is normal and does not affect quality. For best results, use cold water.
5. Maintenance
Cleaning the Ice Maker:
Regular cleaning helps maintain ice quality and extends the life of your appliance.
- Unplug the ice maker before cleaning.
- Remove the ice basket and drain any remaining water from the reservoir by unplugging the drain cap located at the bottom.
- Clean the interior with a soft cloth dampened with warm water and a mild detergent.
- Wipe down the exterior with a soft, damp cloth.
- Do not use abrasive cleaners or solvents.
- Ensure all parts are thoroughly dry before reassembling and storing.
Storage:
If the ice maker will not be used for an extended period:
- Drain all water from the reservoir.
- Clean and dry the interior thoroughly.
- Leave the lid slightly ajar to prevent mold and mildew growth.
- Store in a cool, dry place.
6. Troubleshooting
Before contacting customer service, please refer to the following table for common issues and solutions.
| Problem | Possible Cause | Solution |
|---|---|---|
| Ice maker not working. | No power. | Check if the unit is plugged in and the outlet is functional. |
| "ADD WATER" indicator is on. | Water reservoir is empty or low. | Add potable water to the reservoir up to the MAX line. |
| "ICE FULL" indicator is on. | Ice basket is full. | Remove ice from the basket. |
| Ice cubes are small or sticky. | Water temperature is too high. | Use colder water. Ensure proper ventilation. |
| Unusual noise during operation. | Unit not level or internal component issue. | Ensure the unit is on a level surface. If noise persists, contact support. |
7. Specifications
| Feature | Detail |
|---|---|
| Model Number | EFIC206-TG-COPPER |
| Brand | Frigidaire |
| Product Dimensions (L x W x H) | 36.68 x 29.72 x 37.8 cm |
| Item Weight | 8.69 kg |
| Ice Production Capacity | Up to 26 lbs (12 kg) per 24 hours |
| Water Reservoir Capacity | 11.79 kg (approx. 11.79 liters) |
| Voltage | 100 Volts |
| Refrigerant | R134a |
| UPC | 058465810467, 058465806972 |
8. Warranty and Support
Frigidaire products are manufactured to the highest quality standards. For information regarding your product's warranty, please refer to the warranty card included with your purchase or visit the official Frigidaire website.
For technical support, troubleshooting assistance, or to order replacement parts, please contact Frigidaire Customer Service. Have your model number (EFIC206-TG-COPPER) and purchase date ready when contacting support.
Online Support: Visit www.frigidaire.com/support (or your regional Frigidaire website).
Telephone Support: Refer to your product documentation for regional contact numbers.