Introduction
This manual provides essential information for the safe operation, maintenance, and troubleshooting of your Landworks LCE06 3-in-1 Wood Chipper Shredder Mulcher. Please read this manual thoroughly before operating the machine to ensure proper use and to prevent injury or damage.

Figure 1: Landworks LCE06 3-in-1 Wood Chipper Shredder Mulcher
Important Safety Information
Failure to follow these safety instructions may result in serious injury or death.
- Always wear appropriate personal protective equipment (PPE), including eye protection, hearing protection, gloves, and sturdy footwear.
- Keep hands, feet, and clothing away from all moving parts.
- Ensure the work area is clear of bystanders, children, and pets.
- Operate the chipper on a level, stable surface.
- Never operate the machine indoors or in poorly ventilated areas due to exhaust fumes.
- Do not feed material larger than the specified maximum capacity.
- Turn off the engine and disconnect the spark plug before performing any maintenance, clearing jams, or making adjustments.
- Use only fresh, clean, unleaded gasoline and ensure proper oil levels.
- Do not refuel a hot engine. Allow it to cool before adding fuel.
- Be aware of kickback when feeding branches into the side chute.
Product Overview
The Landworks LCE06 is a versatile 3-in-1 wood chipper, shredder, and mulcher designed for efficient processing of yard waste. It features a powerful 7HP engine and multiple input options for various material types.
Key Features
- 3-in-1 Functionality: Capable of chipping, shredding, and mulching.
- High Reduction Ratio: Achieves a 15:1 reduction ratio for efficient waste management.
- Powerful Engine: Equipped with a 7HP horizontal 4-stroke single-cylinder OHV gas-powered engine.
- Max Capacity: Handles up to 3-inch diameter wood in the side chute and 1/2 to 2-inch max volume material in the top hopper.
- Slanted Housing Design: Engineered to reduce material jams.
- Portability: Features 10-inch all-terrain polyurethane wheels for easy transport.
- Discharge Bag: Includes an attachable discharge bag for debris collection.
- Vacuum Inlet: Compatible with an attachable leaf vacuum (sold separately) for mulching leaves.

Figure 2: High Volume Chipping via Side Chute
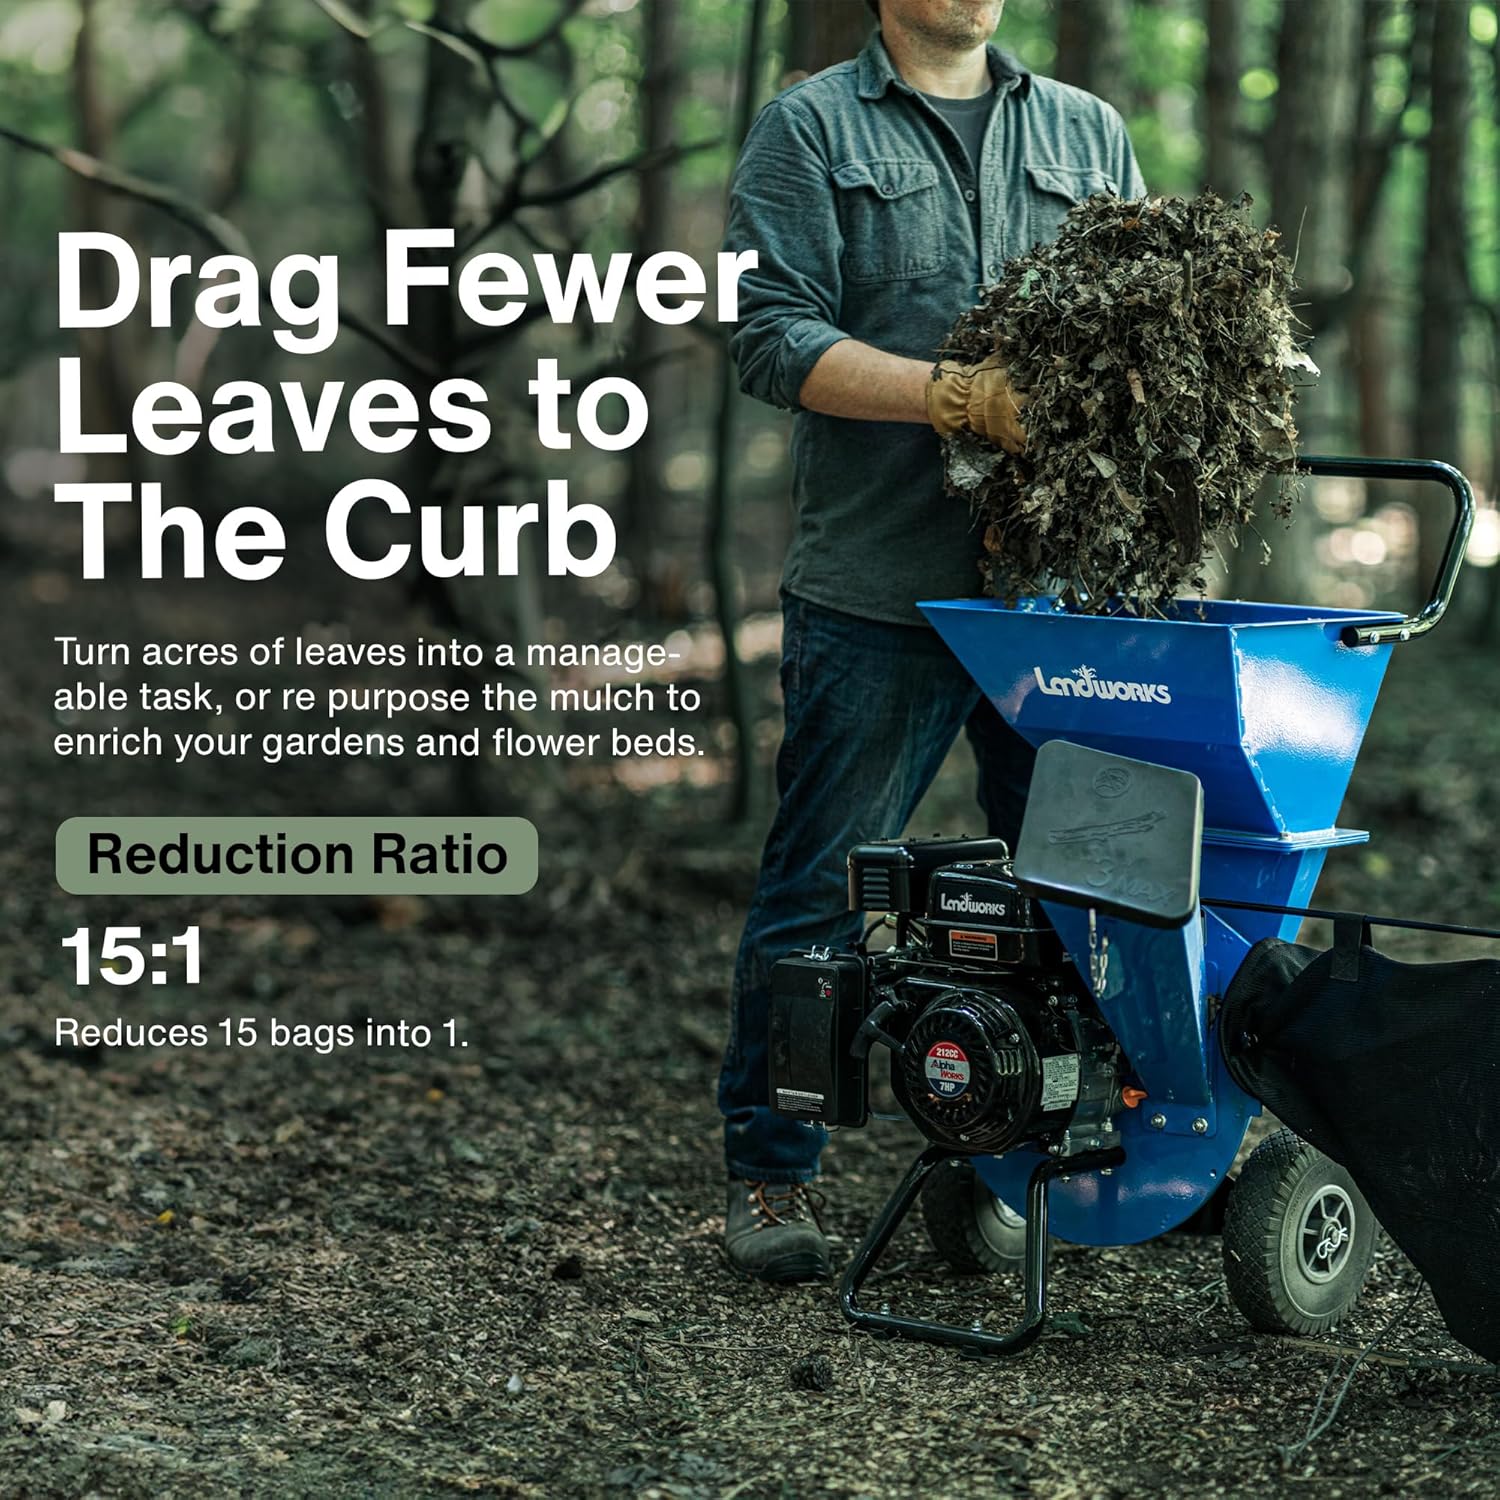
Figure 3: Leaf Mulching and Reduction Ratio
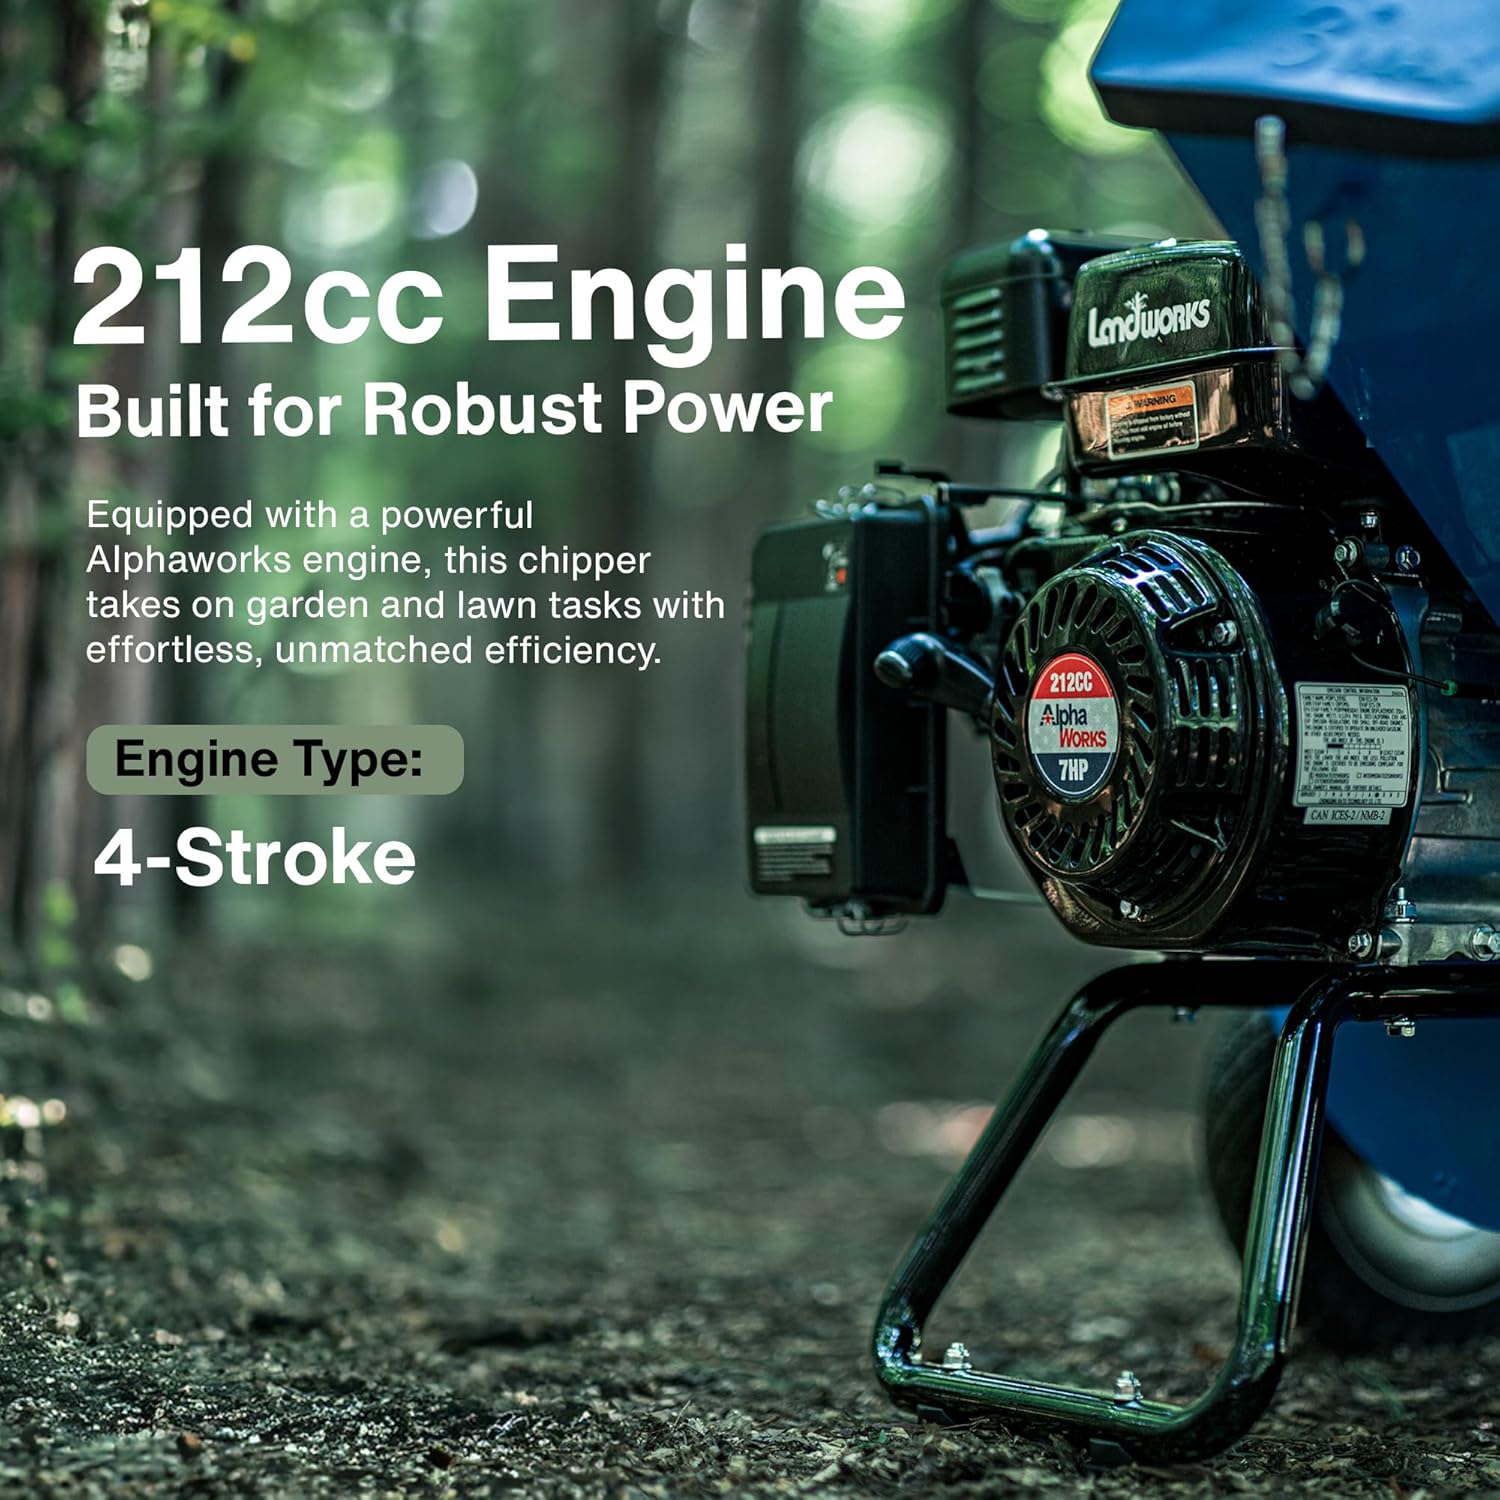
Figure 4: 212cc 7HP Engine Detail

Figure 5: Durable Housing Construction

Figure 6: Discharge Bag Attachment

Figure 7: All-Terrain Wheels for Mobility
Product Videos
Landworks 3-in-1 Wood Chipper in Review
Video 1: This video provides an overview of the Landworks 3-in-1 Wood Chipper, demonstrating its features and operation in a review format.
Landworks 3-in-1 Wood Chipper: Harness Nature's Power
Video 2: This video showcases the Landworks 3-in-1 Wood Chipper in action, highlighting its power and efficiency in processing various types of organic material.
Landworks: Nature and Power in Your Hands
Video 3: This video presents the Landworks brand philosophy and the capabilities of its outdoor power equipment, including the wood chipper.
Assembly and Setup
The Landworks LCE06 requires some assembly before initial use. Refer to the detailed assembly instructions provided in the separate printed manual for step-by-step guidance. Key steps generally include:
- Unpacking all components and verifying against the parts list.
- Attaching the wheels and support legs.
- Securing the top hopper and side chute.
- Connecting the discharge bag assembly.
- Adding engine oil to the proper level (refer to engine manual for oil type and capacity).
- Filling the fuel tank with fresh, unleaded gasoline (87+ octane).
Always ensure all fasteners are tightened securely before operation.
Operating Instructions
Starting the Engine
- Ensure the chipper is on a level surface and the discharge bag is securely attached.
- Check engine oil and fuel levels.
- Open the fuel valve.
- Set the choke to the 'ON' or 'CLOSED' position (for cold starts).
- Move the throttle lever to the 'FAST' position.
- Pull the recoil starter handle firmly until the engine starts.
- Once the engine starts, gradually move the choke to the 'OFF' or 'OPEN' position.
- Allow the engine to warm up for a few minutes before feeding material.
Using the Top Hopper for Shredding/Mulching
The top hopper is designed for smaller, softer materials such as leaves, small twigs (up to 1/2 inch diameter), and garden debris.
- Ensure the engine is running at full throttle.
- Feed material into the top hopper gradually. Avoid overloading.
- Do not force material into the hopper. Allow the machine to process it at its own pace.
- Use the provided pusher tool if necessary to guide material, never your hands.
Using the Side Chute for Chipping
The side chute is for chipping larger branches and limbs, up to 3 inches in diameter.
- Ensure the engine is running at full throttle.
- Feed branches into the side chute one at a time, butt-end first.
- Maintain a firm grip on the branch until the chipper blades engage and pull it in.
- Be prepared for potential kickback.
- Do not feed branches with excessive side branches or knots that exceed the 3-inch capacity.
Optional Leaf Vacuum Attachment
For efficient leaf mulching, an optional leaf vacuum attachment can be connected to the designated vacuum inlet. Refer to the attachment's specific instructions for installation and operation.
Maintenance
Regular maintenance is crucial for the longevity and safe operation of your wood chipper. Perform checks before each use and follow the schedule outlined in the engine manual.
- Engine Oil: Check oil level before each use. Change oil according to the engine manufacturer's recommendations.
- Air Filter: Inspect and clean the air filter regularly, especially in dusty conditions. Replace if damaged.
- Spark Plug: Inspect and clean the spark plug periodically. Replace if worn or fouled.
- Chipping Blades: Regularly inspect chipping blades for sharpness and damage. Sharpen or replace as needed. Always disconnect the spark plug before accessing blades.
- General Cleaning: Keep the machine clean and free of debris. Remove any accumulated material from the housing and discharge area.
- Fasteners: Check all nuts, bolts, and screws for tightness before each operation. Tighten as necessary.
- Storage: When storing for extended periods, drain the fuel tank or use a fuel stabilizer. Store in a dry, protected area.
Troubleshooting
This section addresses common issues you might encounter. For problems not listed here, contact customer support.
| Problem | Possible Cause | Solution |
|---|---|---|
| Engine will not start | No fuel; old fuel; spark plug issue; choke setting; low oil | Add fresh fuel; replace spark plug; adjust choke; check oil level |
| Loss of power during operation | Overloading; dull blades; clogged air filter | Reduce material feed; sharpen/replace blades; clean air filter |
| Material not chipping/shredding effectively | Dull blades; incorrect material size/type | Sharpen/replace blades; ensure material is within capacity |
| Excessive vibration | Loose fasteners; unbalanced blades; damaged components | Check and tighten all fasteners; inspect blades for damage |
| Engine stalls frequently | Clogged fuel filter; carburetor issue; improper fuel mix | Clean/replace fuel filter; consult service manual or professional |
Specifications
| Feature | Specification |
|---|---|
| Model Number | LCE06 |
| Engine Type | 7HP Horizontal 4-Stroke Single Cylinder OHV Gas Powered |
| Max Chipping Capacity (Side Chute) | 3 inches |
| Max Shredding/Mulching Capacity (Top Hopper) | 1/2 to 2 inches (max volume) |
| Reduction Ratio | 15:1 |
| Fuel Type | 87+ Unleaded Gasoline |
| Fuel Tank Capacity | 0.7 Gallons |
| Product Dimensions | 29.5 x 25.68 x 40.6 inches |
| Item Weight | 129.7 pounds |
| Wheels | 10-inch All-Terrain Polyurethane |
Warranty and Support
This Landworks product is manufactured by Intradin (Shanghai) China Ltd Co. For specific warranty details, please refer to the warranty card included with your product or contact Landworks customer support directly. It is recommended to register your product upon purchase.
For technical assistance, parts, or general inquiries, please contact Landworks Customer Support. Contact information can typically be found on the manufacturer's website or in the product packaging.
Protection Plans:
- Optional 4-Year Protection Plan may be available for purchase.
- Complete Protect plans covering multiple purchases may also be available.
Note: Protection plans are separate from the manufacturer's warranty and are typically offered by third-party providers.