1. Introduction
This manual provides comprehensive instructions for the installation, operation, and maintenance of your Geloo 85MM 0-8000 RPM Waterproof Tachometer with LCD Hourmeter. Designed for a wide range of applications including cars, boats, SUVs, yachts, trucks, motorcycles, tractors, and other automotive fields, this tachometer offers high precision, good stability, and strong applicability. Please read this manual thoroughly before installation and use to ensure proper function and safety.
2. Safety Information
- Always disconnect the vehicle's battery before performing any electrical work to prevent short circuits or electrical shock.
- Ensure all wiring connections are secure and properly insulated to avoid electrical hazards.
- Do not attempt to modify the tachometer or its components, as this may void the warranty and create safety risks.
- If you are unsure about any installation steps, consult a qualified professional.
3. Package Contents
- 1x Geloo 85MM 0-8000 RPM Tachometer Gauge
- 1x Instruction Manual
- Wiring Harness
- Mounting Bracket and Hardware

Image: The Geloo 85MM 0-8000 RPM Tachometer Gauge, showing its front face with the RPM scale and LCD hourmeter display.
4. Specifications
| Feature | Specification |
|---|---|
| Indicating Range | 0~8000 RPM |
| Working Voltage | 9~32V DC |
| Backlight Color | Red (Adjustable) |
| Operating Current | ≤60mA |
| Operating Temperature | -30~+75°C |
| Storage Temperature | -40~+85°C |
| Input Signal | Pulse Signal |
| Protection Level | IP67 (Waterproof and Dustproof) |
| Material | 316L Stainless Steel (Front Cover), Glass |
| Dimensions (L x W x H) | 4.21 x 3.98 x 2.76 inches |
| Item Weight | 7.4 Ounces |
5. Setup and Installation
Proper installation is crucial for the accurate and reliable operation of your tachometer. Follow these steps carefully.
5.1 Mounting the Tachometer
- Prepare the Panel: Choose a suitable location on your dashboard or panel. Use a hole saw to create an opening with a diameter of 85-87mm (3.35"-3.43"). Ensure there is at least 70mm (2.76") of clear space behind the panel for the tachometer body and wiring.
- Insert the Tachometer: Gently insert the tachometer into the prepared hole.
- Secure with Mounting Bracket: Use the provided mounting bracket and hardware to secure the tachometer from the rear of the panel. Tighten the nuts evenly until the gauge is firmly in place.

Image: A Geloo tachometer seamlessly integrated into a boat's dashboard, demonstrating a typical installation scenario.
5.2 Wiring Connections
Refer to the wiring diagram below for correct connections. The tachometer operates on a 9-32V DC power supply.
- 1. +9-32VDC (Red Wire): Connect to a switched 9-32V DC power source.
- 2. Ground (-) (Black Wire): Connect to a reliable chassis ground or battery negative terminal.
- 3. Signal Input (Blue Wire): Connect to the pulse signal output from your engine's ignition system (e.g., coil negative, ECU tach output, alternator W terminal).
- 6. Backlight (+9-32VDC) (Yellow Wire): Connect to a switched 9-32V DC power source, typically linked to your vehicle's illumination circuit for dimming control.

Image: Detailed wiring diagram illustrating the connections for power, ground, signal input, and backlight for the Geloo tachometer.
5.3 Installation Video Guide
Video: This video demonstrates the unboxing, connection, and basic functionality of the Geloo 0-8000 RPM Tachometer, including a brief overview of the installation process.
Video: This video provides a visual guide to connecting the Geloo 85MM Tachometer and demonstrates its waterproof capabilities by submerging it in water.
6. Operating Instructions
6.1 Power On and Display
Once properly installed and wired, turn on your vehicle's ignition. The tachometer needle will sweep to its maximum reading and then return to zero, indicating a successful power-on self-test. The LCD hourmeter will display the accumulated engine hours.
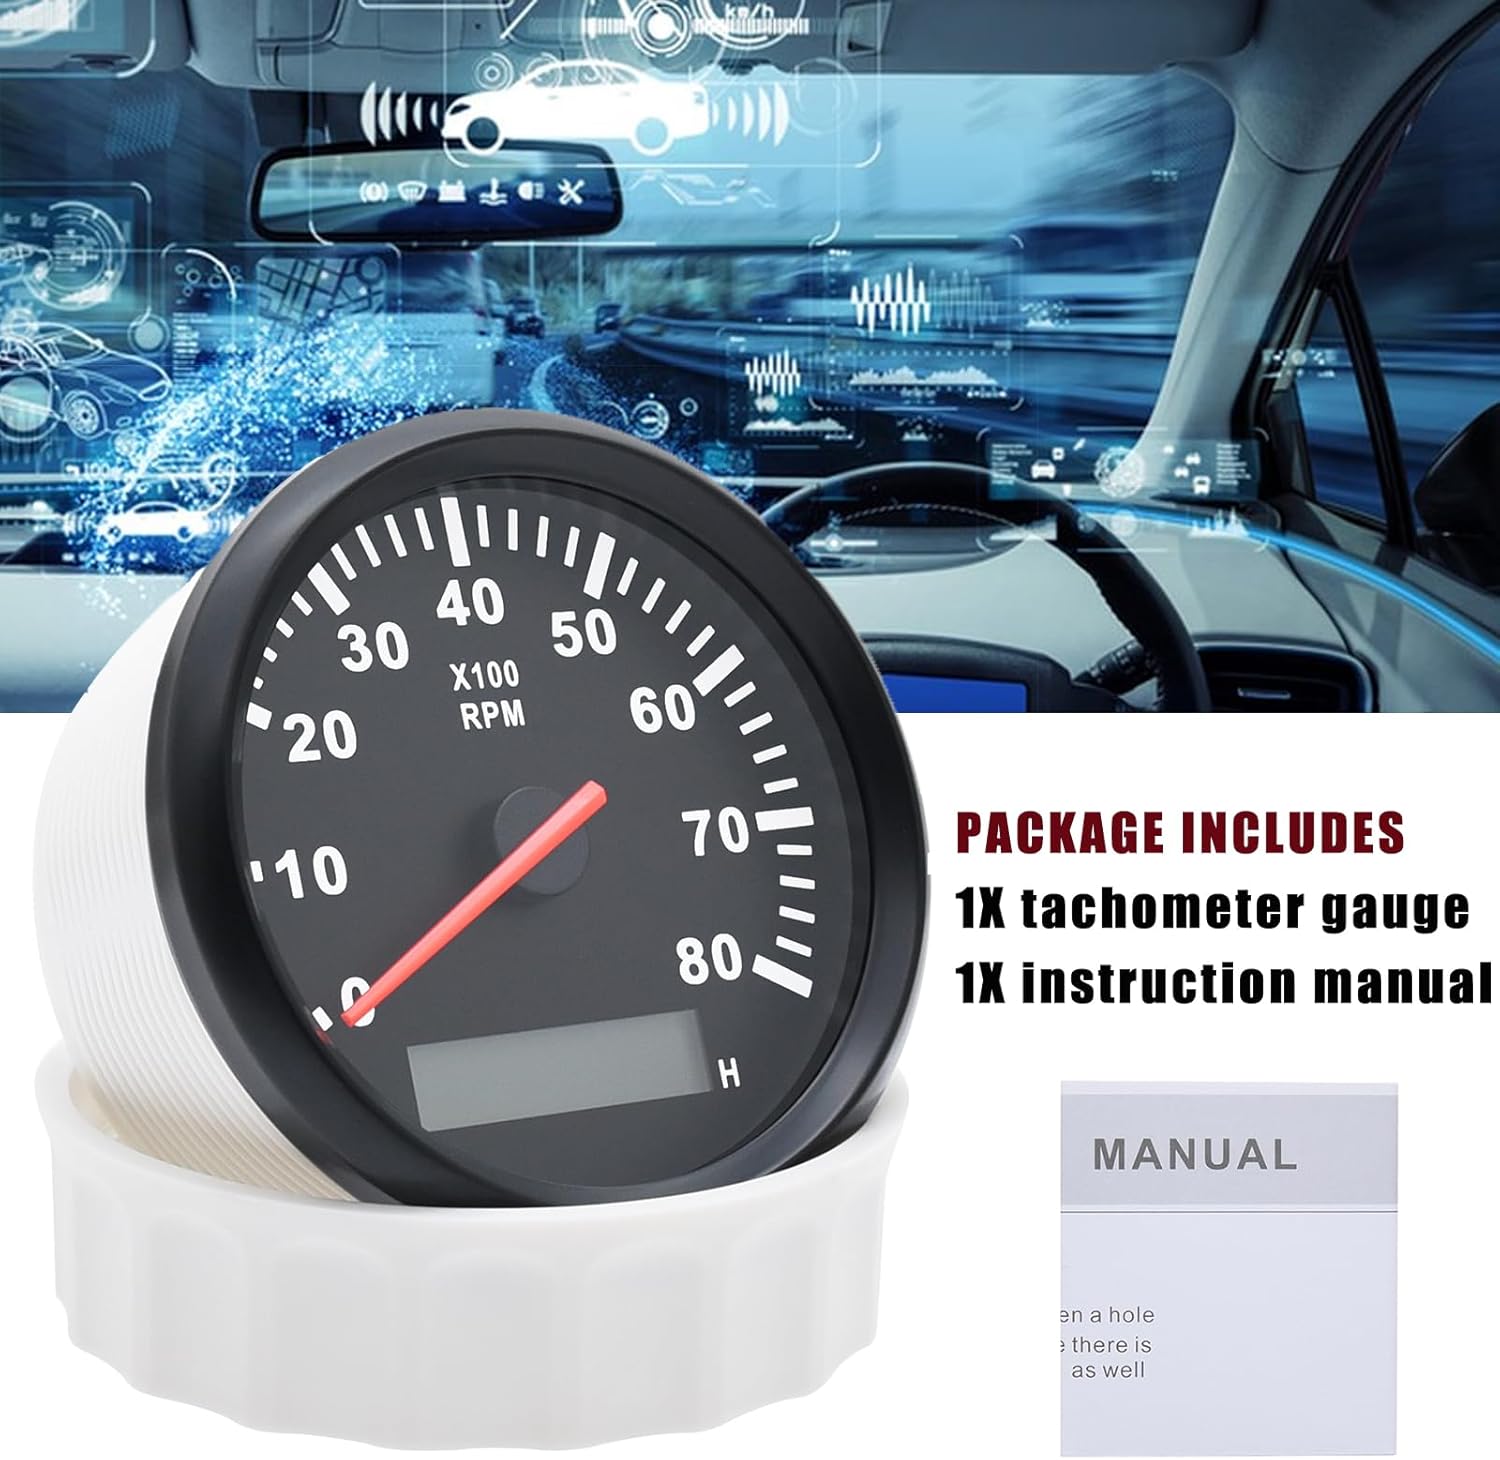
Image: Two Geloo tachometers side-by-side, one illuminated ('WORK') and one unilluminated ('UNWORK'), demonstrating the visual difference when the backlight is active.
6.2 Backlight Adjustment
The tachometer features a red backlight. Some models may offer multiple backlight colors. To cycle through available backlight colors (if applicable), press the button located on the back of the tachometer. Each press will change the color. Hold the button to save the desired color setting.
Video: This video demonstrates the various backlight color options and the waterproof functionality of a Geloo 85MM Tachometer.
7. Maintenance
7.1 Cleaning
To clean the tachometer, use a soft, damp cloth. Avoid using abrasive cleaners or solvents, as these can damage the display or housing. Ensure the surface is dry after cleaning.
7.2 Waterproof Features
The Geloo tachometer is designed with an IP67 protection level, making it waterproof and dustproof. The front cover is constructed from 316L stainless steel and features flat anti-fog glass, ensuring durability and clear visibility even in harsh marine or outdoor environments. While designed to withstand water exposure, avoid prolonged submersion or high-pressure water jets directly on the unit to maintain its longevity.
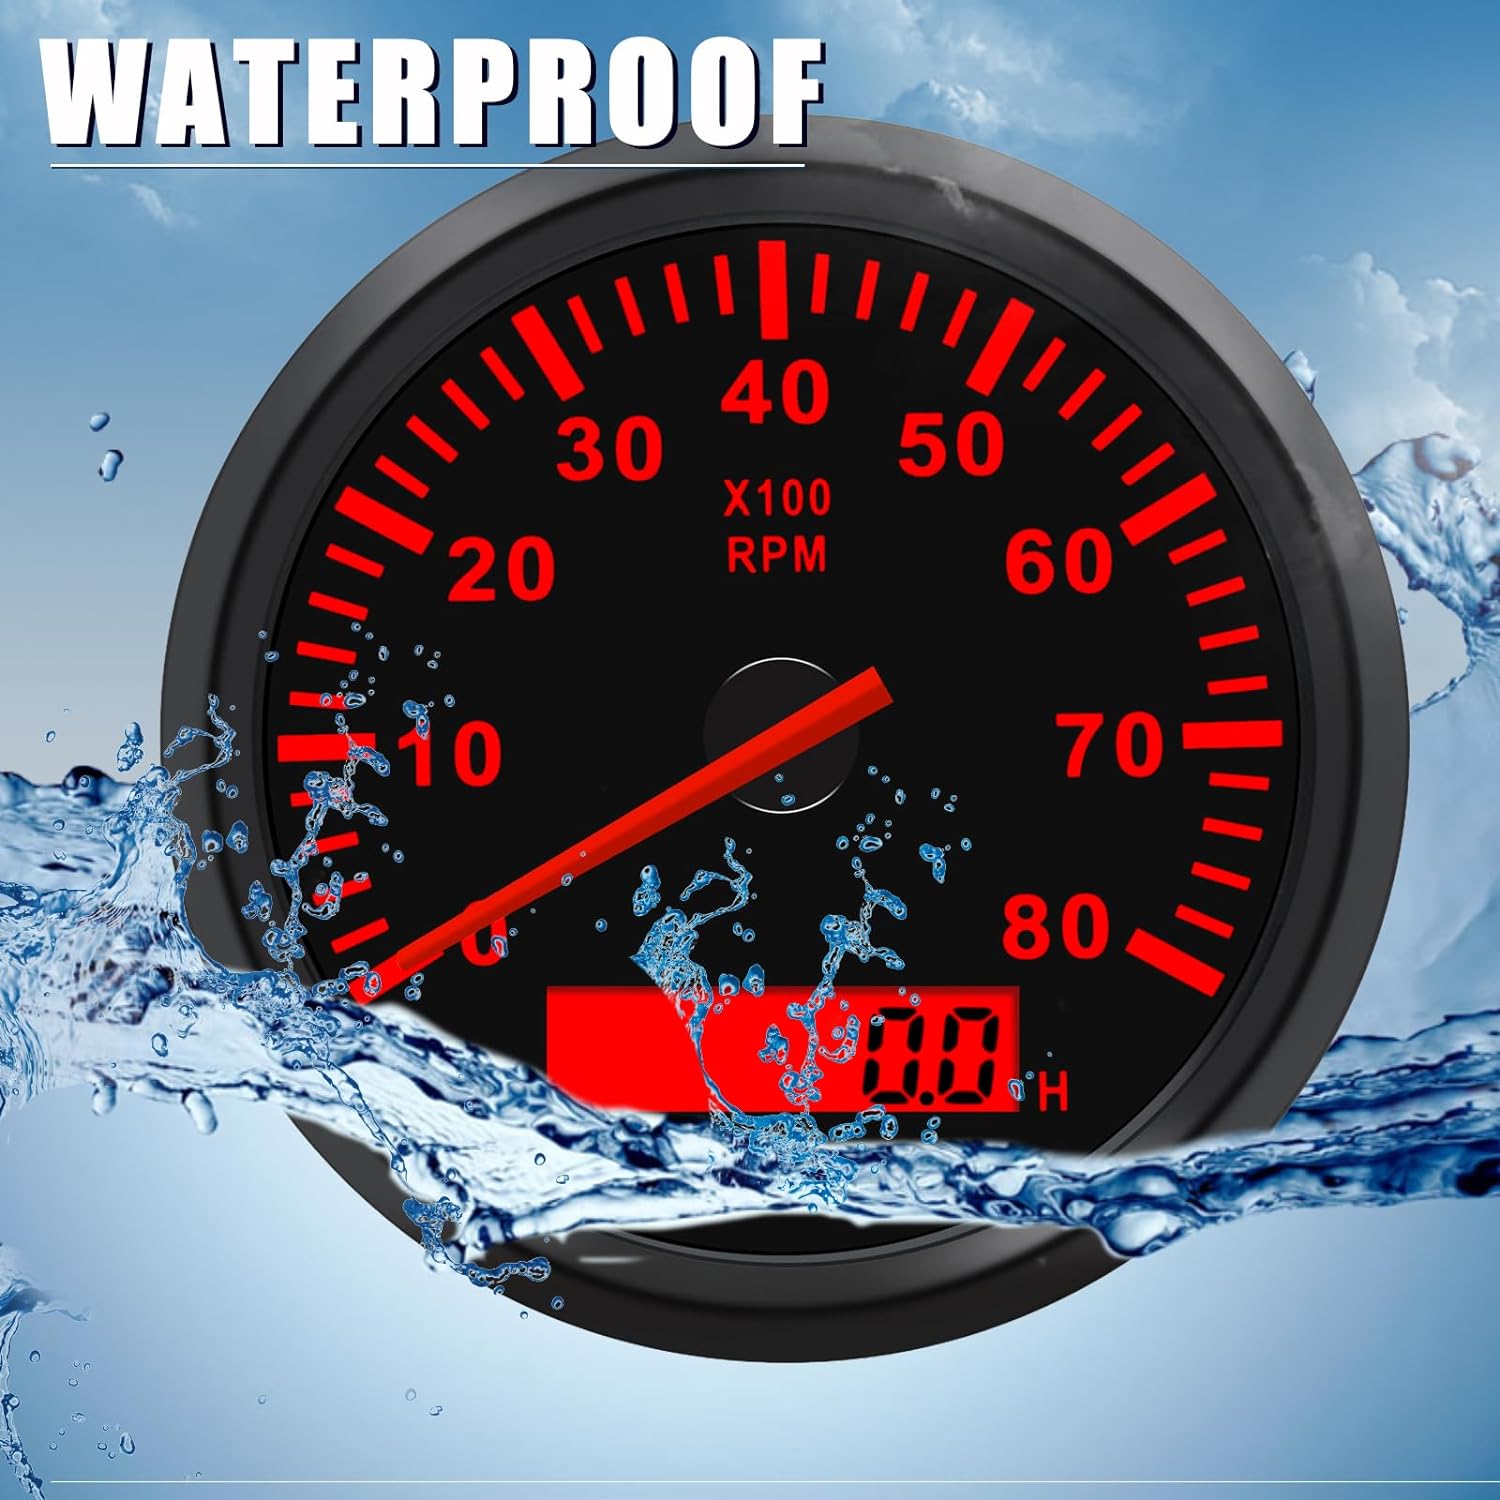
Image: The Geloo tachometer partially submerged in water, with water splashing around it, highlighting its waterproof design and functionality.
8. Troubleshooting
- No Power/Display:
- Check power (red wire) and ground (black wire) connections for proper voltage and continuity.
- Ensure the ignition is on and providing power to the tachometer.
- Incorrect RPM Reading:
- Verify the signal input (blue wire) is correctly connected to the engine's tachometer signal source.
- Ensure the tachometer is configured for the correct number of engine cylinders (if adjustable via a rear button or internal switch, refer to specific product instructions for adjustment).
- Check for loose or corroded connections in the signal wire.
- Backlight Not Working:
- Check the backlight wire (yellow wire) connection to the vehicle's illumination circuit.
- Ensure the illumination circuit is active.
- Hourmeter Not Functioning:
- The hourmeter typically activates when the tachometer receives power. If the tachometer is working but the hourmeter is not, contact support.
9. Warranty and Support
Geloo products are manufactured to high-quality standards. For warranty information, please refer to the specific warranty card included with your product or contact Geloo customer support directly. If you encounter any issues not covered in this manual, or require further assistance, please reach out to our customer service team. We are committed to providing satisfactory support.
Contact Information: Refer to the product packaging or the official Geloo website for the most up-to-date support contact details.


