1. Introduction
This manual provides detailed instructions for the installation, configuration, and operation of your SmartRG SR630N ADSL2/VDSL2 VoIP Wireless-N Wi-Fi Internet Modem Router. The SR630N is designed to deliver high-performance internet access, integrated voice services (VoIP), and wireless networking capabilities for residential and small office environments. It supports both DSL and Ethernet WAN connections, offering flexibility for various service provider setups.
2. Package Contents
Before proceeding with the installation, please verify that all items listed below are present in your product package. If any items are missing or damaged, please contact your service provider or retailer.
- SmartRG SR630N Modem Router Unit
- Power Adapter
- Ethernet Cable
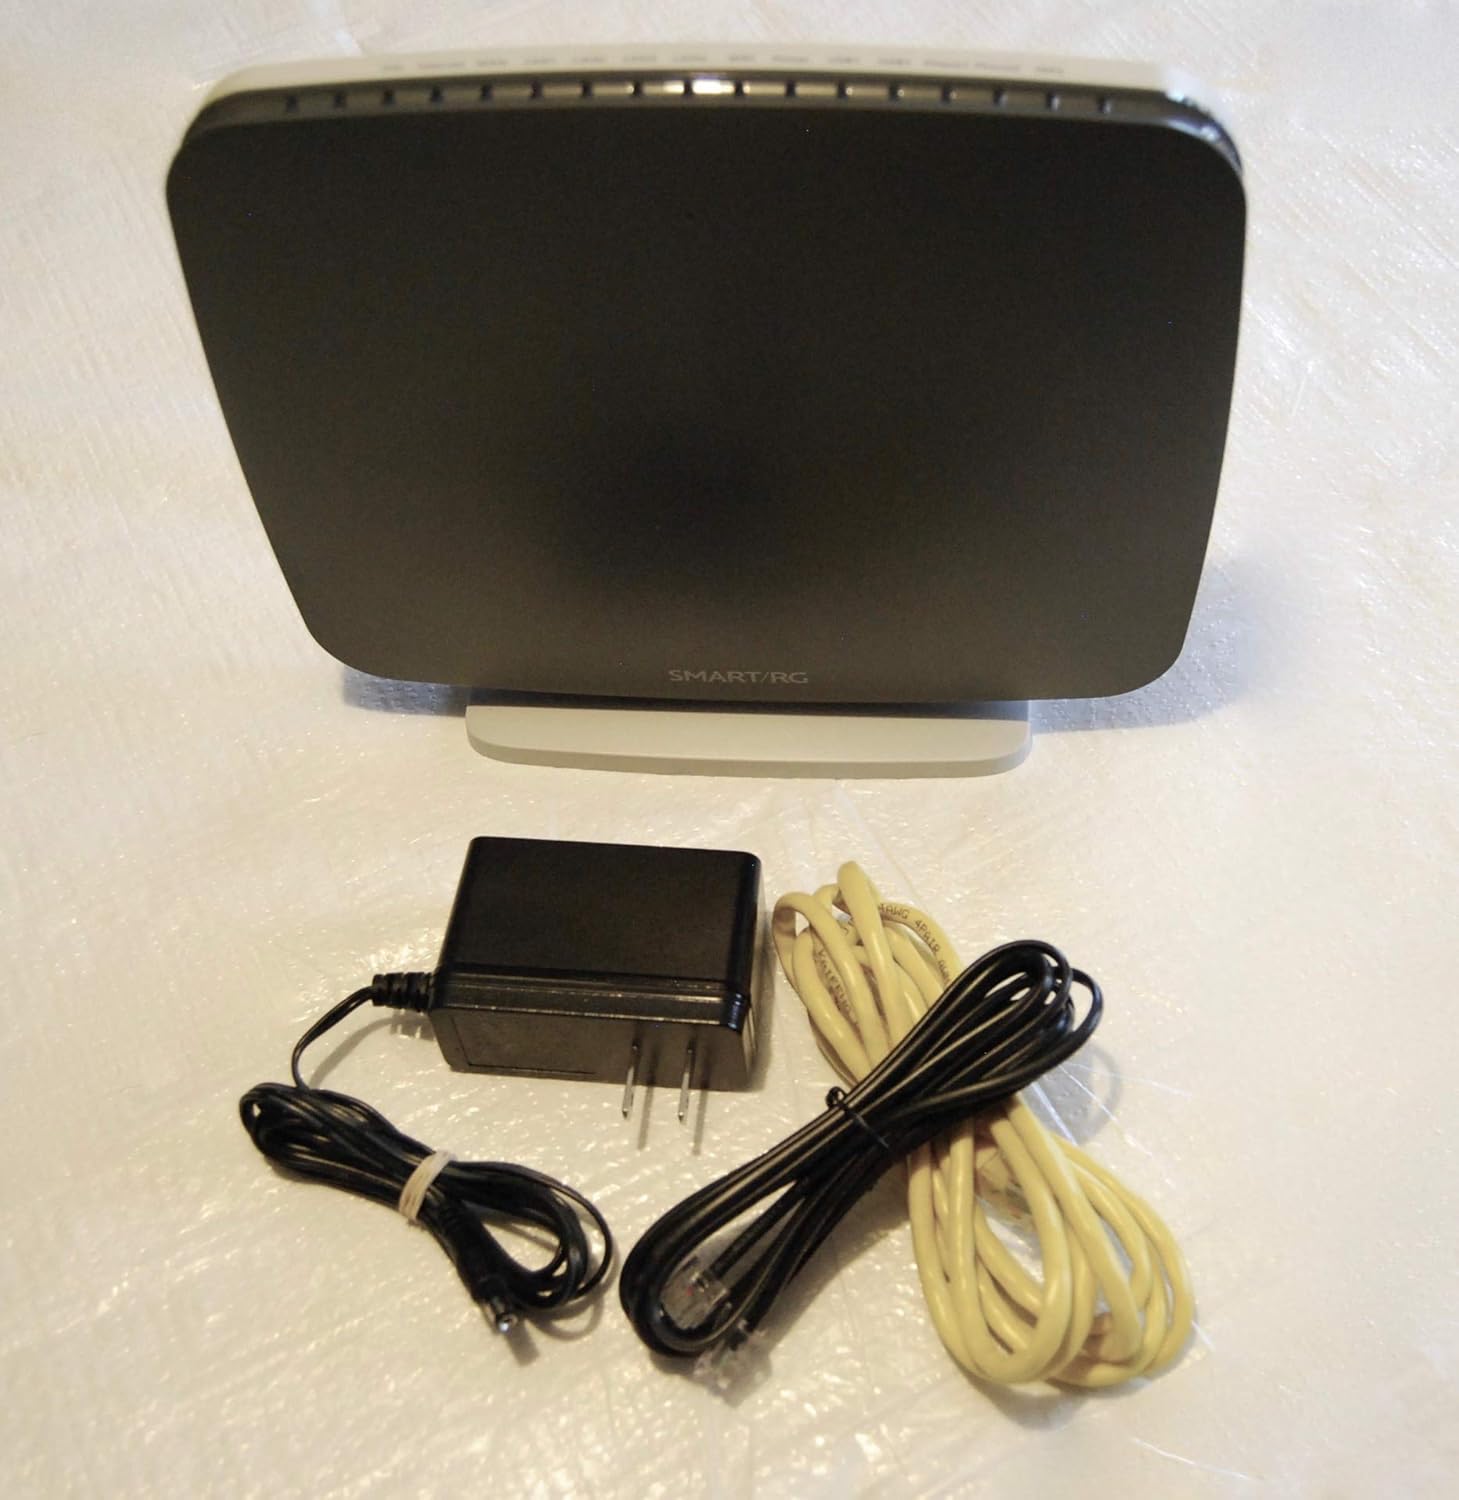
Figure 2.1: SmartRG SR630N modem router with its power adapter and Ethernet cable.
3. Product Overview
Familiarize yourself with the physical features of the SmartRG SR630N, including its indicators, ports, and buttons.
3.1. Front Panel Indicators
The front panel of the SR630N features several LED indicators that provide status information about the device's operation.

Figure 3.1: Front view of the SmartRG SR630N, highlighting the LED indicators for various functions such as DSL, Internet, WAN, LAN, Wi-Fi, Power, USB, Phone, and WPS.
- DSL: Indicates the status of the DSL connection.
- Internet: Indicates internet connectivity status.
- WAN: Indicates the status of the Wide Area Network connection.
- LAN1-4: Indicate activity on the respective Ethernet LAN ports.
- WiFi: Indicates the status of the wireless network.
- Power: Indicates the device is powered on.
- USB1/USB2: Indicate activity on the USB ports.
- Phone1/Phone2: Indicate status of VoIP phone lines.
- WPS: Indicates Wi-Fi Protected Setup activity.
3.2. Rear Panel Ports
The rear panel provides all the necessary connection ports for your network and services.

Figure 3.2: Rear view of the SmartRG SR630N, displaying the DSL port, Phone ports, LAN ports (1-4), WAN port, USB2 port, Reset button, and Power input.
- DSL: Connects to the telephone line for ADSL2/VDSL2 service.
- Phone1/Phone2: RJ-11 ports for connecting analog telephones for VoIP service.
- LAN1-4: RJ-45 Ethernet ports for connecting wired devices to the local network.
- WAN: RJ-45 Ethernet port for connecting to an external modem or fiber optic terminal.
- USB2: USB port for connecting external storage or other compatible devices.
- Reset: Recessed button to restore factory default settings. Use a paperclip to press and hold for 10 seconds.
- Power: Connects to the included power adapter.
3.3. Side Panel Buttons and Ports
The side panel provides additional controls and connectivity options.

Figure 3.3: Side view of the SmartRG SR630N, showing the WPS button, WiFi button, USB1 port, and On/Off power button.
- WPS Button: Initiates Wi-Fi Protected Setup for easy wireless device connection.
- WiFi Button: Toggles the wireless network on or off.
- USB1: USB port for connecting external storage or other compatible devices.
- On/Off Button: Powers the device on or off.
4. Setup
Follow these steps to set up your SmartRG SR630N modem router.
- Connect the DSL Line: Connect one end of the DSL cable (RJ-11) to the DSL port on the rear of the SR630N and the other end to your wall's DSL jack or a DSL splitter.
- Connect to Power: Plug the power adapter into the 'Power' port on the rear of the SR630N, then plug the other end into a standard electrical outlet. Press the 'On/Off' button on the side panel if the device does not power on automatically.
- Connect Wired Devices (Optional): For wired connections, use an Ethernet cable to connect your computer or other network devices to any of the 'LAN1-4' ports on the rear of the SR630N.
- Connect VoIP Phones (Optional): If you have VoIP service, connect your analog telephones to the 'Phone1' or 'Phone2' ports using standard telephone cables.
- Wait for Initialization: Allow a few minutes for the device to power on and establish connections. Observe the front panel LEDs. The 'Power' LED should be solid, the 'DSL' LED should be solid (indicating a stable DSL connection), and the 'Internet' LED should be solid or blinking (indicating internet access).
- Access the Web Interface: Open a web browser on a connected computer and enter the default IP address (e.g.,
192.168.1.1) into the address bar. Log in using the credentials provided by your service provider or the default credentials found on the device label. - Configure Internet Settings: Follow the on-screen wizard or navigate to the WAN settings to configure your internet connection parameters as provided by your service provider. This may include VPI/VCI, encapsulation type, username, and password.
- Configure Wi-Fi Settings: Navigate to the Wireless settings to customize your Wi-Fi network name (SSID) and password. It is recommended to use a strong, unique password for security.
5. Operating
This section describes basic operational aspects of the SmartRG SR630N.
5.1. Wireless Network (Wi-Fi)
- Connecting Devices: Search for your Wi-Fi network name (SSID) on your wireless devices (laptops, smartphones, tablets) and enter the Wi-Fi password you configured during setup.
- WPS (Wi-Fi Protected Setup): For WPS-compatible devices, press the WPS button on the side of the SR630N, then activate WPS on your device within two minutes to establish a connection without entering the password.
- Enabling/Disabling Wi-Fi: Use the 'WiFi' button on the side panel to quickly turn the wireless network on or off.
5.2. Voice over IP (VoIP)
If your service plan includes VoIP, your connected analog phones will function once the device has successfully connected to the internet and registered with your service provider's VoIP server. The 'Phone1' and 'Phone2' LEDs on the front panel will indicate the status of your phone lines.
5.3. USB Storage
The USB ports (USB1 on the side, USB2 on the rear) can be used to connect external USB storage devices. Once connected, you may be able to access shared files over your network, depending on the router's configuration and your service provider's settings. Refer to the web interface for specific USB sharing options.
6. Maintenance
Regular maintenance helps ensure optimal performance and longevity of your SmartRG SR630N.
- Firmware Updates: Periodically check with your service provider or the SmartRG website for available firmware updates. Firmware updates can improve performance, add new features, and address security vulnerabilities. Follow the provided instructions carefully when performing updates.
- Cleaning: Keep the device clean and free from dust. Use a soft, dry cloth to wipe the exterior. Do not use liquid cleaners or aerosols. Ensure ventilation openings are not blocked.
- Placement: Place the modem router in a well-ventilated area, away from direct sunlight, heat sources, and moisture. Avoid placing it near large metal objects or other electronic devices that may cause interference.
- Restarting: If you experience minor network issues, a simple restart of the device can often resolve them. Turn off the device using the On/Off button, wait 10-15 seconds, then turn it back on.
7. Troubleshooting
This section provides solutions to common issues you might encounter with your SmartRG SR630N.
7.1. No Power
- Ensure the power adapter is securely connected to the device and a working electrical outlet.
- Verify the On/Off button on the side panel is in the 'On' position.
- Test the electrical outlet with another device to confirm it is functional.
7.2. No DSL Connection (DSL LED Off or Blinking)
- Check that the DSL cable is securely connected to both the modem router's DSL port and the wall jack/splitter.
- Ensure you are using the correct type of cable (RJ-11 telephone cable).
- If using a splitter, ensure it is properly installed and functional.
- Contact your service provider to confirm your DSL line is active and there are no service outages in your area.
7.3. No Internet Access (Internet LED Off or Red)
- Ensure the DSL LED is solid, indicating a stable DSL connection.
- Verify your internet configuration settings (VPI/VCI, encapsulation, username, password) in the web interface are correct as provided by your service provider.
- Restart the modem router and your computer/device.
- Contact your service provider to check for account issues or network outages.
7.4. Wi-Fi Not Working or Slow
- Ensure the 'WiFi' LED on the front panel is illuminated. If not, press the 'WiFi' button on the side panel.
- Check that your wireless devices are within range of the modem router.
- Verify your Wi-Fi network name (SSID) and password are correct.
- Try changing the Wi-Fi channel in the web interface to avoid interference from neighboring networks.
- Reduce the number of connected devices or bandwidth-intensive activities.
7.5. VoIP Phone Not Working
- Ensure the 'Phone1'/'Phone2' LEDs are illuminated.
- Check that the phone cable is securely connected to the correct port on the modem router and the phone.
- Verify that your internet connection is active and stable.
- Contact your service provider to confirm your VoIP service is active and properly configured.
8. Specifications
The following table outlines the technical specifications of the SmartRG SR630N modem router.
| Feature | Specification |
|---|---|
| Model Name | SR630N |
| Brand | SmartRG |
| Connectivity Technology | Ethernet |
| Wireless Communication Standard | 802.11n |
| Frequency Band Class | Single-Band |
| Antenna Type | Internal |
| Special Feature | WPS |
| Compatible Devices | Personal Computer |
| Recommended Uses For Product | Home |
| Item Weight | 1.28 pounds |
9. Warranty and Support
For warranty information and technical support, please refer to the documentation provided by your service provider or visit the official SmartRG website. Support resources typically include FAQs, troubleshooting guides, and contact information for technical assistance.
- Online Support: Visit the SmartRG support portal for the latest drivers, firmware, and documentation.
- Technical Assistance: Contact your internet service provider's technical support team for assistance with configuration or troubleshooting specific to your service.