Introduction
This user manual provides detailed instructions for the operation and maintenance of your Mini dl DAB and FM Digital Radio. Please read this manual thoroughly before using the device to ensure proper functionality and to maximize your listening experience.
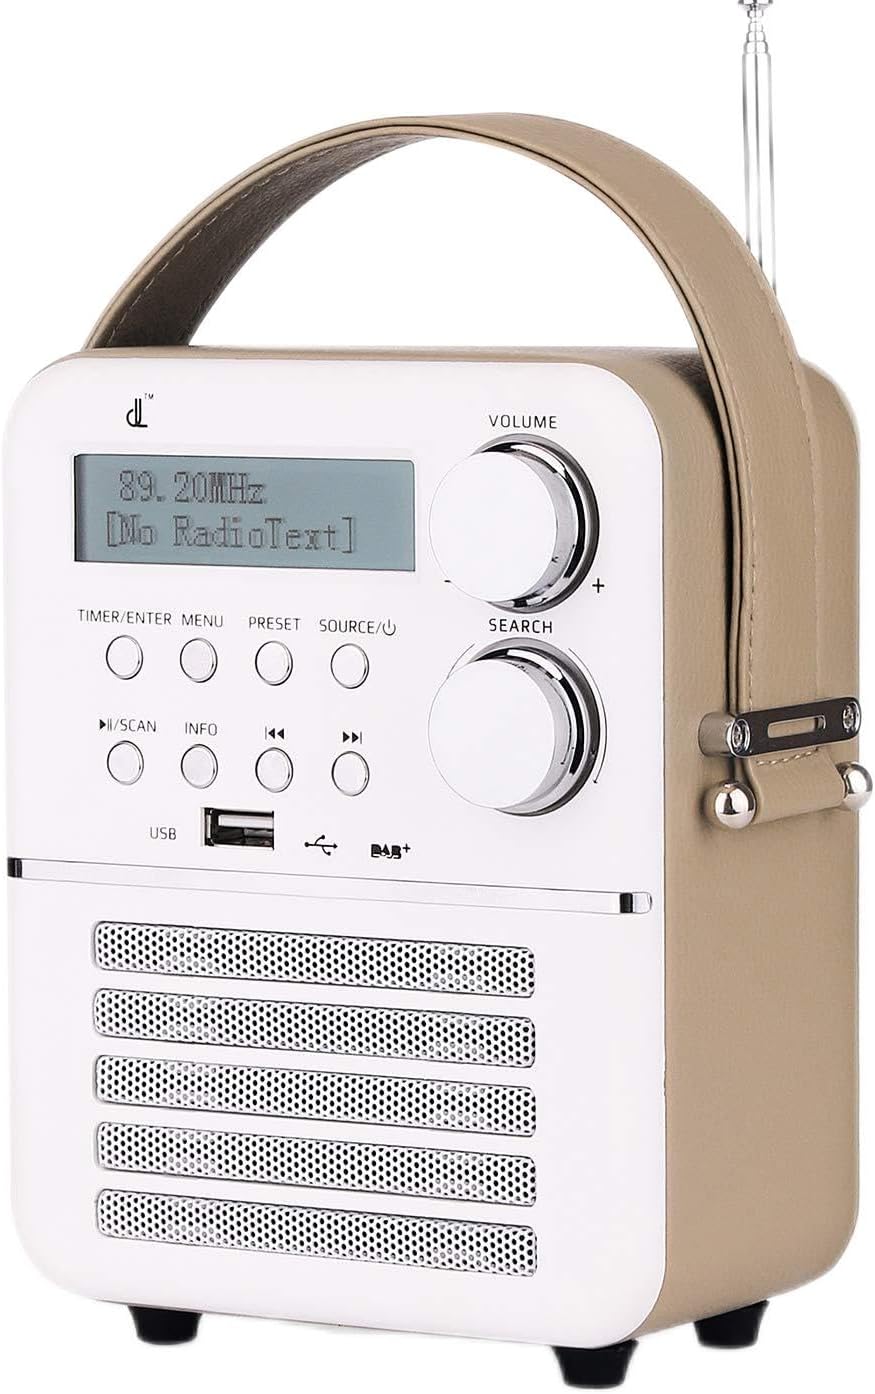
Figure 1: Front view of the Mini dl DAB and FM Digital Radio.
Package Contents
Upon opening the package, please verify that all items listed below are present and in good condition:
- 1 x Mini dl DAB and FM Digital Radio
- 1 x Power Adapter
- 1 x User Manual (this document)

Figure 2: Included accessories: the radio unit, power adapter, and an indication of the built-in battery.
Setup
Powering On and Charging
The radio features a built-in rechargeable battery (1800mAh) for portable use. Before first use, it is recommended to fully charge the battery.
- Connect the provided power adapter to the DC 5V port located on the back of the radio.
- Plug the power adapter into a standard wall outlet.
- The radio will begin charging. A full charge takes approximately 30 minutes, providing up to 4 hours of standby time.
- To power on the radio, press and hold the SOURCE/Power button.
Antenna Adjustment
For optimal radio reception, extend the telescopic antenna located on the top-rear of the unit. Adjust its position for the best signal quality.

Figure 3: Rear view of the radio, highlighting the DC 5V port, AUX IN, and antenna connection point.
Operating Instructions
Controls Overview
The radio features intuitive controls on its front panel:

Figure 4: Front panel controls and display.
- VOLUME Knob: Rotate to adjust the audio volume.
- SEARCH Knob: Rotate to navigate menus or tune frequencies. Press to confirm selections.
- TIMER/ENTER MENU Button: Access timer settings or enter the main menu.
- PRESET Button: Access or save preset radio stations.
- SOURCE/Power Button: Short press to cycle through input sources (DAB, FM, Bluetooth, USB, AUX). Long press to power on/off.
- PLAY/SCAN Button: Play/pause media or initiate a scan for radio stations.
- INFO Button: Display additional information about the current station or track.
- SKIP Buttons (<< / >>): Navigate between tracks or adjust frequency/station.
- USB Port: For connecting USB storage devices for media playback.
DAB Digital Radio Operation
- Press the SOURCE button until "DAB" is displayed.
- If this is the first time using DAB, or if you wish to rescan, press the PLAY/SCAN button to initiate an automatic scan for DAB stations. The radio will display "Scanning..." and show progress.
- Once the scan is complete, the radio will list available stations. Use the SEARCH knob or SKIP buttons to navigate through the station list.
- Press the SEARCH knob to select a station.
- To save a preset: Tune to the desired station, then long press the PRESET button. Use the SEARCH knob to select a preset number, then press the SEARCH knob to confirm.
- To recall a preset: Short press the PRESET button, then use the SEARCH knob to select the desired preset.
FM Radio Operation
- Press the SOURCE button until "FM" is displayed.
- To auto-scan for FM stations, long press the PLAY/SCAN button. The radio will scan and save available stations.
- To manually tune, short press the SKIP buttons to fine-tune the frequency.
- Saving and recalling FM presets follows the same procedure as DAB presets.
Bluetooth Mode
- Press the SOURCE button until "Bluetooth" or "BT" is displayed. The radio will enter pairing mode, indicated by a flashing Bluetooth icon or "Pairing" message on the display.
- On your external device (smartphone, tablet, etc.), enable Bluetooth and search for available devices.
- Select "dl Radio" or a similar name from the list of devices.
- Once paired, the radio will confirm the connection, and you can play audio from your device through the radio.
USB Playback
- Insert a USB flash drive containing MP3, MP4, or WAV audio files into the USB port on the front of the radio.
- Press the SOURCE button until "USB" is displayed.
- The radio will automatically begin playing the first compatible audio file.
- Use the PLAY/SCAN button to play/pause, and the SKIP buttons to navigate between tracks.
AUX Mode
- Connect an external audio device (e.g., MP3 player, CD player) to the AUX IN port on the back of the radio using a 3.5mm audio cable (not included).
- Press the SOURCE button until "AUX" is displayed.
- Audio from the connected device will now play through the radio's speakers. Control playback from the external device.
Alarm and Timer Functions
The radio supports dual alarms, snooze, and a sleep timer.
- Setting Alarms: Press the TIMER/ENTER MENU button. Navigate to "Alarm Setup" using the SEARCH knob and press to select. Follow the on-screen prompts to set Alarm 1 and Alarm 2, including time, alarm source (DAB/FM/USB/BT/AUX or buzzer), and volume.
- Snooze Function: When an alarm sounds, press any button (except power) to activate snooze. The alarm will temporarily stop and sound again after a set interval.
- Sleep Timer: Press the TIMER/ENTER MENU button. Navigate to "Sleep Timer" and select the desired duration (e.g., 15, 30, 60 minutes). The radio will automatically turn off after the set time.
Maintenance
Cleaning
To clean the radio, use a soft, dry cloth. Do not use abrasive cleaners, waxes, or solvents as they may damage the finish. Ensure no liquids enter the device.
Battery Care
- Avoid fully discharging the battery frequently.
- If storing the radio for an extended period, charge the battery to approximately 50% and store in a cool, dry place. Recharge every few months to prevent deep discharge.
- Do not expose the battery to extreme temperatures.
Storage
When not in use, store the radio in a dry environment, away from direct sunlight and extreme temperatures. Keep it away from dust and moisture.
Troubleshooting
If you encounter issues with your radio, please refer to the following common problems and solutions:
| Problem | Possible Cause | Solution |
|---|---|---|
| No power / Radio does not turn on. | Battery is depleted or power adapter is not connected properly. | Connect the power adapter and allow the battery to charge. Ensure the power outlet is functional. |
| Poor radio reception (DAB/FM). | Antenna not extended or poor signal area. | Fully extend and adjust the telescopic antenna. Try moving the radio to a different location. Perform a new station scan. |
| Bluetooth not connecting. | Radio not in pairing mode, or device is too far. | Ensure the radio is in Bluetooth mode and "Pairing" is displayed. Move your device closer to the radio. Forget the device on your phone and try pairing again. |
| No sound from USB playback. | Unsupported file format or corrupted files. | Ensure files are MP3, MP4, or WAV format. Try a different USB drive or different audio files. |
| Alarm volume too loud/soft. | Alarm volume not set correctly during setup. | Re-enter alarm setup via the TIMER/ENTER MENU button and adjust the alarm volume setting. |
Specifications
| Brand | dl |
| Model | R1051-WHT-DE |
| Product Dimensions | 13 x 18 x 25.8 cm (5.1 x 7.1 x 10.2 inches) |
| Item Weight | 880 g (1.94 lbs) |
| Hardware Interface | USB |
| Tuner Technology | DAB, FM |
| Additional Features | Bluetooth, USB Playback, AUX Input, Alarm, Timer |
| Power Source | Battery Powered (Built-in Lithium-ion) |
| Battery Included | Yes |
| Total USB Ports | 1 |
| Supported Radio Bands | 2 bands (DAB, FM) |
| Supported Media Types | MP4, MP3, WAV |
| Input Interface | Buttons |

Figure 5: Product dimensions for reference.
Warranty and Support
Warranty Information
Specific warranty details for the Mini dl DAB and FM Digital Radio are typically provided within the physical user manual included in the product packaging or on the manufacturer's official website. Please refer to those sources for comprehensive warranty terms and conditions.
Customer Support
For further assistance, technical support, or inquiries not covered in this manual, please contact the manufacturer or your point of purchase. Keep your purchase receipt and product model number (R1051-WHT-DE) ready when contacting support.