
Introduction
This manual provides comprehensive instructions for the installation, operation, and maintenance of your ZOKLU Luggage Handle Replacement Kit. This kit is designed to replace broken or worn suitcase handles, restoring functionality and comfort to your luggage. Please read all instructions carefully before proceeding with installation.
Package Contents
Verify that all components are present in your package:
- 2 x Replacement Luggage Handles
- 8 x Bolts (screws)
- 4 x Washers (shims)
- 4 x Plastic End Caps

Figure 1: Complete contents of the ZOKLU Luggage Handle Replacement Kit.
Specifications
| Size (Overall Length) | 9.56 inches (243 mm) |
| Hole Spacing (Center to Center) | 8.9 inches (225 mm) |
| Material | Plastic (handle), Zinc (hardware) |
| Color | Black |
| Load Capacity | Up to 45 kg (approximately 75-88 lbs) |
| Number of Pieces | 2 Handles per pack |

Figure 2: Detailed view of the ZOKLU replacement handle.
Installation Instructions
Follow these steps to replace your luggage handle. A screwdriver is required for installation.
- Prepare the Luggage: Open the luggage and locate the interior lining covering the handle attachment points. Carefully unzip or open the lining to access the screws securing the old handle.

Figure 3: Accessing the interior handle screws.
- Remove the Old Handle: Using a screwdriver, remove the screws holding the old handle in place. Carefully detach the old handle from the luggage.

Figure 4: Step-by-step visual guide for handle replacement.
- Verify Fit: Before securing, align the new ZOKLU handle with the existing screw holes on your luggage. Ensure the 8.9-inch (225 mm) center-to-center hole spacing matches your luggage.
- Install the New Handle: Place the new handle in position. Insert the provided screws through the handle's metal bases and into the luggage's attachment points. Use the washers (shims) if needed to ensure a snug fit and prevent overtightening damage.
- Secure the Screws: Tighten the screws firmly with a screwdriver. Do not overtighten, as this may strip the threads or damage the luggage material.
- Attach End Caps: If your luggage design allows, attach the plastic end caps over the exposed screw heads for a finished look and added protection.
- Test the Handle: Gently lift the luggage by the new handle to ensure it is securely attached and can support the weight.
- Close Lining: Re-zip or close the interior lining of your luggage.
For a visual demonstration of the installation process, please refer to the following video:
Video 1: Suitcase Handle Replacement Demonstration. This video illustrates the steps for replacing a luggage handle, including accessing the interior, removing the old handle, and securing the new one.
Video 2: ZOKLU Luggage Handle Installation Guide. This video provides a detailed look at the ZOKLU handle's features and demonstrates its installation, emphasizing the 225mm (8.9 inch) install distance.
Operating Instructions
The ZOKLU Luggage Handle is designed for comfortable and secure carrying of your suitcase. Once installed, simply grasp the handle firmly to lift and transport your luggage. The ergonomic design and durable materials ensure a comfortable grip, even with heavy loads.

Figure 5: Demonstrating the comfortable grip of the handle.
Maintenance
To ensure the longevity of your ZOKLU Luggage Handle, follow these simple maintenance guidelines:
- Cleaning: Wipe the handle with a damp cloth to remove dirt and grime. Avoid harsh chemicals or abrasive cleaners, which can damage the plastic and protective coating.
- Inspection: Periodically check the screws for tightness. If any screws feel loose, gently tighten them with a screwdriver. Do not overtighten.
- Storage: When not in use, store luggage in a cool, dry place away from direct sunlight to prevent material degradation.
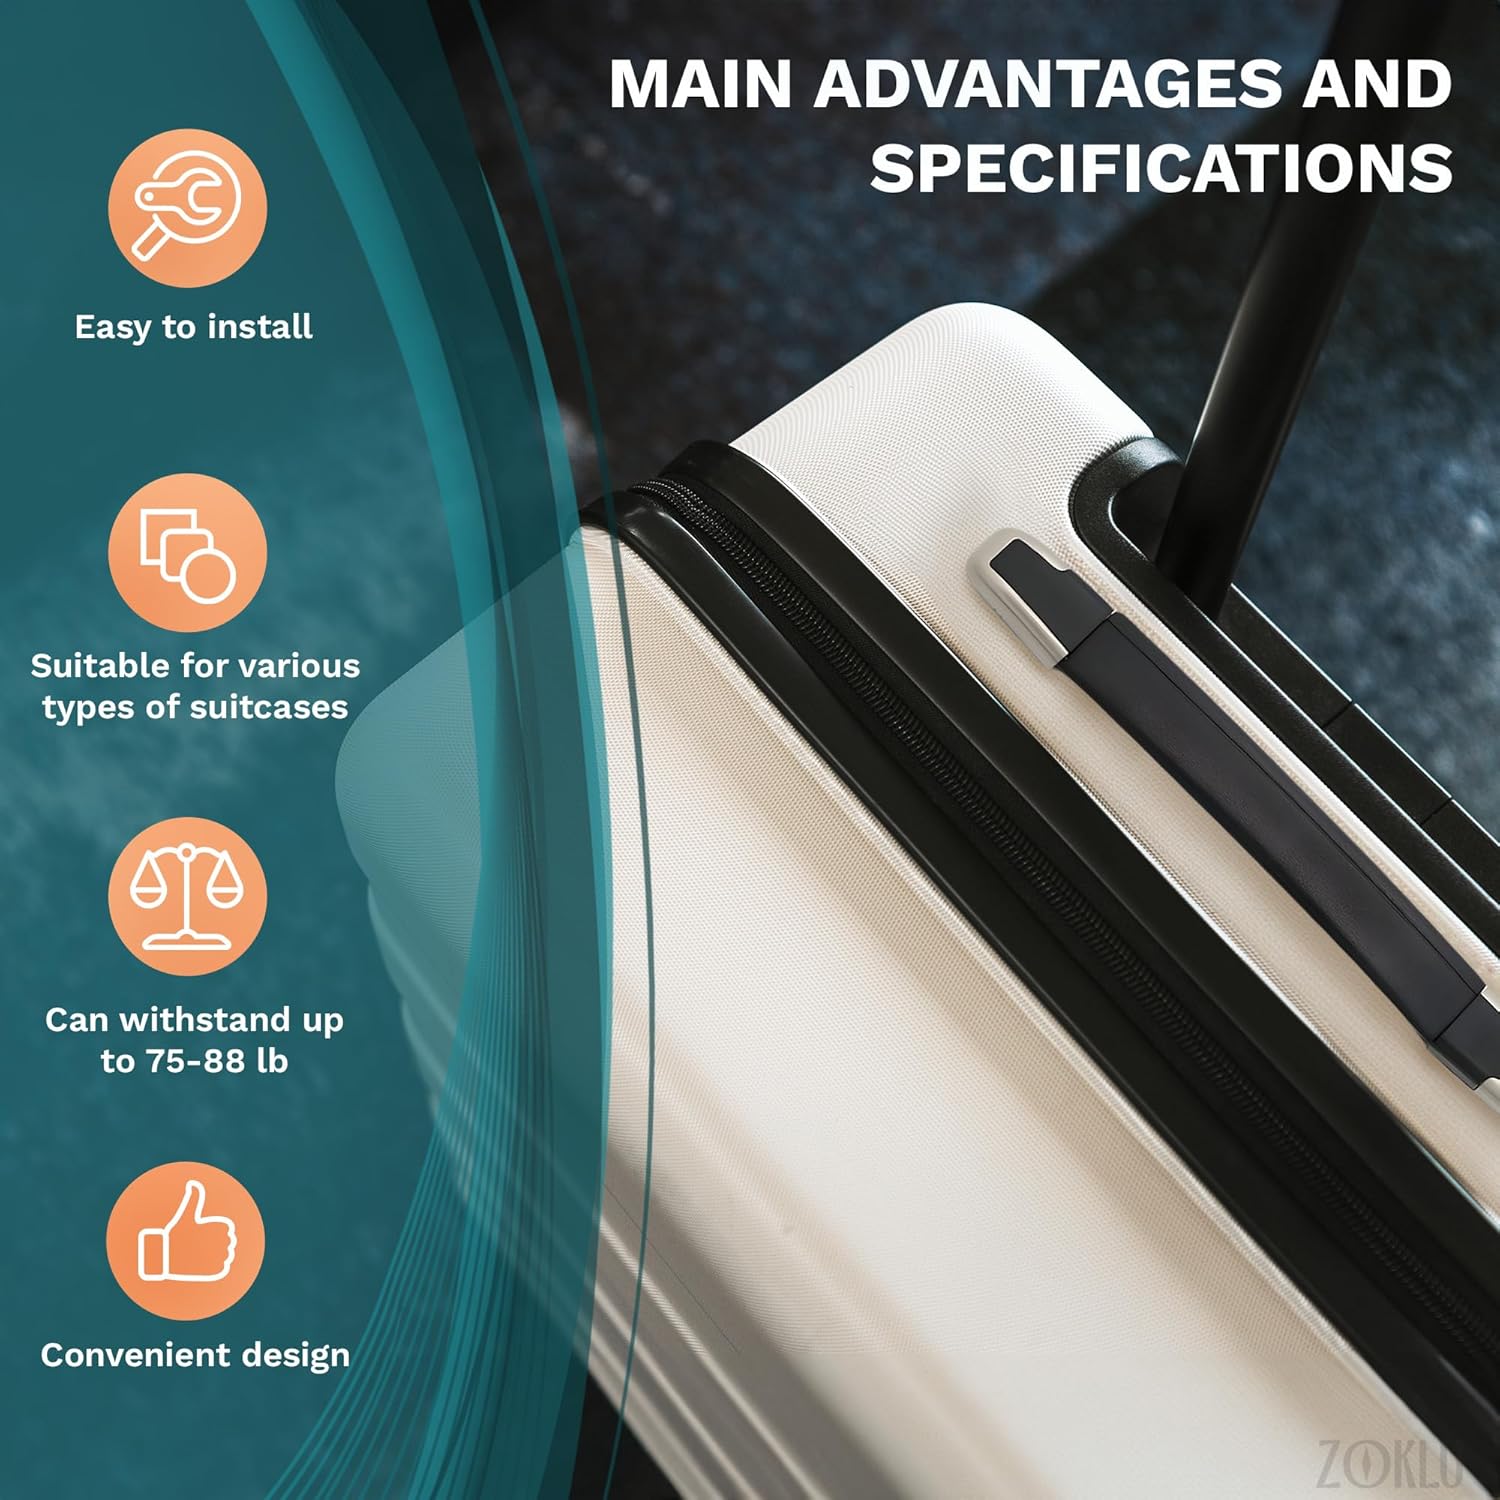
Figure 6: Material advantages for long-term durability.
Troubleshooting
If you encounter issues with your ZOKLU Luggage Handle, consider the following:
- Handle Does Not Fit:
- Ensure your luggage's existing screw hole spacing matches the 8.9-inch (225 mm) center-to-center measurement of the ZOKLU handle.
- Some luggage models may require minor modifications or reuse of original brackets if the new ones do not align perfectly.
- Screws Do Not Tighten Securely:
- Verify that you are using the correct screw size for your luggage's attachment points. The kit includes two sizes of screws.
- Ensure washers are properly placed to create a secure fit without stripping threads.
- If the luggage wall is too thin, additional washers may be required to prevent screws from bottoming out before tightening.
- Handle Feels Loose After Installation:
- Re-check all screws to ensure they are tightened firmly.
- Inspect the handle's attachment points and the luggage structure for any damage that might prevent a secure fit.
Warranty and Support
ZOKLU products are designed for durability and reliability. For any questions, concerns, or assistance with your luggage handle replacement kit, please contact ZOKLU customer support. Refer to your purchase documentation for specific warranty details and contact information.
You can visit the official ZOKLU store on Amazon for more information and support: ZOKLU Store