Westcott 17116-002
Westcott Premium Large Hot Glue Gun, 100 Watt (Model 17116-002) User Manual
Model: 17116-002
Introduction
The Westcott Premium Large Hot Glue Gun, 100 Watt, is designed for various crafting and adhesive applications. This manual provides essential information for safe and effective use, including setup, operation, maintenance, and troubleshooting.
Important Safety Information
Please read all safety instructions before using the hot glue gun. Failure to follow these instructions may result in electric shock, fire, or serious personal injury.
- Always use the glue gun in a well-ventilated area.
- The nozzle and melted glue become very hot. Avoid direct contact with skin to prevent burns.
- Do not leave the glue gun unattended while it is plugged in or hot.
- Keep out of reach of children.
- Do not use the glue gun near flammable materials.
- Ensure the power cord is not damaged and avoid kinking or stretching it.
- Always place the glue gun on its wire stand when not in use to prevent the hot nozzle from touching surfaces.
- Unplug the glue gun when not in use or before performing any maintenance.
Setup
- Insert a Glue Stick: Insert a standard-size hot glue stick into the opening at the rear of the glue gun. Push it gently until it stops.

Image: Inserting glue sticks into the rear of the glue gun.
- Position the Wire Stand: Extend the metal wire stand located near the nozzle. This stand allows the glue gun to rest upright, preventing the hot nozzle from touching your work surface.

Image: The glue gun with its wire stand deployed for stable upright placement.
- Connect to Power: Plug the power cord into a standard electrical outlet.
Operating Instructions
- Power On: Locate the on/off switch on the handle and switch it to the "On" position. The glue gun will begin to heat up.

Image: The on/off switch located on the handle of the glue gun.
- Heating Time: Allow approximately 3-5 minutes for the glue gun to reach its optimal operating temperature. A red indicator light may illuminate to show it is heating.
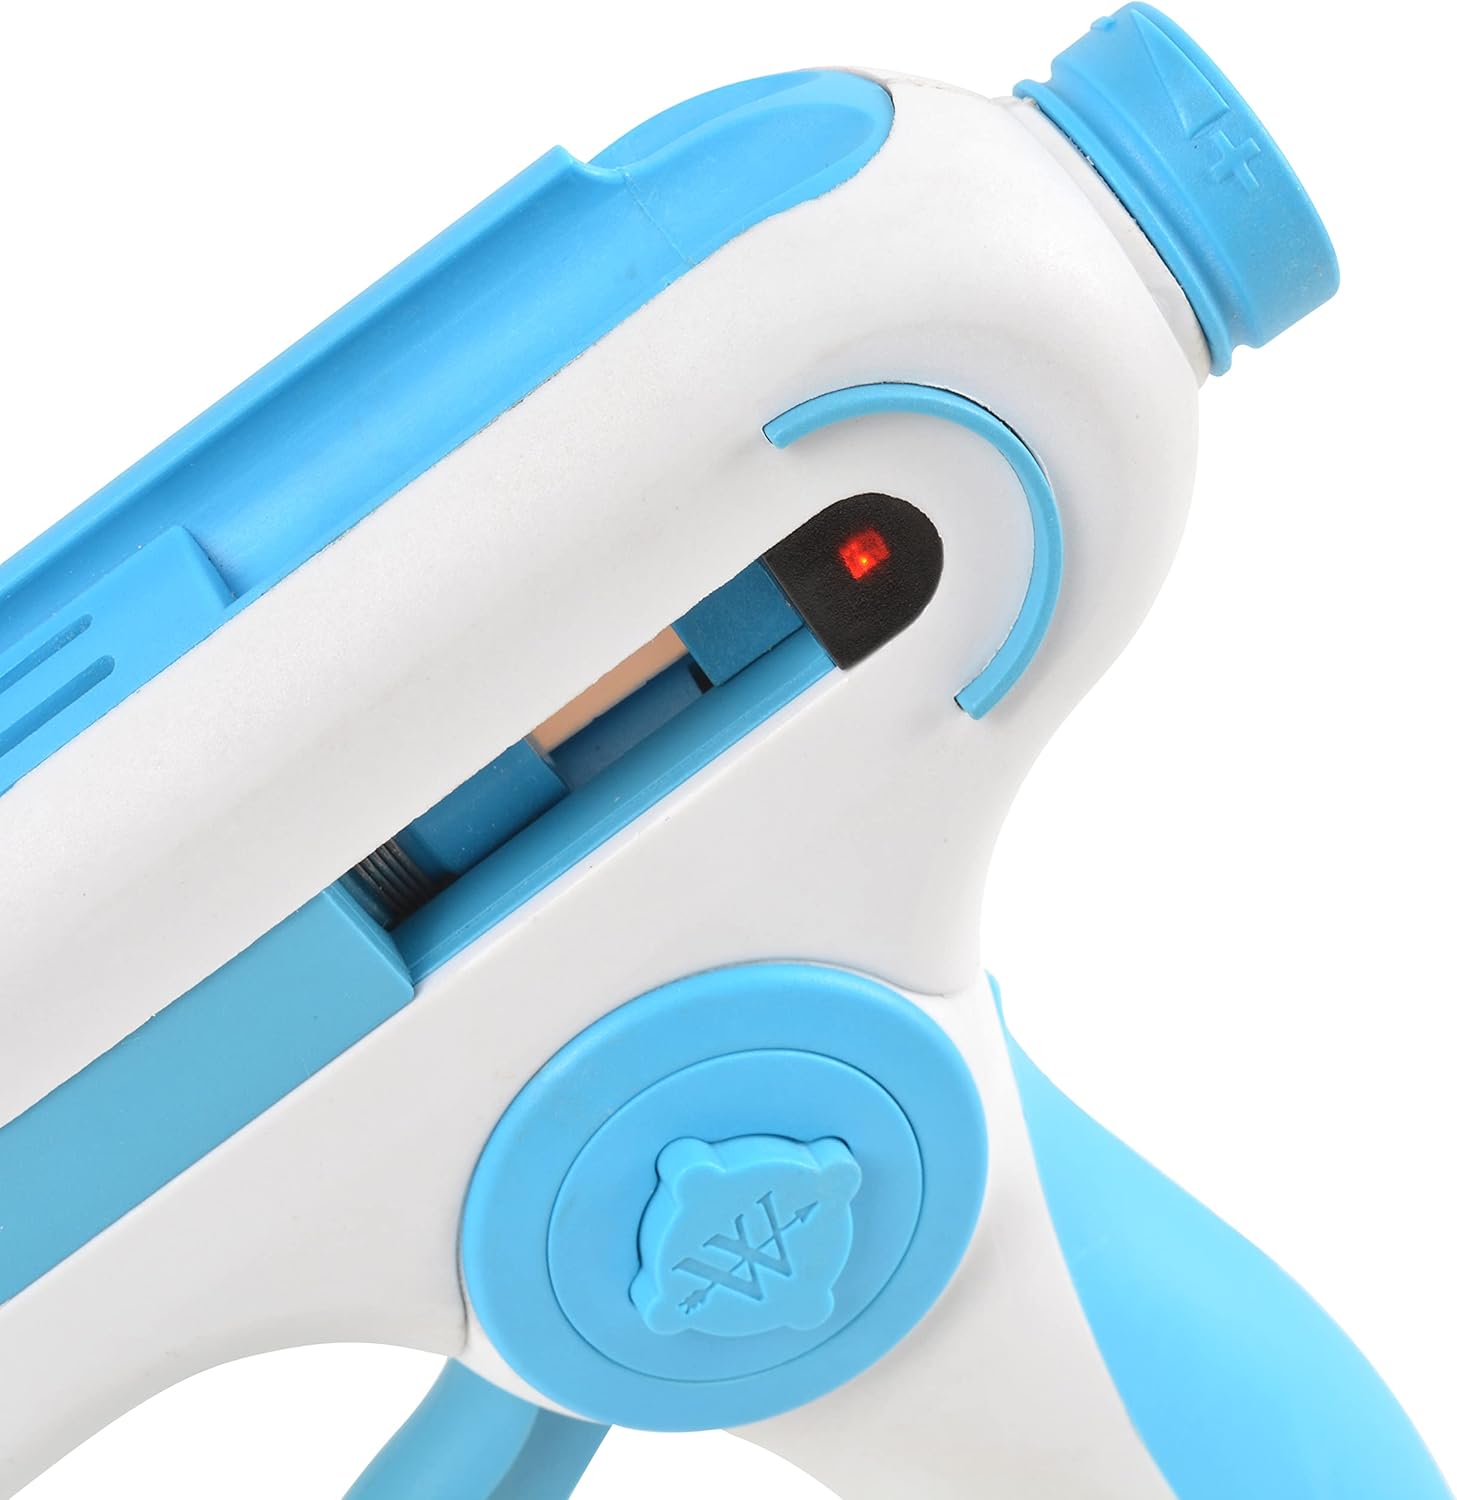
Image: Red indicator light on the glue gun, indicating heating status.
- Apply Glue: Once heated, gently squeeze the trigger to dispense melted glue from the nozzle. Apply glue to the desired surface.

Image: Demonstrating the application of hot glue onto a craft mat.
- Advance Glue Stick: As the glue stick shortens, push a new glue stick into the rear opening to advance the current one. Do not force the glue stick.

Image: Inserting a new glue stick to advance the existing one.
- Power Off: When finished, switch the glue gun to the "Off" position and unplug it from the power outlet.
Maintenance
- Cleaning: Ensure the glue gun is unplugged and completely cool before cleaning. Gently wipe the exterior with a damp cloth. Do not use abrasive cleaners or immerse the gun in water.
- Nozzle Care: Do not attempt to clean the nozzle while the gun is hot. Any dried glue around the nozzle can usually be peeled off once cooled.
- Storage: Store the glue gun in a dry, safe place, away from direct sunlight and extreme temperatures. Ensure the wire stand is folded for compact storage if desired.
Troubleshooting
| Problem | Possible Cause | Solution |
|---|---|---|
| Glue not dispensing or flowing slowly. |
|
|
| Glue drips excessively from the nozzle. |
|
|
| Power indicator light not on. |
|
|
| Protective cover on nozzle is damaged or leaking. |
|
|
Specifications
- Model: 17116-002
- Wattage: 100 watts
- Power Source: Corded Electric
- Style: Trigger
- Compatible Material: Crafting adhesives
- Cord Length: 5.9 inches (approximate)
- Item Weight: 1.06 pounds
- Product Dimensions: 10.75 x 9.38 x 2.5 inches
- Material: Plastic
- Features: On/off switch, textured handle, wire stand
Warranty
The Westcott Premium Large Hot Glue Gun (Model 17116-002) comes with a Limited Two-Year Warranty. This warranty covers defects in materials and workmanship under normal use. For warranty claims or detailed information, please refer to the official Westcott website or contact customer support.
Support
For further assistance, technical support, or to inquire about replacement parts, please visit the official Westcott website or contact their customer service department. Contact information can typically be found on the product packaging or the manufacturer's website.
You can visit the Westcott store on Amazon for more information: Westcott Store