Walmeck HRD-104
Walmeck HRD-104 Portable AM/FM Stereo Radio User Manual
Model: HRD-104 | Brand: Walmeck
1. Product Overview
The Walmeck HRD-104 is a compact and portable AM/FM stereo radio designed for convenient listening on the go. Featuring a 1.3-inch LCD display, digital tuning, and a built-in speaker, it offers a versatile audio experience. Its small size, along with included accessories like earphones and a lanyard, makes it an ideal companion for outdoor activities or daily use.
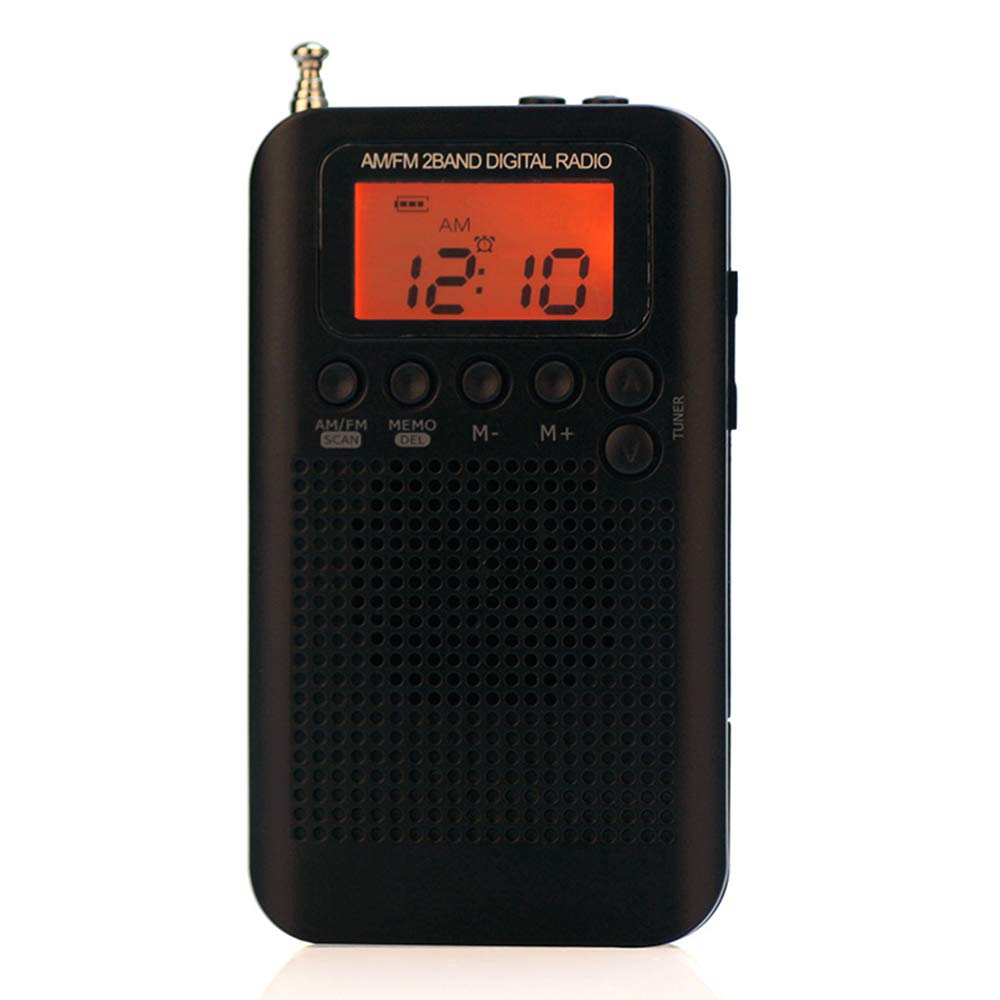
Figure 1: Front view of the Walmeck HRD-104 Portable AM/FM Stereo Radio.
2. Package Contents
Ensure all items are present in the package:
- 1 x Walmeck HRD-104 Radio
- 1 x Headphone with 2 Sponge Earcaps
- 1 x USB Charging Cable
- 1 x Lanyard
- 1 x User Manual (English)
3. Product Layout and Controls
Familiarize yourself with the radio's buttons and ports:

Figure 2: Diagram illustrating the layout and function of buttons and ports on the Walmeck HRD-104 radio.
- Power/Sleep Button: Turns the radio on/off, activates sleep timer.
- Lock Button: Locks/unlocks buttons to prevent accidental presses.
- DC 5V External Power Supply Port (Micro USB): For charging or external power.
- 3.5mm Headphone Socket: For connecting earphones.
- Antenna: Extendable antenna for FM reception.
- LCD Display: Shows frequency, time, battery status, etc.
- TUN+ Button: Tunes frequency up.
- TUN- Button: Tunes frequency down.
- M+ Button: Next preset station / Memory Plus.
- M- Button: Previous preset station / Memory Minus.
- AM/FM & SCAN Button: Switches between AM/FM bands, initiates auto-scan.
- MEMO/DEL Button: Stores or deletes preset stations.
- Volume + Button: Increases volume.
- Volume - Button: Decreases volume.
- Lanyard Slot: For attaching the included lanyard.
- External Loudspeaker: Built-in speaker for audio output.
4. Setup
4.1. Battery Installation
The Walmeck HRD-104 requires 2 x 1.5V AAA batteries (not included). To install:
- Locate the battery compartment on the back of the radio.
- Open the battery compartment cover.
- Insert two AAA batteries, ensuring correct polarity (+ and -) as indicated inside the compartment.
- Close the battery compartment cover securely.
Important: When the radio is not in use for extended periods, please remove the batteries to prevent leakage. Replace batteries when the sound becomes smaller or beeping sounds occur, indicating low battery power.
4.2. Initial Power On
Press the Power/Sleep button to turn on the radio. The LCD display will illuminate and show the current frequency or time.
5. Operating Instructions
5.1. Power On/Off and Volume Control
- To turn on/off: Press the Power/Sleep button.
- To adjust volume: Use the Volume + and Volume - buttons on the side of the radio.
5.2. Switching AM/FM Bands
Press the AM/FM & SCAN button to switch between AM and FM radio bands.

Figure 3: The Walmeck HRD-104 supports both FM and AM bands, allowing storage of up to 58 radio stations.
5.3. Tuning Radio Stations
- Manual Tuning: Press the TUN+ or TUN- buttons to manually adjust the frequency.
- Automatic Scan: Press and hold the AM/FM & SCAN button to automatically scan for available stations and store them as presets. The radio can store up to 58 preset stations (29 for each band).
5.4. Managing Preset Stations
- Recalling Presets: Use the M+ and M- buttons to navigate through stored preset stations.
- Storing Presets: After tuning to a desired station, press and hold the MEMO/DEL button. The display will show a preset number. Use M+ or M- to select a desired preset slot, then press MEMO/DEL again to confirm.
- Deleting Presets: Navigate to the preset you wish to delete using M+ or M-. Press and hold the MEMO/DEL button until the preset is removed.
5.5. LCD Display Usage
The 1.3-inch LCD display shows important information such as the current radio frequency, time, battery level, and selected band (AM/FM).

Figure 4: The clear LCD screen display provides essential information at a glance.
5.6. Time and Alarm Setting
The radio includes a digital clock display and an alarm clock function. Refer to the specific instructions in the included user manual for detailed steps on setting the time and alarm.

Figure 5: The radio features a time display and an alarm function for added convenience.
5.7. Antenna Usage
For optimal FM reception, extend the telescopic antenna fully. If reception is poor or disturbed by strong radio signals, try shortening the antenna slightly.

Figure 6: Extend the antenna for improved FM broadcast reception. Adjust as needed for clearer signal.
5.8. Earphone Usage
Plug the included headphones into the 3.5mm headphone socket for private listening. The headphones provide stereo audio and come with sponge earcaps for comfort and ear protection during extended use.
5.9. Orange Backlight
For convenience in low-light conditions, the radio features an orange backlight. Press any button to activate the backlight, which will remain bright for 5 seconds.

Figure 7: The orange backlight illuminates the display for 5 seconds when any button is pressed, aiding night use.
6. Maintenance
- Cleaning: Use a soft, dry cloth to clean the radio's surface. Do not use abrasive cleaners or solvents.
- Battery Care: Remove batteries if the radio will not be used for a long period to prevent corrosion.
- Storage: Store the radio in a cool, dry place away from direct sunlight and extreme temperatures.
7. Troubleshooting
| Problem | Possible Cause | Solution |
|---|---|---|
| Radio does not turn on. | Batteries are dead or incorrectly inserted. | Replace batteries with new ones, ensuring correct polarity. |
| Poor radio reception. | Antenna not extended or interference. | Extend the telescopic antenna fully. Try adjusting the antenna length or moving to a different location. |
| No sound from speaker/earphones. | Volume is too low or earphones not properly connected. | Increase volume using Volume + button. Ensure earphones are fully plugged into the 3.5mm jack. |
| Buttons are unresponsive. | Lock function is activated. | Press the Lock button to deactivate the lock function. |
8. Specifications
| Feature | Detail |
|---|---|
| Model Number | HRD-104 |
| Material | ABS Plastic |
| Frequency Receiving Range | FM: 64-108MHz; AM: 520-1710KHz (9K)/522-1710 KHz (10K) |
| Built-in Speaker | φ40mm, 8Ω, 0.5W |
| Receiving Sensitivity | FM: 8uV, AM: 3mV/m |
| Stereo Separation | ≥32dB |
| Distortion | ≤1% |
| Output Power | ≤200mW |
| Earphone Port | φ3.5mm/32Ω |
| Antenna | External antenna, 4 sections |
| Power Supply | 2 * 1.5V/AAA batteries (not included) |
| Charge Port | DC 5V, Micro USB Port |
| Lowest Working Voltage | 2V |
| Item Size | approx. 10.5 * 6 * 1.1cm / 4.13 * 2.36 * 0.43in |
| Item Weight | approx. 64g / 2.25oz |
| Display Type | LCD |
| Special Features | Portable |
9. Warranty and Support
For warranty information or technical support, please refer to the contact details provided with your purchase or visit the official Walmeck website. Keep your purchase receipt as proof of purchase for any warranty claims.
Related Documents - HRD-104
 |
HRD-104 Portable FM/AM Digital Radio User Manual User manual for the HRD-104 portable FM/AM digital radio, detailing its features, operation, component descriptions, specifications, and important notices. |
 |
USB Desktop Microphone TT-V1780 User Manual User manual and product information for the TT-V1780 USB Desktop Microphone, featuring 360-degree adjustment and plug-and-play functionality. |
 |
HRD-231 DSP Stereo Radio and Music Player User Manual User manual for the Shenzhen Hanrongda HRD-231 DSP stereo radio and music player. Learn about its features, functions, buttons, radio, Bluetooth, music playback, flashlight, and FCC compliance. |
 |
VEVOR Interlocking Rubber Mats User Manual User manual for VEVOR interlocking rubber mats, detailing product specifications, safety precautions, unpacking, and assembly instructions for models HRD-XJD6614 series. |
 |
VEVOR Interlocking Rubber Mats Assembly Guide & Specifications Comprehensive assembly instructions and specifications for VEVOR HRD-XJD6614 series interlocking rubber mats. Learn how to unpack, assemble, and choose the right mat for your needs. |
 |
VEVOR Interlocking Rubber Mats: Assembly Guide and Specifications This guide provides comprehensive instructions for VEVOR interlocking rubber mats, covering unpacking, assembly steps, and detailed product specifications. Learn how to easily install and use these durable mats for various applications. |
Ask a question about this manual
Ask about setup, troubleshooting, compatibility, parts, safety, or missing instructions. Manuals+ will review the question and use this page’s manual context to help answer it.