Maxshine MN01
Maxshine Professional Mini Polisher (MN01) User Manual
Model: MN01
1. Introduction
The Maxshine Professional Mini Polisher (MN01) is a versatile and compact tool designed for precise automotive detailing. Its small size and specialized attachments make it ideal for reaching tight spaces and intricate areas that larger polishers cannot access. This manual provides essential information for the safe and effective use, maintenance, and troubleshooting of your MN01 Mini Polisher.
Key features include:
- Perfect for Tight Spaces
- Universal 5/8" Thread Compatibility
- Quick Accessory Swaps
- Complete Mini Polishing Kit
2. Safety Information
Always observe basic safety precautions when using electrical tools to reduce the risk of fire, electric shock, and personal injury.
General Safety Rules:
- Read all instructions: Familiarize yourself with the tool's operation and limitations, as well as the specific potential hazards.
- Wear appropriate personal protective equipment (PPE): Always wear safety glasses or goggles. Consider wearing gloves and a dust mask, especially when polishing.
- Keep work area clean and well-lit: Cluttered or dark areas invite accidents.
- Do not operate power tools in explosive atmospheres: Do not use the tool in the presence of flammable liquids, gases, or dust.
- Keep children and bystanders away: Distractions can cause you to lose control.
- Avoid accidental starting: Ensure the switch is in the off-position before plugging in.
- Do not overreach: Keep proper footing and balance at all times.
- Disconnect power: Always disconnect the tool from the power source before making any adjustments, changing accessories, or storing the tool.
- Use the right tool for the job: Do not force a small tool or attachment to do the job of a heavy-duty power tool.
- Maintain tools with care: Keep cutting tools sharp and clean for better and safer performance. Follow instructions for lubricating and changing accessories.
- Check for damaged parts: Before further use of the tool, a guard or other part that is damaged should be carefully checked to determine that it will operate properly and perform its intended function.
3. Setup and Assembly
The Maxshine Mini Polisher comes with a variety of accessories for different detailing tasks. Follow these steps to set up your polisher.
3.1 Unboxing and Component Identification
Carefully unpack all components from the carrying case. Verify that all items listed in the kit are present.

Figure 3.1: Complete Maxshine Mini Polisher kit with all accessories.

Figure 3.2: Detailed diagram of the 10-piece mini polisher and accessories, including foam cones, felt pads, backing plates, and installation wrench.
3.2 Assembling the Polisher
The mini polisher consists of a main drive unit and a flexible shaft. To assemble:
- Connect the flexible shaft to the main drive unit by screwing it securely into place. Ensure a snug fit to prevent wobbling during operation.
- Select the appropriate backing plate (1/2-inch or 1-inch) for your desired pad size.
- Attach the chosen backing plate to the end of the flexible shaft. Use the provided wrench to tighten it firmly.
- Press the desired polishing or cutting pad onto the backing plate. Ensure it is centered and securely attached.

Figure 3.3: Securely attaching the flexible shaft to the polisher head.
3.3 Visual Setup Guide
Watch the official Maxshine video for a visual demonstration of the unboxing and setup process.
Video 3.1: Maxshine Mini Polisher System overview, demonstrating unboxing and initial setup.
4. Operating Instructions
The Maxshine Mini Polisher is designed for precision work. Always ensure the surface is clean and free of debris before polishing.
4.1 Preparing the Surface and Pad
Before starting, ensure the area to be polished is clean and dry. Apply a small amount of polishing compound or wax directly to the pad or the surface.

Figure 4.1: Applying polishing compound to the pad before use.
4.2 Polishing Technique
Turn on the polisher and apply gentle, even pressure to the surface. Move the polisher in small, overlapping passes. The mini size allows for detailed work on areas such as door handles, emblems, and intricate body lines.

Figure 4.2: Using the mini polisher for precise detailing on a car door handle.

Figure 4.3: The conical pad attachment is ideal for reaching tight spots like wheel spokes.
For optimal results, use different pads for cutting, polishing, and finishing. Refer to the pad color coding for their intended use (e.g., green for polishing, red for finishing, felt for cutting).
5. Maintenance
Proper maintenance ensures the longevity and performance of your Maxshine Mini Polisher.
- Cleaning Pads: After each use, remove polishing pads and clean them thoroughly with warm water and a mild detergent. Rinse well and allow them to air dry completely before storage.
- Cleaning the Tool: Wipe down the polisher body and flexible shaft with a clean, damp cloth. Do not immerse the tool in water.
- Storage: Store the polisher and all accessories in the provided carrying case in a dry, cool place, away from direct sunlight and moisture.
- Inspect Components: Regularly inspect the flexible shaft, backing plates, and pads for any signs of wear or damage. Replace worn or damaged parts immediately to ensure safe operation.
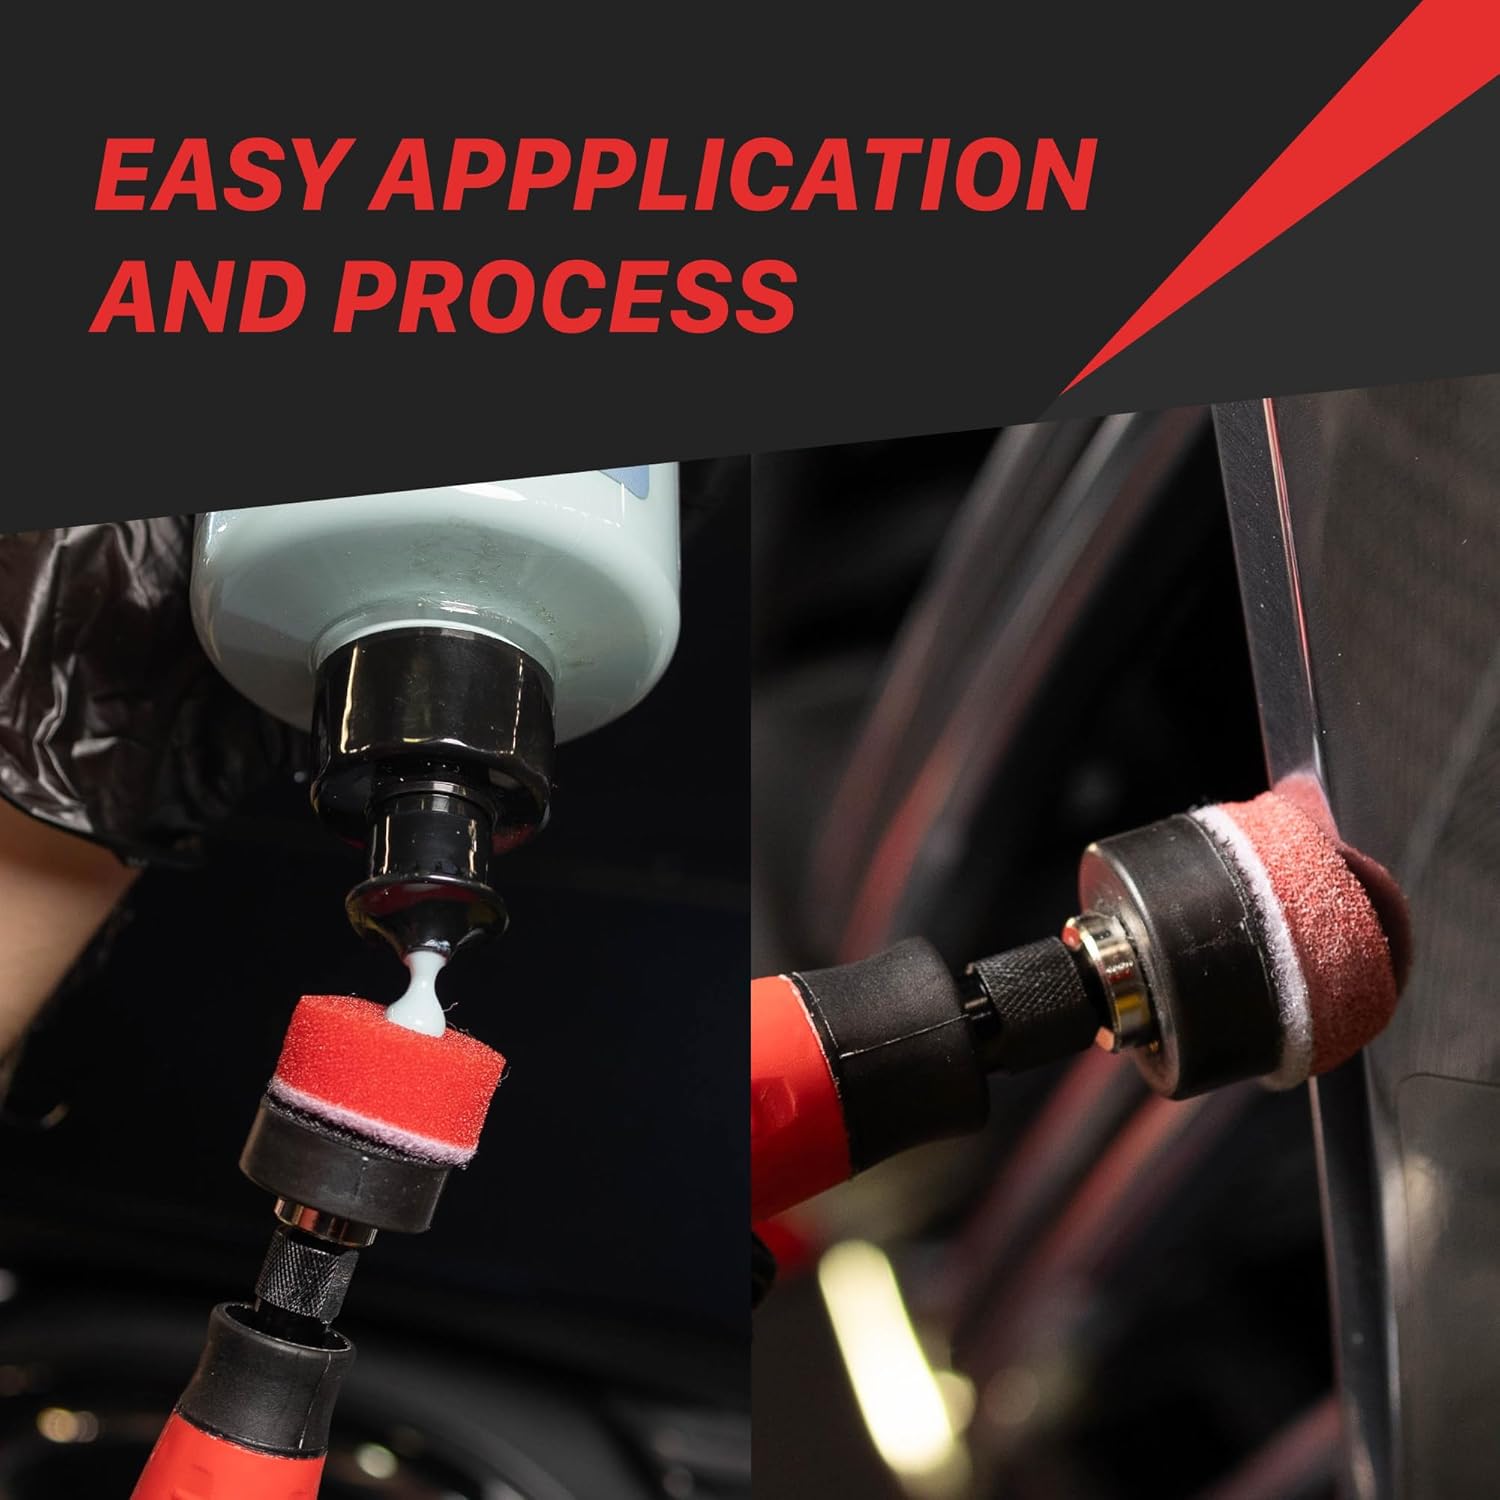
Figure 5.1: Storing the mini polisher and accessories in its dedicated case.
6. Troubleshooting
If you encounter issues with your Maxshine Mini Polisher, refer to the table below for common problems and solutions.
| Problem | Possible Cause | Solution |
|---|---|---|
| Polisher does not turn on. | No power supply; loose connection; damaged power cord. | Check power outlet and connections. Inspect power cord for damage. |
| Excessive vibration or noise. | Loose backing plate or pad; damaged flexible shaft. | Ensure backing plate and pad are securely attached. Inspect flexible shaft for bends or damage. |
| Pads wear out quickly. | Excessive pressure; incorrect pad for application; old/worn pads. | Apply lighter pressure. Use appropriate pad type for the task. Replace pads as needed. |
| Poor polishing results. | Incorrect compound; worn pad; insufficient cleaning of surface. | Use appropriate compound. Replace pad. Ensure surface is thoroughly cleaned before polishing. |
7. Specifications
| Feature | Detail |
|---|---|
| Model | MN01 |
| Brand | Maxshine |
| Item Weight | 1.5 pounds (0.68 Kilograms) |
| Product Dimensions | 10.2 x 6 x 2.7 inches |
| Material | Metal |
| Color | Black |
| Power Source | Corded Electric |
| Specific Uses For Product | Automotive Detailing |
| UPC | 614070283135 |
8. Warranty and Support
Maxshine stands behind the quality of its products. For specific warranty information, please refer to the warranty card included with your product or visit the official Maxshine website. For technical support, replacement parts, or any inquiries not covered in this manual, please contact Maxshine customer service through their official channels.
You can visit the Maxshine Store on Amazon for more products and information.
Ask a question about this manual
Ask about setup, troubleshooting, compatibility, parts, safety, or missing instructions. Manuals+ will review the question and use this page’s manual context to help answer it.