1. Introduction
This manual provides detailed instructions for the assembly, operation, and maintenance of your Hilitand USB Game Joystick and Buttons DIY Kit. This kit allows you to build your own arcade-style game controller, compatible with Windows systems and PlayStation 3 (PS3). It features zero-delay USB encoders for responsive gameplay.
2. Product Components
The Hilitand USB Game Joystick and Buttons DIY Kit includes the following components:
- 2 x Joysticks (with 5-pin cables)
- 2 x USB Encoder Boards
- 16 x 30mm Push Buttons (various colors)
- 4 x 24mm Push Buttons (various colors)
- 20 x 2-Pin Cables (for buttons)
- 2 x USB Cables (for connecting encoder to PC/console)
Note: The button light function requires additional wiring, which is not included in this kit. Users wishing to illuminate the buttons will need to acquire separate light lines.

Image 2.1: Overview of all included components in the DIY kit.

Image 2.2: The two joysticks included in the kit.

Image 2.3: Example of the 30mm and 24mm push buttons with their 2-pin terminals.

Image 2.4: The 2-pin cables for connecting buttons to the encoder board.
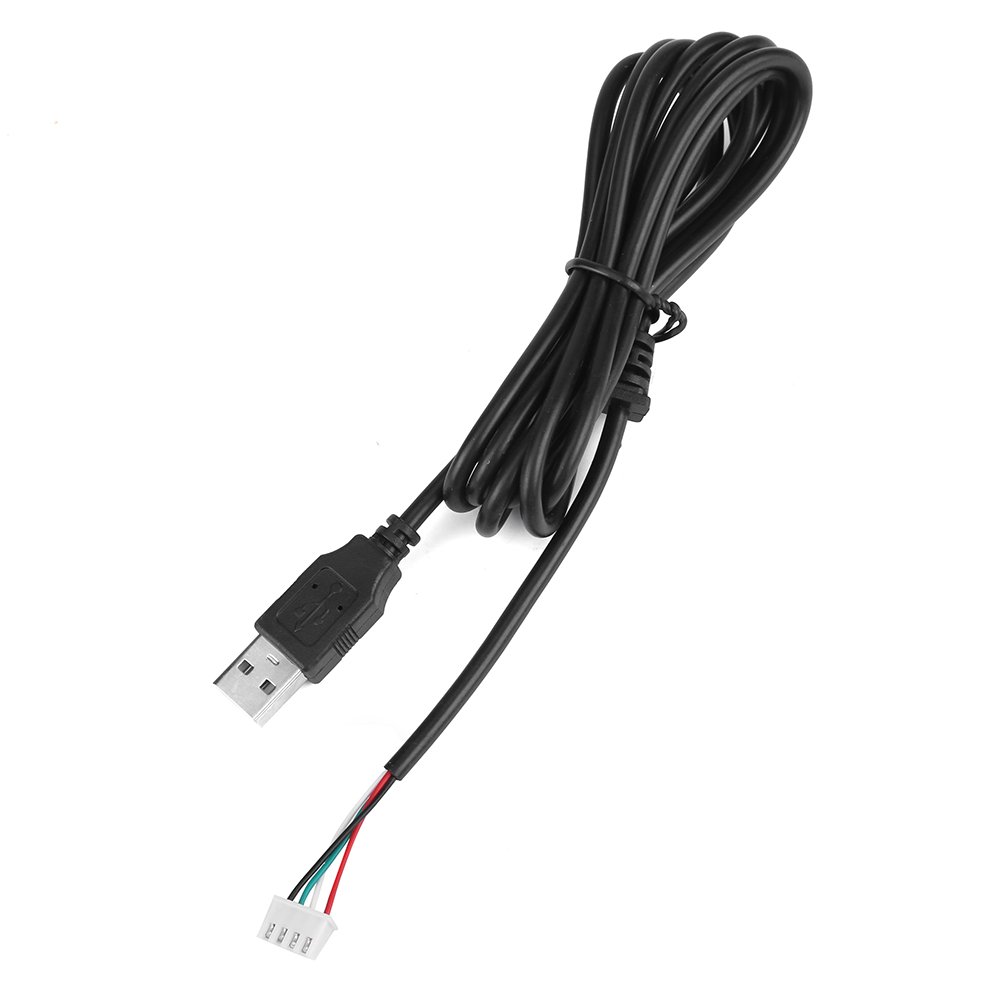
Image 2.5: The USB cable for connecting the encoder board to a computer or console.
3. Setup Instructions
Follow these steps to assemble and connect your Hilitand DIY Game Controller:
- Prepare Your Enclosure: Ensure you have a suitable enclosure or control panel with pre-drilled holes for the joysticks and buttons. The 30mm buttons require a 30mm hole, and the 24mm buttons require a 24mm hole.
- Install Joysticks: Mount the joysticks into their designated positions on your control panel. Secure them using the provided hardware.
- Install Buttons: Insert the 30mm and 24mm push buttons into their respective holes. Secure them with the plastic nuts.
- Connect Joysticks to Encoder Board: Each joystick connects to a 5-pin joystick interface on the USB encoder board using the included 5-pin cable. Ensure the connector is oriented correctly.
- Connect Buttons to Encoder Board: Use the 2-pin cables to connect each push button to the corresponding K1-K12 terminals on the USB encoder board. Each button requires two wires.
- Connect Encoder to Computer/Console: Plug one end of the provided USB cable into the USB port on the encoder board and the other end into an available USB port on your PC or PS3 console.
- System Recognition: Your operating system (Windows) or PS3 console should automatically detect the new game controller. No special drivers are typically required due to the zero-delay USB encoder design.

Image 3.1: Top and bottom view of a joystick, showing the 5-pin connector.

Image 3.2: Detailed view of the joystick's 5-pin connection point.

Image 3.3: Layout of the USB encoder board, indicating connection points.
Compatibility Note: This kit is designed for Windows systems and PS3. While some product descriptions may suggest PS4 compatibility, user experiences vary, and full functionality with all PS4 games or system versions cannot be guaranteed. Verify compatibility with your specific PS4 setup if this is a primary use case.
4. Operating Instructions
Once assembled and connected, your Hilitand DIY Game Controller is ready for use:
- PC Usage: For PC games, the controller should be recognized as a standard USB gamepad. You may need to configure button mappings within your game's settings or through a third-party utility if the game does not automatically detect the layout.
- PS3 Usage: Connect the USB cable to an available USB port on your PS3. The console should recognize it as a compatible controller.
- Zero Delay: The integrated zero-delay USB encoder ensures minimal input lag, providing a responsive gaming experience.
5. Maintenance
To ensure the longevity and optimal performance of your Hilitand DIY Game Controller, follow these maintenance guidelines:
- Cleaning: Use a soft, dry cloth to wipe down the joysticks and buttons. Avoid using harsh chemicals or abrasive cleaners, which can damage the plastic components.
- Storage: When not in use, store the controller in a clean, dry environment away from direct sunlight and extreme temperatures.
- Cable Management: Avoid sharp bends or excessive pulling on the cables to prevent internal damage.
6. Troubleshooting
If you encounter issues with your Hilitand DIY Game Controller, refer to the following troubleshooting tips:
- Buttons or Joystick Not Responding:
- Verify all 2-pin button cables are securely connected to both the buttons and the encoder board.
- Ensure the 5-pin joystick cable is firmly seated in the joystick and the encoder board.
- Check for any loose wires or damaged connectors.
- Controller Not Recognized by PC/PS3:
- Ensure the USB cable is securely plugged into both the encoder board and the computer/console.
- Try connecting the USB cable to a different USB port on your computer or console.
- Restart your computer or console.
- LEDs Not Lighting Up:
- Remember that LED light lines are not included with this kit. If you have installed your own LED wiring, ensure it is correctly connected to a suitable power source and the buttons.
- PS4 Compatibility Issues:
- This kit is primarily designed for PC and PS3. Full compatibility with PS4 is not guaranteed and may require specific adapters or software configurations not supported by this kit.
7. Specifications
| Feature | Detail |
|---|---|
| Model Number (ASIN) | B07HT14G8R |
| Manufacturer | Hilitand |
| Compatibility | Windows Systems, PlayStation 3 (PS3) |
| Encoder Type | Zero Delay USB Encoder |
| Large Push Button Size | 30mm / 1.18inch |
| Small Push Button Size | 24mm / 0.94inch |
| Item Weight | 2 pounds (approx. 900g) |
| Date First Available | October 12, 2018 |

Image 7.1: Dimensional specifications for the joystick and buttons.
8. Warranty and Support
Hilitand is committed to providing high-quality products and customer satisfaction. While specific warranty periods are not detailed, Hilitand aims to offer sincere and intimate after-sales service. For any questions, technical assistance, or support regarding your DIY kit, please refer to the seller's contact information or the platform where the product was purchased.