TOOLPORT 5096
TOOLPORT 13x20 ft. Storage Tent Model 5096 Instruction Manual
Your guide to safe and effective use of your storage tent.
1. Safety Information
Read all instructions carefully before assembly and use. Failure to follow these instructions may result in injury or damage to the product.
- Wind and Snow Loads: This tent is not rated for specific wind or snow loads. In conditions of strong winds or heavy snowfall, temporary disassembly is recommended.
- Snow Removal: Promptly clear snow from the roof to prevent accumulation and potential collapse.
- Securing the Tent: Always use the provided ropes and stakes to secure the tent firmly to the ground. Consider a storm set for additional stability in windy conditions.
- Fire Safety: Keep all heat sources and open flames away from the tent fabric. The material is not fireproof.
- Assembly: Ensure all elements are bolted together correctly and securely. Do not attempt to assemble the tent alone; a minimum of two people is recommended.
- Site Selection: Choose a level, well-drained area for installation, away from overhead power lines or other obstructions.
2. Setup and Assembly
This section outlines the general steps for assembling your TOOLPORT Storage Tent. Refer to the detailed assembly instructions included in your package for specific diagrams and part lists.
2.1 Unpacking and Preparation
- Unpack all components and verify against the parts list.
- Lay out all frame components and fabric sections in an organized manner.
- Ensure you have the necessary tools (e.g., wrench, hammer) for assembly.
2.2 Frame Assembly
The tent features a robust steel frame with extra strong legs (approx. Ø 1.97 in.) and a base frame for enhanced stability. All frame elements are bolted together.
- Begin by assembling the base frame on a level surface.
- Attach the vertical leg poles to the base frame connectors.
- Connect the roof support beams and ridge poles to form the roof structure. Ensure all connections are securely bolted.
- Install the roof reinforcement bars for added structural integrity.

Image: Close-up of two frame poles being connected and bolted together, demonstrating the secure assembly method.

Image: A view of the base frame connection point, showing three poles converging and bolted to a circular base plate for ground anchoring.

Image: A 3D rendering of the complete steel frame structure of the storage tent, illustrating its robust design before the tarpaulin is applied.
2.3 Tarpaulin Installation
The high-quality PVC tarpaulin covers the roof as a single piece, providing essential stability and weather protection.
- Carefully drape the roof tarpaulin over the assembled frame. Ensure it is centered and evenly distributed.
- Attach the sidewalls and gable walls. These are customizable and attach individually between poles, approximately every 6.5 ft.
- Secure all tarpaulin sections to the frame using the provided fasteners, ropes, and bungee cords.
- Install the entrances on the gable ends as desired.
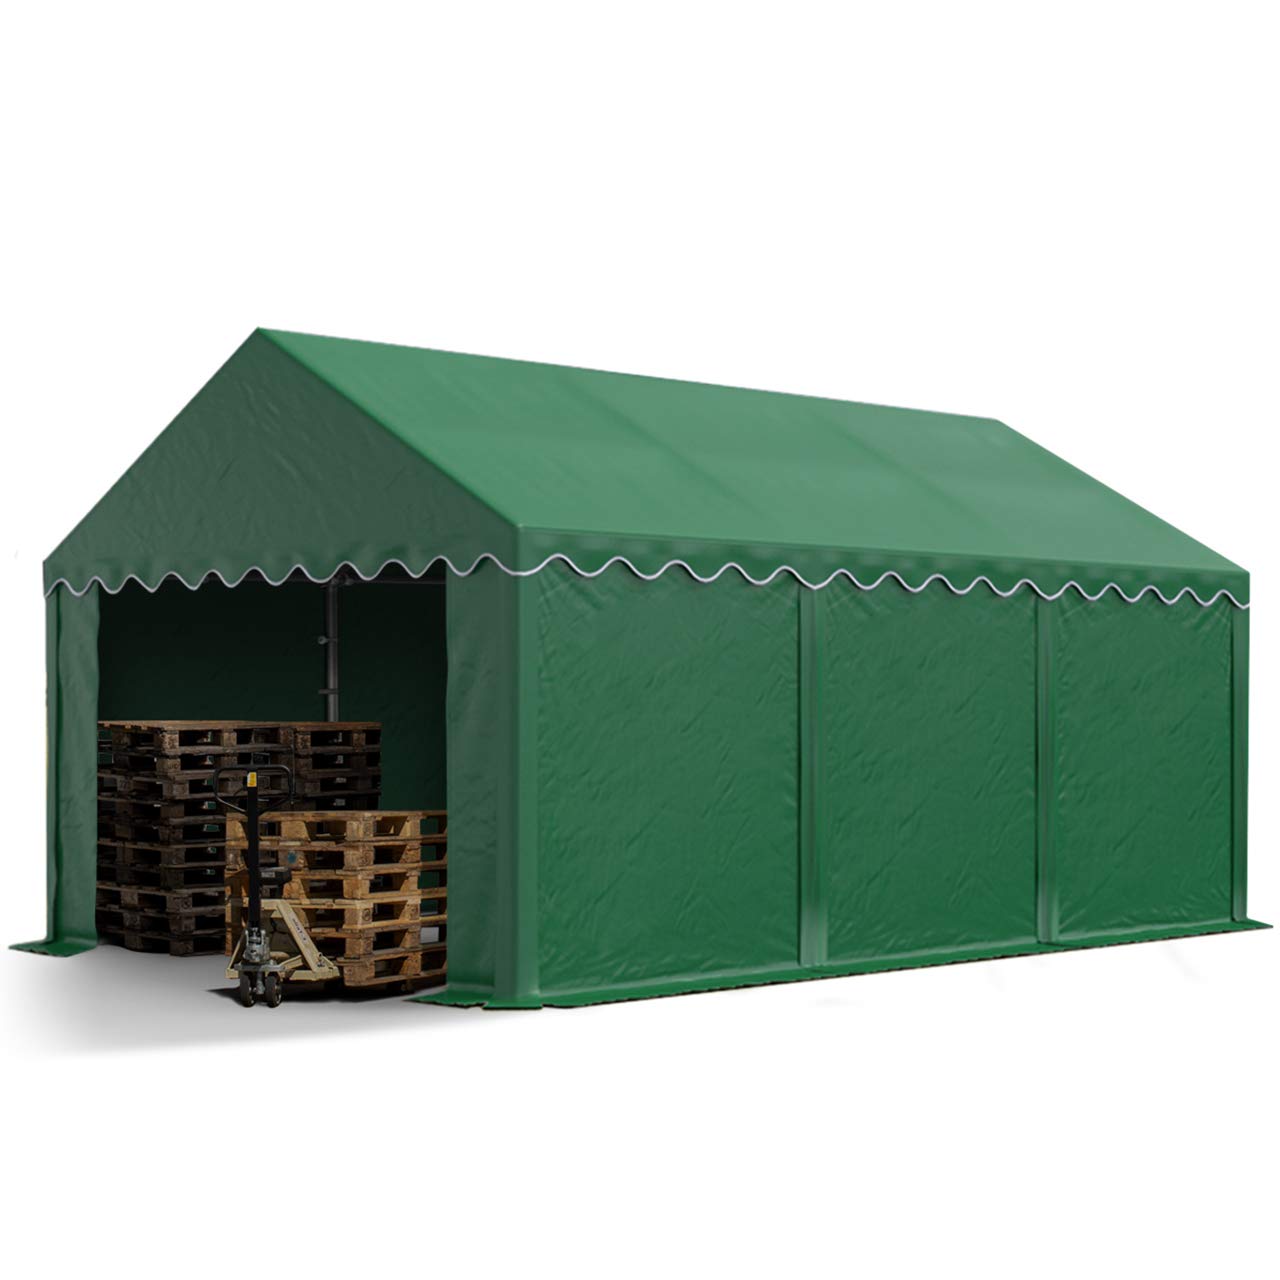
Image: The fully assembled TOOLPORT 13x20 ft. Storage Tent in dark green, with one gable end open, showing pallets stored inside.

Image: Interior view of the storage tent, showing the spacious area and the steel frame structure supporting the roof and walls.
2.4 Ground Anchoring
Proper ground anchoring is crucial for the stability of your tent.
- Use the provided stakes to anchor the base frame securely to the ground.
- Attach and tension the ropes to additional ground stakes, distributing the tension evenly.

Image: A person hammering a ground stake through a base plate to secure the tent frame to the ground.
3. Operating and Usage
Your TOOLPORT Storage Tent is designed for year-round storage needs, offering a portable and sturdy shelter solution.
- Intended Use: This tent is primarily intended for storage of goods, vehicles, or equipment.
- Customizable Entrances: The gable and sidewalls are mountable, allowing you to adjust the tent's configuration to your specific needs. Sidewalls can be attached individually between poles.
- Ventilation: Ensure adequate ventilation, especially if storing items that require air circulation or emit fumes.
- Access: Utilize the customizable entrances for easy access to stored items.
4. Maintenance
Regular maintenance will extend the lifespan of your storage tent and ensure its continued performance.
- Cleaning: Clean the PVC tarpaulin periodically with mild soap and water. Avoid harsh chemicals or abrasive cleaners that could damage the material. Rinse thoroughly.
- Snow Removal: During winter, regularly remove snow accumulation from the roof to prevent structural stress.
- Frame Inspection: Periodically inspect the steel frame for any signs of rust, damage, or loose bolts. Tighten any loose connections.
- Tarpaulin Inspection: Check the tarpaulin for tears, punctures, or excessive wear. Repair small damages promptly to prevent them from worsening.
- Anchoring Check: Ensure ropes and stakes remain taut and securely anchored, especially after strong winds or heavy rain.
5. Troubleshooting
| Problem | Possible Cause | Solution |
|---|---|---|
| Water pooling on roof | Insufficient tension in roof tarpaulin; heavy rain/snow. | Re-tension roof tarpaulin. Clear snow/water promptly. Ensure frame is correctly assembled. |
| Tent feels unstable in wind | Inadequate anchoring; loose frame connections. | Check and re-secure all ground stakes and ropes. Tighten all frame bolts. Consider a storm set for added security. |
| Tears or holes in tarpaulin | Abrasion; sharp objects; extreme weather. | Patch small tears with a suitable PVC repair kit. For large damages, consider replacing the affected section. |
| Difficulty closing/opening entrances | Misalignment of frame or fabric; debris in zippers/fasteners. | Check frame alignment. Clean zippers/fasteners. Ensure fabric is not overly taut or loose. |
6. Specifications
| Feature | Detail |
|---|---|
| Brand | TOOLPORT |
| Model Number | 5096 |
| Size | 13x20 ft. (approximately 4.0m L x 6.0m W) |
| Item Dimensions (L x W x H) | 236.22"L x 157.48"W x 122.05"H (600cm L x 400cm W x 310cm H) |
| Floor Area | 24 Square Meters |
| Color | Dark Green |
| Frame Material | Alloy Steel |
| Tarpaulin Material | Polyvinyl Chloride (PVC) |
| Tarpaulin Tensile Strength | 800 N* (as per product description) |
| Water Resistance Level | Waterproof |
| UV Protection | 50+ |
| Item Weight | 135 Kilograms |
| Recommended Uses | Storage |
| Assembly Required | Yes |
*Note: Tensile strength refers to the tarpaulin material's resistance to breaking under tension.
7. Warranty and Support
For detailed warranty information, please refer to the official TOOLPORT warranty document:
TOOLPORT Warranty Information (PDF)
If you require further assistance, have questions regarding assembly, or need to report a missing/damaged part, please contact TOOLPORT customer support through their official website or the retailer where you purchased the product.
Ask a question about this manual
Ask about setup, troubleshooting, compatibility, parts, safety, or missing instructions. Manuals+ will review the question and use this page’s manual context to help answer it.