
Introduction
This manual provides detailed instructions for the safe installation, operation, and maintenance of your LynPon Gold Sputnik Chandelier. Please read all instructions carefully before beginning installation and retain this manual for future reference.
Safety Information
- Always turn off the main power supply at the circuit breaker before installing, cleaning, or servicing the light fixture.
- Consult a qualified electrician if you are unsure about the installation process.
- Ensure all electrical connections are secure and comply with local codes and ordinances.
- Do not exceed the maximum wattage specified for the bulbs.
- This fixture is designed for indoor use only.
- Wear appropriate safety gear, such as gloves and eye protection, during installation.
Package Contents
Verify that all components are present before beginning installation:
- Chandelier Body (Sputnik design with 12 light arms)
- Mounting Hardware (Canopy, mounting plate, screws, wire nuts)
- Extension Rods (3 rods for adjustable height)
- Instruction Manual
Note: E26 bulbs (max 40W) are not included and must be purchased separately.
Specifications
| Feature | Detail |
|---|---|
| Brand | LynPon |
| Model Number | C-S-C |
| Color | Gold |
| Material | Metal |
| Style | Contemporary |
| Light Fixture Form | Chandelier |
| Product Dimensions | 39.1"L x 39.1"W x 47.65"H (adjustable) |
| Specific Uses | Indoor use only |
| Power Source | AC |
| Installation Type | Semi Flush Mount |
| Special Feature | Dimmable |
| Control Method | App (with compatible system) / Push Button (with compatible switch) |
| Light Source Type | Edison bulbs, incandescent bulbs, CFL, and LED |
| Finish Type | Electroplated copper and brushed black (for gold finish) |
| Number of Light Sources | 12 |
| Voltage | 110 Volts |
| Wattage (per bulb) | Max 40 watts |
| Bulb Base | E26 |
| Assembly Required | Yes |
Setup and Installation
Follow these steps for proper installation. It is recommended to have a second person assist during installation.
1. Prepare for Installation
- Turn off power at the main circuit breaker.
- Unpack all components and inspect for any damage.
- Ensure all necessary tools (screwdriver, wire strippers, etc.) are available.
2. Assemble the Chandelier Body
The chandelier arms are pre-wired for ease of assembly. Simply screw each arm into the central sphere. Ensure they are securely tightened.
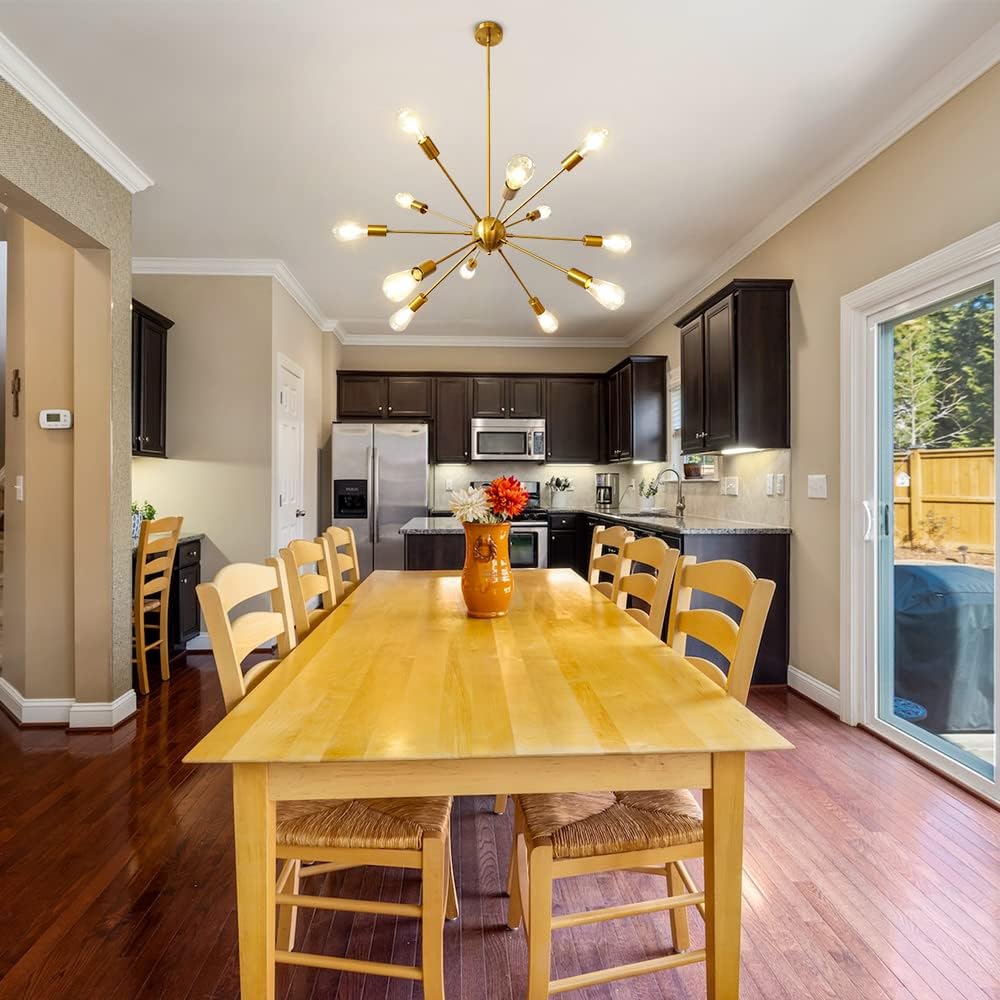
Image: Fully assembled LynPon Gold Sputnik Chandelier, showcasing its 12 arms extending from a central sphere.

Image: Close-up view of the central sphere where the arms are screwed in, highlighting the sturdy metal construction.
3. Determine Hanging Height and Rods
The chandelier includes 3 extension rods (37.8"–47.7") for height adjustment. Select the appropriate number of rods to achieve your desired hanging height. The rod-based design offers more stability than hanging wires.

Image: Diagram illustrating the adjustable height feature using three extension rods and how the canopy adapts to sloped ceilings.
4. Mount the Fixture
- Attach the mounting plate to the junction box in the ceiling.
- Connect the electrical wires (black to black, white to white, ground to ground) using wire nuts.
- Secure the canopy to the mounting plate. The fixture is compatible with flat, vaulted, and sloped ceilings.

Image: Visual guide for installation, detailing the pre-wired arms, the ceiling canopy, and the adaptable design for various ceiling types.
5. Install Bulbs
Screw 12 E26 base bulbs (max 40W each, not included) into the sockets. The fixture supports LED, Edison, CFL, and incandescent bulbs. For dimming functionality, ensure you use dimmable bulbs and a compatible dimmer switch.

Image: Detailed view of an E26 bulb socket, indicating where to install the light bulbs.
Installation Video
Video: Official LynPon video demonstrating the installation process of the Sputnik Chandelier. This video shows the assembly of the arms and the mounting to the ceiling.
Operating Instructions
Once installed and bulbs are in place, restore power at the circuit breaker.
- Standard Operation: Use your wall switch to turn the chandelier on and off.
- Dimming: If using dimmable bulbs and a compatible dimmer switch, you can adjust the light intensity to create your desired ambiance.
- App Control: The product specifications mention "App" as a control method. If your home lighting system supports smart app control and is compatible with this fixture, you may be able to control it via a dedicated app. Refer to your smart home system's instructions for integration.
Maintenance
- Cleaning: To clean the fixture, ensure power is off. Use a soft, dry cloth to wipe down the metal and bulbs. Avoid abrasive cleaners or solvents that could damage the finish.
- Bulb Replacement: Always turn off power before replacing bulbs. Allow bulbs to cool completely before handling. Replace with E26 base bulbs, not exceeding 40W per bulb.
Troubleshooting
| Problem | Possible Cause | Solution |
|---|---|---|
| Light does not turn on. | Power is off, loose wiring, faulty bulb. | Check circuit breaker. Ensure all wire connections are secure. Replace bulbs. |
| Light flickers. | Loose bulb, incompatible dimmer, faulty wiring. | Tighten bulbs. Ensure dimmer and bulbs are compatible. Consult an electrician for wiring issues. |
| Dimming not working. | Non-dimmable bulbs, incompatible dimmer switch. | Use only dimmable E26 bulbs. Ensure your dimmer switch is compatible with LED/CFL bulbs if using them. |
Warranty and Support
This LynPon Gold Sputnik Chandelier comes with a manufacturer's warranty. For specific details regarding warranty coverage, duration, and how to make a claim, please refer to the warranty information provided with your purchase or contact LynPon customer support directly.
For technical support or further assistance, please visit the official LynPon website or contact their customer service department.
Product Overview

Image: The LynPon Gold Sputnik Chandelier with 12 lights, showcasing its modern design and gold finish.

Image: The chandelier installed in a living room, demonstrating its aesthetic appeal and lighting coverage.

Image: The chandelier illuminating a dining room, highlighting its suitability for various interior spaces.