
1. Introduction
Thank you for choosing the Milwaukee M12 FUEL Stubby 1/2" Impact Wrench Kit. This tool is designed for professional use, offering a compact size with significant power for various fastening applications. This manual provides essential information for the safe operation, maintenance, and troubleshooting of your impact wrench.
The M12 FUEL Stubby 1/2" Impact Wrench is engineered for tight spaces, delivering 250 ft-lbs of breakaway torque. It features a 4-mode drive control system, including an auto-shut off mode to prevent over-fastening.
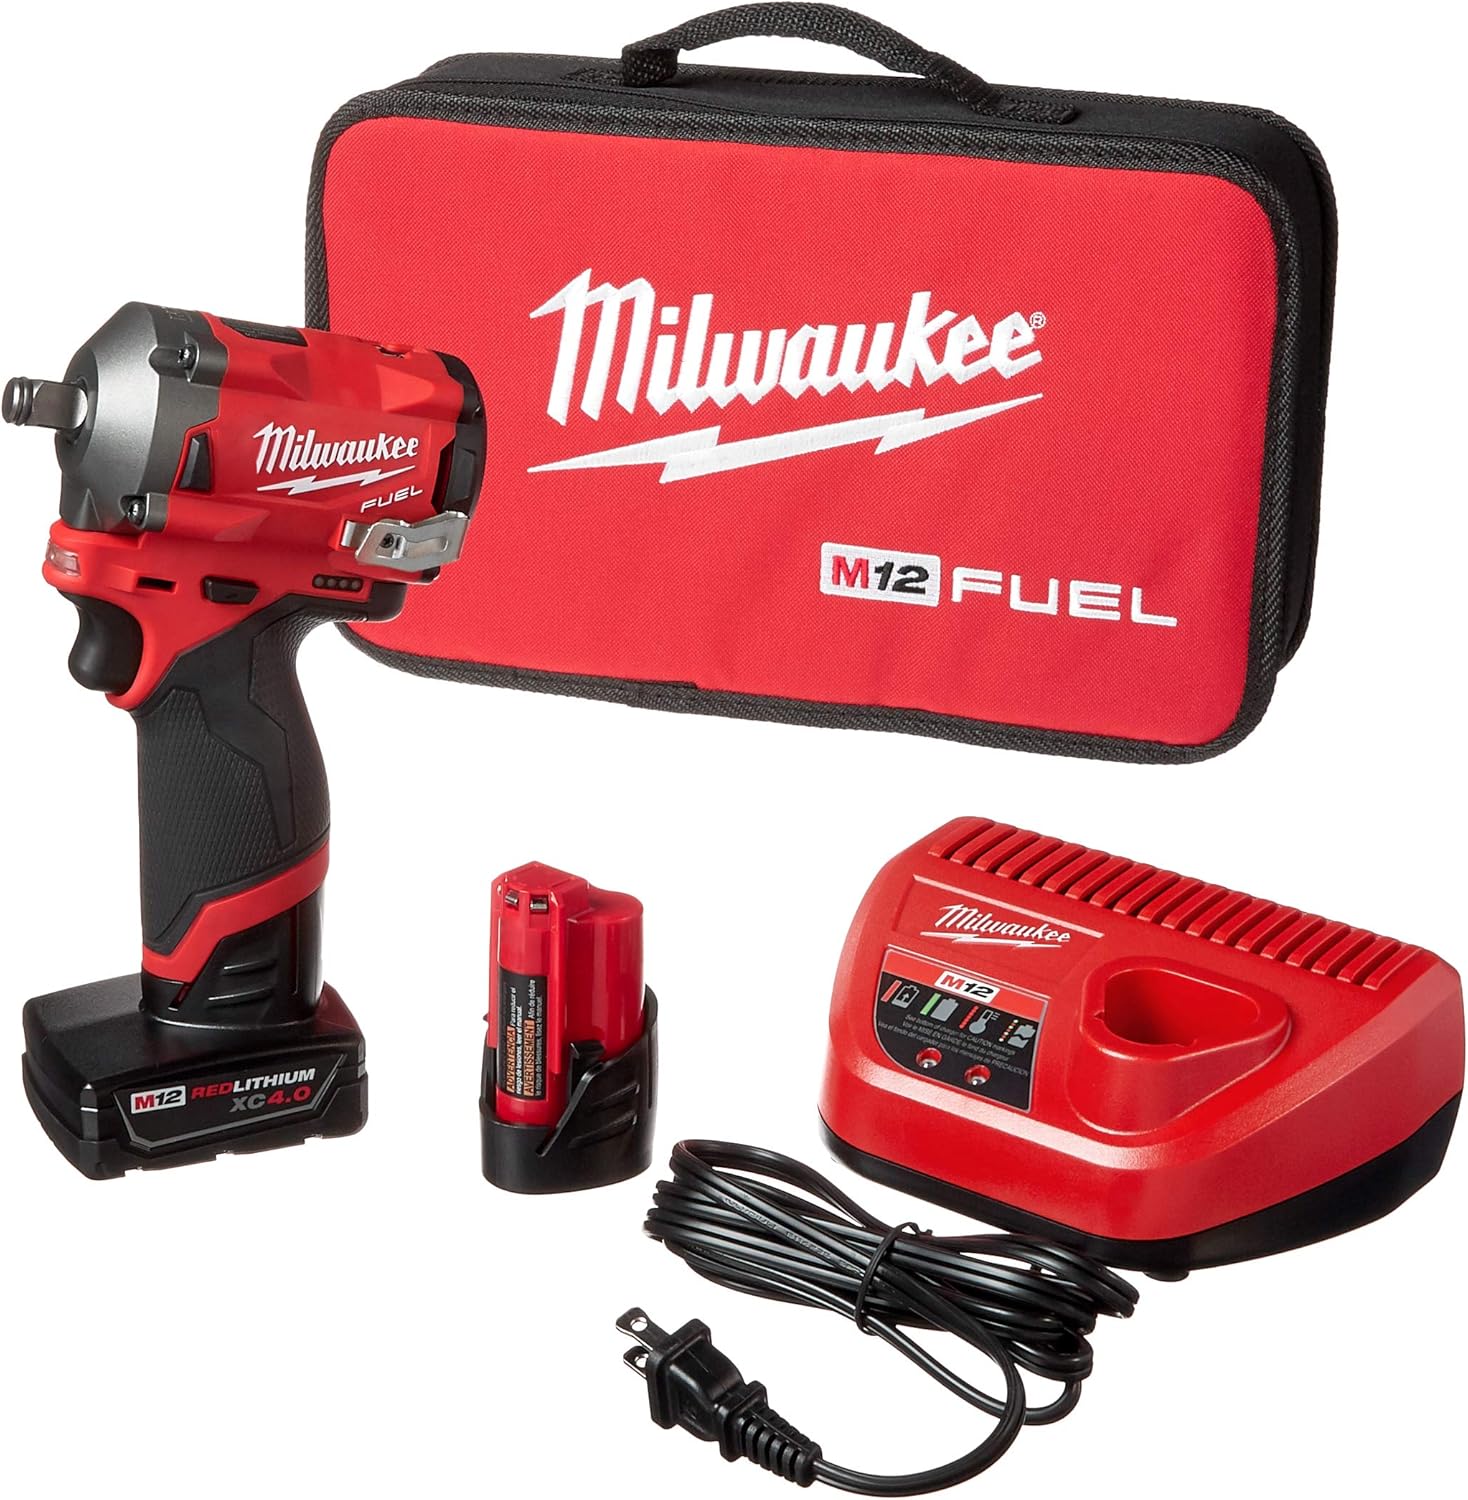
Figure 1: Milwaukee M12 FUEL Stubby 1/2 inch Impact Wrench Kit with charger and batteries in a carrying bag.
2. General Safety Information
Always read and understand all safety warnings, instructions, illustrations, and specifications provided with this power tool. Failure to follow all instructions listed below may result in electric shock, fire, and/or serious injury.
Work Area Safety
- Keep work area clean and well lit. Cluttered or dark areas invite accidents.
- Do not operate power tools in explosive atmospheres, such as in the presence of flammable liquids, gases, or dust. Power tools create sparks which may ignite the dust or fumes.
- Keep children and bystanders away while operating a power tool. Distractions can cause you to lose control.
Electrical Safety
- Power tool plugs must match the outlet. Never modify the plug in any way.
- Avoid body contact with earthed or grounded surfaces, such as pipes, radiators, ranges, and refrigerators. There is an increased risk of electric shock if your body is earthed or grounded.
- Do not expose power tools to rain or wet conditions. Water entering a power tool will increase the risk of electric shock.
Personal Safety
- Always wear eye protection. Use appropriate personal protective equipment such as dust mask, non-skid safety shoes, hard hat, or hearing protection for relevant conditions.
- Prevent unintentional starting. Ensure the switch is in the off-position before connecting to battery pack, picking up or carrying the tool.
- Do not overreach. Keep proper footing and balance at all times. This enables better control of the power tool in unexpected situations.
3. Package Contents
The Milwaukee M12 FUEL Stubby 1/2" Impact Wrench Kit (Model 2555-22) includes the following components:
- M12 FUEL Stubby 1/2 inch Impact Wrench (2555-20)
- M12 REDLITHIUM XC4.0AH Battery (48-11-2440)
- M12 REDLITHIUM CP2.0AH Battery (48-11-2420)
- M12 Charger (48-59-2401)
- Carrying Bag

Figure 2: Milwaukee M12 FUEL Stubby 1/2 inch Impact Wrench kit components arranged on a workbench.
4. Setup
4.1 Battery Charging
Before first use, fully charge the M12 REDLITHIUM batteries. Use only the Milwaukee M12 Charger (48-59-2401) provided with your kit.
- Plug the charger into a standard electrical outlet. The indicator light will illuminate.
- Slide the battery pack into the charger. The indicator light will show charging status (e.g., solid red for charging, solid green for fully charged).
- Once fully charged, remove the battery pack from the charger.

Figure 3: Milwaukee M12 battery charger.
4.2 Battery Installation and Removal
To install the battery pack:
- Align the battery pack with the base of the impact wrench.
- Slide the battery pack into the tool until it clicks securely into place.
To remove the battery pack:
- Press the release button located on the battery pack.
- Slide the battery pack out of the tool.

Figure 4: Milwaukee M12 REDLITHIUM CP2.0 battery.
4.3 Socket Installation
This impact wrench uses a 1/2" square drive. Ensure you use impact-rated sockets.
- Push the desired 1/2" square drive socket onto the anvil of the impact wrench until it locks into place.
- To remove, pull the socket firmly off the anvil.
5. Operating Instructions
5.1 Powering On/Off
The tool is activated by pressing the trigger. The speed is variable based on trigger pressure. Release the trigger to turn the tool off.
5.2 Direction of Rotation
The forward/reverse lever, located above the trigger, controls the direction of rotation. Push the lever to the left for forward (tightening) and to the right for reverse (loosening). The center position locks the trigger to prevent accidental starting.
5.3 4-Mode DRIVE CONTROL™
The M12 FUEL Stubby Impact Wrench features a 4-Mode DRIVE CONTROL™ system, allowing you to select the appropriate speed and power for your application. Press the mode selection button to cycle through the modes.
- Mode 1: Low speed and torque for precision work and delicate fasteners.
- Mode 2: Medium speed and torque for general fastening applications.
- Mode 3: High speed and torque for demanding applications requiring maximum power.
- Mode 4 (Auto-Shut Off): Designed to prevent over-fastening. In this mode, the tool will apply full torque to loosen a fastener, but when tightening, it will stop impacting once a certain torque threshold is reached, then apply a brief period of lower torque to seat the fastener without overtightening.

Figure 5: Milwaukee M12 FUEL Stubby 1/2 inch Impact Wrench, front view, showing mode selection button and forward/reverse lever.
6. Maintenance
6.1 Cleaning
- Keep the tool's ventilation openings clear and free of debris to prevent overheating.
- Use a soft, damp cloth to clean the exterior of the tool. Do not use harsh chemicals or abrasive cleaners.
- Never immerse the tool, battery pack, or charger in water or other liquids.
6.2 Storage
- Store the tool, battery packs, and charger in a cool, dry place, away from direct sunlight and excessive heat.
- Ensure battery packs are partially charged before long-term storage.
6.3 Battery Care
- Do not store battery packs in areas where temperatures may exceed 120°F (50°C), such as in direct sunlight or inside a vehicle.
- Avoid dropping or subjecting battery packs to severe impact.
7. Troubleshooting
If you encounter issues with your Milwaukee M12 FUEL Stubby Impact Wrench, refer to the following common problems and solutions:
| Problem | Possible Cause | Solution |
|---|---|---|
| Tool does not start | Battery not charged or improperly installed; Trigger lock engaged; Tool malfunction. | Ensure battery is fully charged and properly seated. Disengage trigger lock. If problem persists, contact service. |
| Reduced power or speed | Low battery charge; Incorrect mode selected; Overload. | Charge battery. Select a higher power mode (Mode 3). Reduce load on the tool. |
| Battery not charging | Charger not plugged in; Faulty battery or charger; Extreme temperature. | Check power connection. Try a different battery or charger if available. Ensure charging in a suitable temperature range (40°F-105°F / 5°C-40°C). |
| Fastener not loosening/tightening | Insufficient torque; Worn socket; Fastener seized. | Ensure Mode 3 is selected for maximum torque. Use impact-rated sockets in good condition. For seized fasteners, apply penetrating oil or use a breaker bar first. |
8. Specifications
The following are the key specifications for the Milwaukee M12 FUEL Stubby 1/2" Impact Wrench (Model 2555-22):
- Model Number: 2555-22
- Voltage: 12 Volts
- Drive Size: 1/2 inch Square
- Breakaway Torque: 250 ft-lbs
- Item Weight: 3.4 pounds (tool only)
- Product Dimensions: 4.9 inches in length
- Power Source: Battery (Lithium Ion)
- Included Batteries: 1x M12 4.0AH, 1x M12 2.0AH
- Charger: M12 Charger (48-59-2401)
9. Warranty and Support
Milwaukee power tools are designed to provide years of reliable service. For specific warranty information, please refer to the warranty card included with your product or visit the official Milwaukee Tool website. Keep your purchase receipt as proof of purchase for warranty claims.
For technical support, service, or to locate an authorized service center, please visit www.milwaukeetool.com or contact Milwaukee customer service directly.