Product Overview
The OXO Brew 8-Cup Coffee Maker is designed to deliver a superior coffee experience, whether you're brewing a single mug or a full carafe. It features BetterBrew precision brewing for optimal water temperature, volume, and brew time. Certified by the Specialty Coffee Association (SCA), this coffee maker ensures a rich, flavorful cup every time. Its Rainmaker showerhead provides even water distribution, and the double-wall, vacuum-insulated stainless steel carafe keeps coffee hot. The sleek, space-saving design fits neatly under cabinets, making it ideal for various kitchen sizes. An automatic cleaning mode helps maintain optimal machine condition.
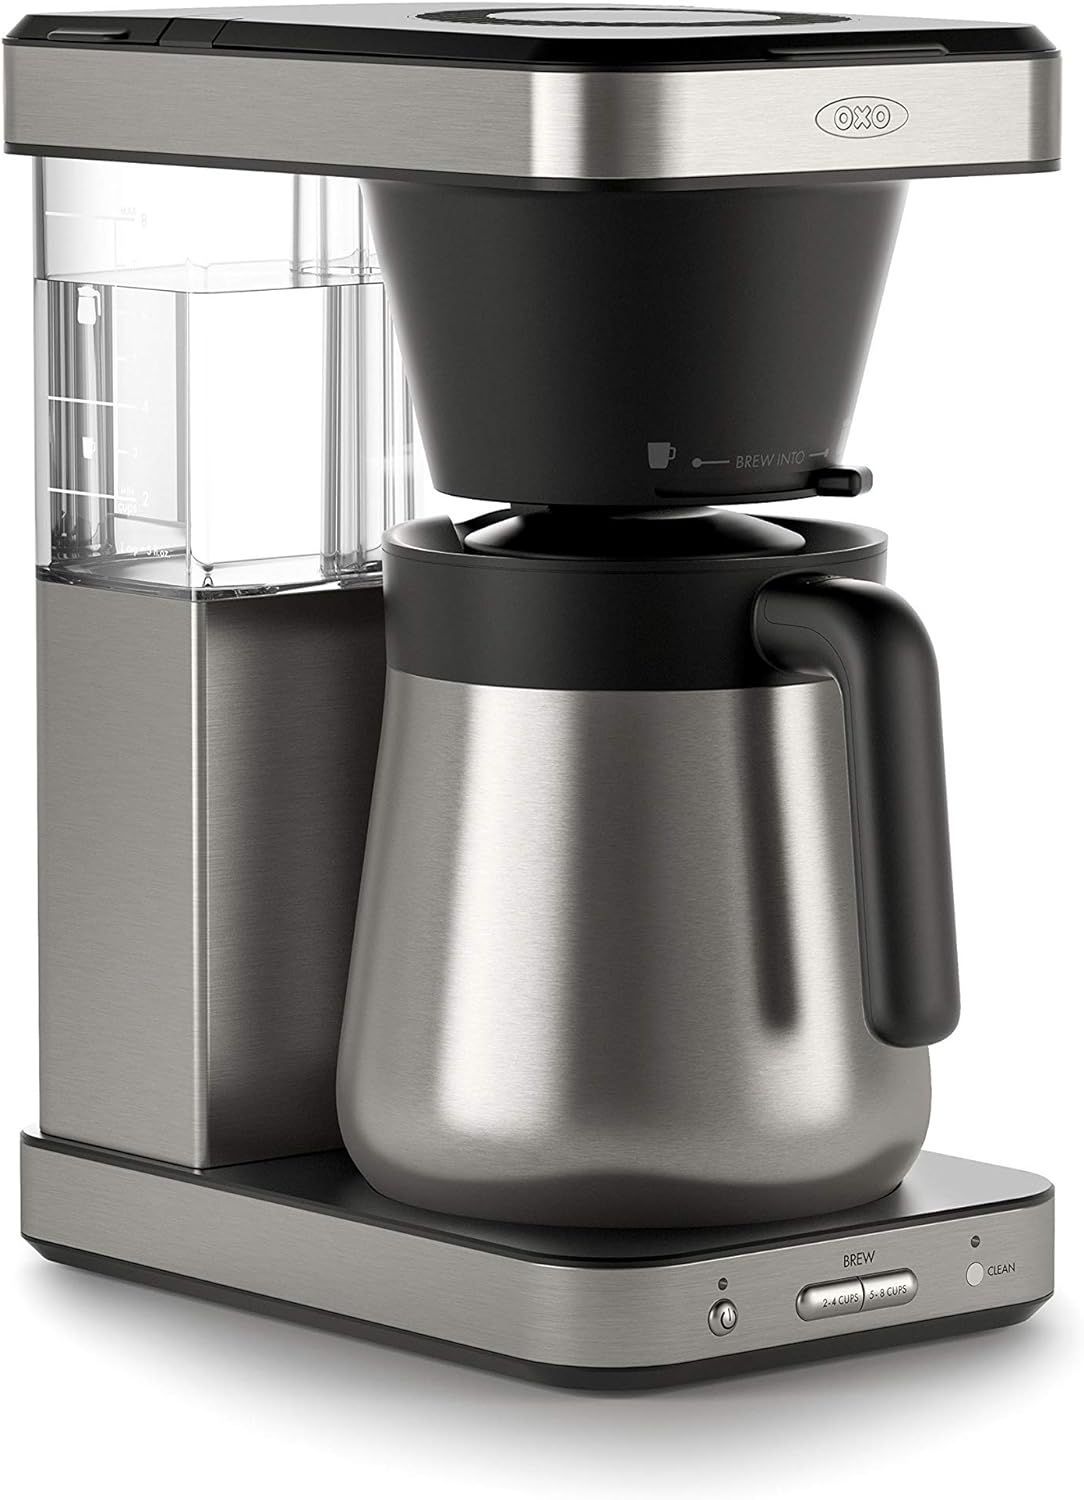
Image: Front view of the OXO Brew 8-Cup Coffee Maker, showcasing its sleek stainless steel design and thermal carafe.
Included Components
- Base Unit: The main body of the coffee maker housing the water reservoir and controls.
- Thermal Carafe: Double-wall, vacuum-insulated stainless steel carafe with a brew-through, pour-through lid to keep coffee hot.
- Brew Basket (Large): For brewing full carafes.
- Single-Serve Accessory (Small Basket): An insert for optimizing extraction when brewing a single cup.
- Coffee Scoop: For accurate coffee measurement.
- Rainmaker Showerhead: Ensures even water distribution over coffee grounds.
- Removable Well Cover: Allows for brewing into various mug sizes.
Setup Guide
- Unpack: Carefully remove all components from the packaging.
- Clean: Wash the thermal carafe, brew basket, single-serve accessory, and coffee scoop with warm, soapy water. Rinse thoroughly and dry.
- Placement: Place the coffee maker on a flat, stable surface near an electrical outlet. Ensure there is adequate clearance above for opening the lid and under cabinets if applicable.
- Initial Rinse: Fill the water reservoir to the MAX line with fresh, cold water. Place the empty thermal carafe on the heating plate. Run a brew cycle without coffee grounds to rinse the internal components. Discard the water.

Image: Product dimensions (10.5"D x 7"W x 13.5"H) for proper placement consideration.
Operating Instructions
Brewing a Full Carafe (5-8 Cups)
- Fill Water Reservoir: Open the lid and fill the water reservoir with fresh, cold water up to the desired level (2-8 cups).
- Prepare Brew Basket: Place a standard paper filter (cone or basket type, depending on your preference and the brew basket) into the large brew basket.
- Add Coffee Grounds: Add your desired amount of coffee grounds to the filter. A general guideline is 1 scoop (approx. 8g) per 5 oz cup.
- Place Carafe: Ensure the thermal carafe is properly seated on the base.
- Select Brew Size: Press the "5-8 CUPS" button. The button will illuminate.
- Start Brewing: Press the power button. The machine will begin the brewing cycle, including a pre-infusion (bloom) phase.
- Serve: Once brewing is complete, the machine will beep and the light will turn off. Carefully remove the carafe and pour.
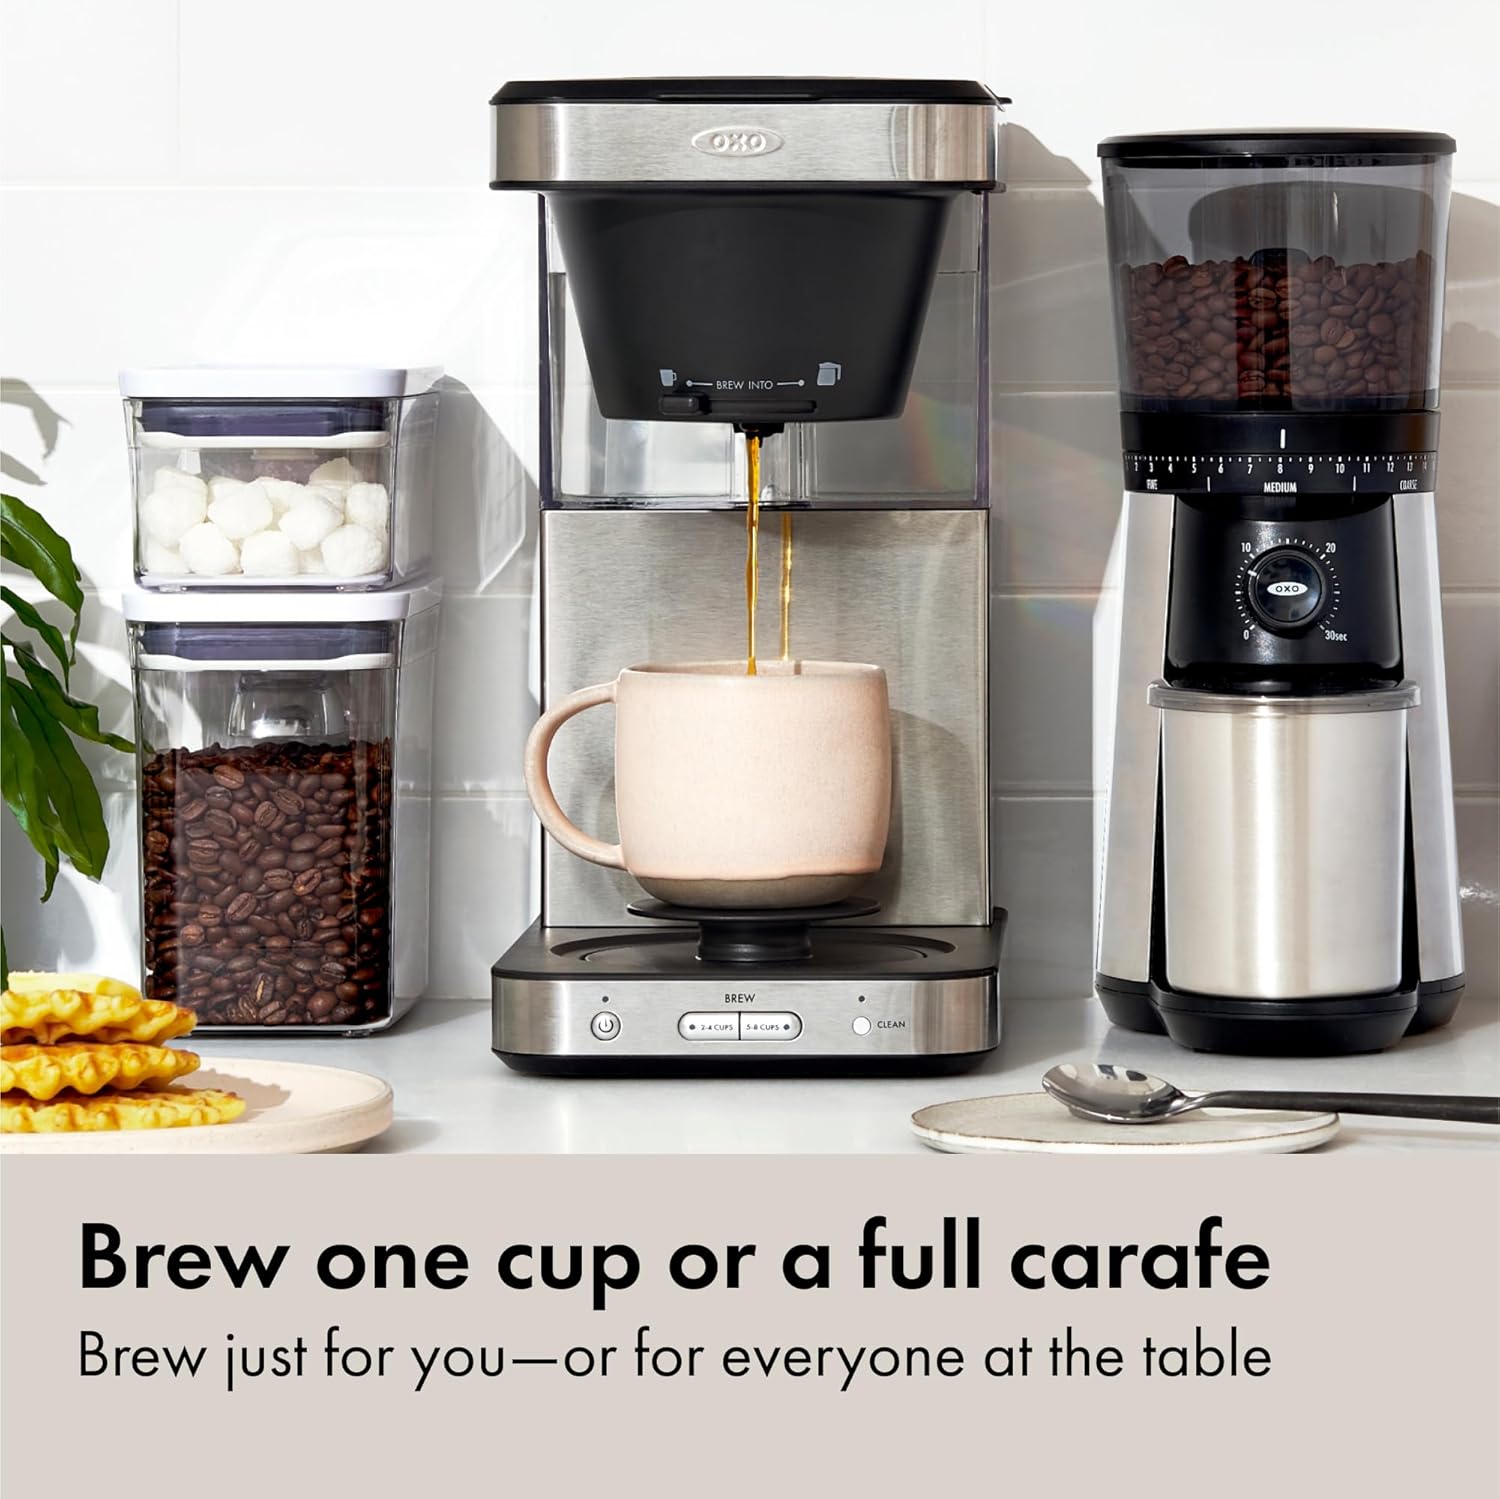
Image: The coffee maker in action, demonstrating its ability to brew directly into a mug or carafe.
Single-Serve Brewing (2-4 Cups)
- Fill Water Reservoir: Fill the water reservoir with fresh, cold water up to the desired level (2-4 cups).
- Prepare Single-Serve Accessory: Place the single-serve accessory (small basket) into the large brew basket. Insert a paper filter into the small basket.
- Add Coffee Grounds: Add your desired amount of coffee grounds to the filter in the small basket.
- Adjust Well Cover: Flip the well cover on the base to elevate shorter mugs, or remove it for taller travel mugs. Place your mug on the elevated platform or directly on the base.
- Select Brew Size: Press the "2-4 CUPS" button. The button will illuminate.
- Start Brewing: Press the power button. The machine will begin brewing.
- Serve: Once brewing is complete, the machine will beep and the light will turn off. Enjoy your freshly brewed single cup.
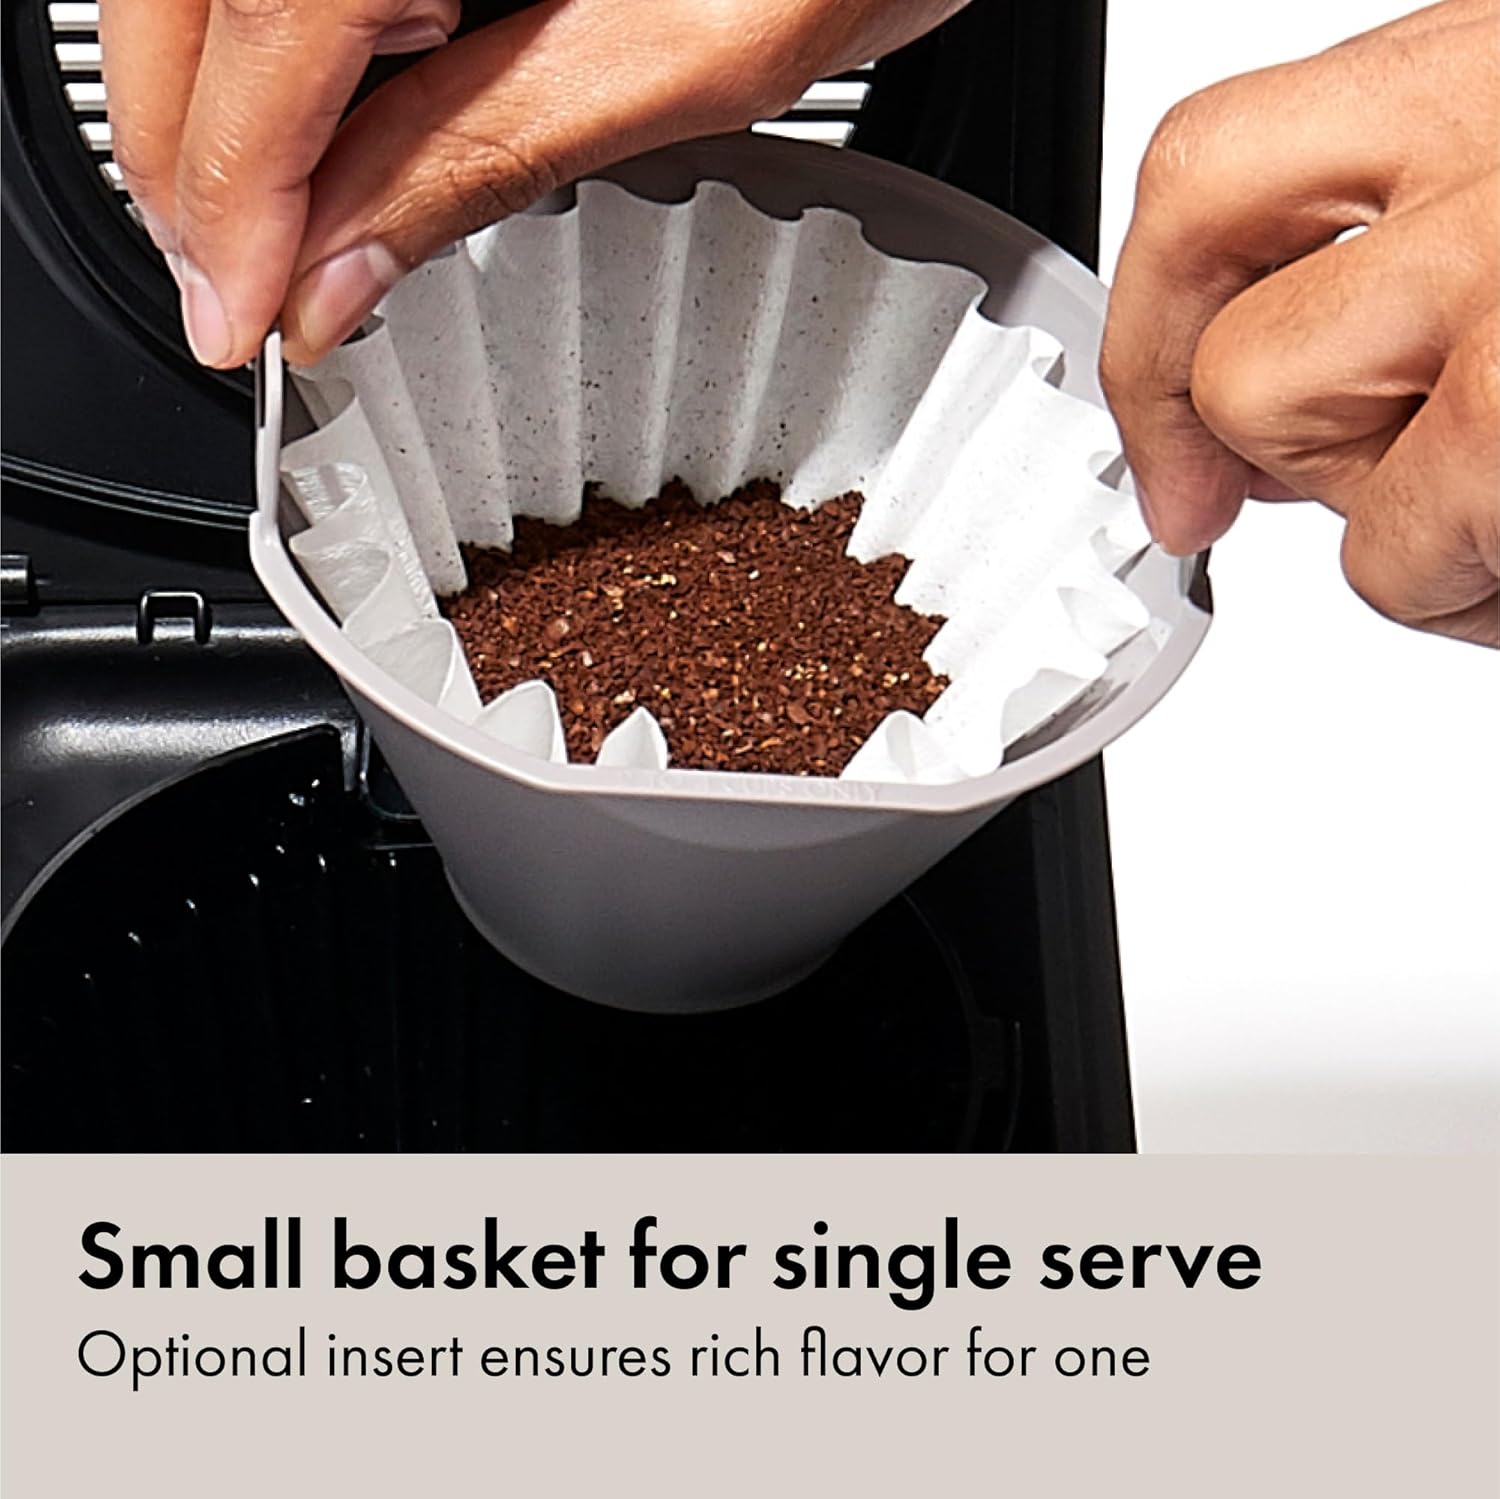
Image: Close-up of the single-serve basket, showing how to insert a paper filter and coffee grounds for individual servings.
Maintenance and Cleaning
Daily Cleaning
- After each use, discard used coffee grounds and paper filter.
- Wash the brew basket, single-serve accessory, and thermal carafe with warm, soapy water. Rinse thoroughly.
- Wipe the exterior of the coffee maker with a damp cloth.
Descaling (Automatic Cleaning Mode)
The coffee maker features an automatic cleaning mode to remove mineral buildup (descaling). The "CLEAN" button will illuminate when descaling is recommended.
- Prepare Descaling Solution: Fill the water reservoir with a descaling solution (e.g., white vinegar and water, or a commercial descaler) according to the solution's instructions.
- Start Cleaning Cycle: Place the empty thermal carafe on the base. Press and hold the "CLEAN" button for 3 seconds. The button will flash, indicating the cleaning cycle has started.
- Rinse: After the cleaning cycle is complete, discard the descaling solution. Run 2-3 full cycles with fresh, cold water to thoroughly rinse the machine.
Troubleshooting
| Problem | Possible Cause | Solution |
|---|---|---|
| Coffee is too weak/strong. | Incorrect coffee-to-water ratio, grind size. | Adjust coffee amount or grind fineness. Refer to brewing guidelines. |
| Coffee not brewing. | No water in reservoir, machine not plugged in, carafe not seated correctly. | Ensure water is filled, power cord is connected, and carafe is properly placed. |
| "CLEAN" light is on. | Machine needs descaling. | Perform a descaling cycle as per "Maintenance and Cleaning" section. |
| Water overflowing from brew basket. | Too many coffee grounds, filter clogged, grind too fine. | Reduce coffee grounds, use correct filter size, adjust grind size. |
Specifications
- Brand: OXO
- Model Name: OXO Brew 8-Cup Coffee Maker
- Model Number: 8718800
- Color: Stainless Steel
- Product Dimensions: 10.5"D x 7"W x 13.5"H
- Coffee Maker Type: Drip Coffee Machine
- Filter Type: Paper
- Operation Mode: Manual
- Voltage: 120 Volts
- Item Weight: 10.29 pounds
- Certification: SCA Certified Home Brewer
Important Safety Information
- Read all instructions before using the appliance.
- Do not touch hot surfaces. Use handles or knobs.
- To protect against fire, electric shock, and injury to persons, do not immerse cord, plugs, or appliance in water or other liquid.
- Close supervision is necessary when any appliance is used by or near children.
- Unplug from outlet when not in use and before cleaning. Allow to cool before putting on or taking off parts, and before cleaning the appliance.
- Do not operate any appliance with a damaged cord or plug or after the appliance malfunctions, or has been damaged in any manner.
- The use of accessory attachments not recommended by the appliance manufacturer may result in fire, electric shock, or injury to persons.
- Do not use outdoors.
- Do not let cord hang over edge of table or counter, or touch hot surfaces.
- Do not place on or near a hot gas or electric burner, or in a heated oven.
- Always attach plug to appliance first, then plug cord into the wall outlet. To disconnect, turn any control to "off", then remove plug from wall outlet.
- Do not use appliance for other than intended use.
Warranty and Support
For warranty information and customer support, please refer to the official OXO website or contact their customer service directly. Keep your purchase receipt for warranty claims.
You can also find additional resources and FAQs on the OXO Brand Store.


