Daytona 98270
Daytona PREMIUM ZONE Square Master Cylinder Cap Instruction Manual
Model: 98270
Introduction
Thank you for purchasing the Daytona PREMIUM ZONE Square Master Cylinder Cap. This high-quality accessory is designed to enhance the aesthetics and functionality of your motorcycle's brake master cylinder. Crafted with precision and attention to detail, it offers a superior finish and durable performance. This manual provides essential information for proper installation, maintenance, and safe use of your new master cylinder cap.

Image: The Daytona PREMIUM ZONE Square Master Cylinder Cap, showcasing its sleek design and red accents.

Image: A display of multiple Daytona PREMIUM ZONE Square Master Cylinder Caps in different color variations, highlighting the premium finish.
Safety Information
Please read and understand all safety warnings and instructions before installing or using this product. Failure to do so may result in property damage, injury, or death.
- Professional Installation Recommended: Installation of motorcycle components, especially those related to braking systems, should ideally be performed by a qualified mechanic.
- Brake Fluid Caution: Brake fluid is corrosive. Avoid contact with painted surfaces, plastic parts, and skin. If contact occurs, wash immediately with water.
- Fluid Level Check: Always ensure the brake fluid level is correct after installation. An incorrect fluid level can compromise braking performance.
- Torque Specifications: Always use the manufacturer's recommended torque specifications when tightening fasteners. Overtightening or undertightening can lead to damage or failure.
- Compatibility: Ensure this cap is compatible with your specific motorcycle model and master cylinder type before installation.
Package Contents
Verify that all items listed below are included in your package:
- Daytona PREMIUM ZONE Square Master Cylinder Cap x 1
- (Note: Mounting screws and rubber diaphragm are typically reused from the original cap or sold separately.)
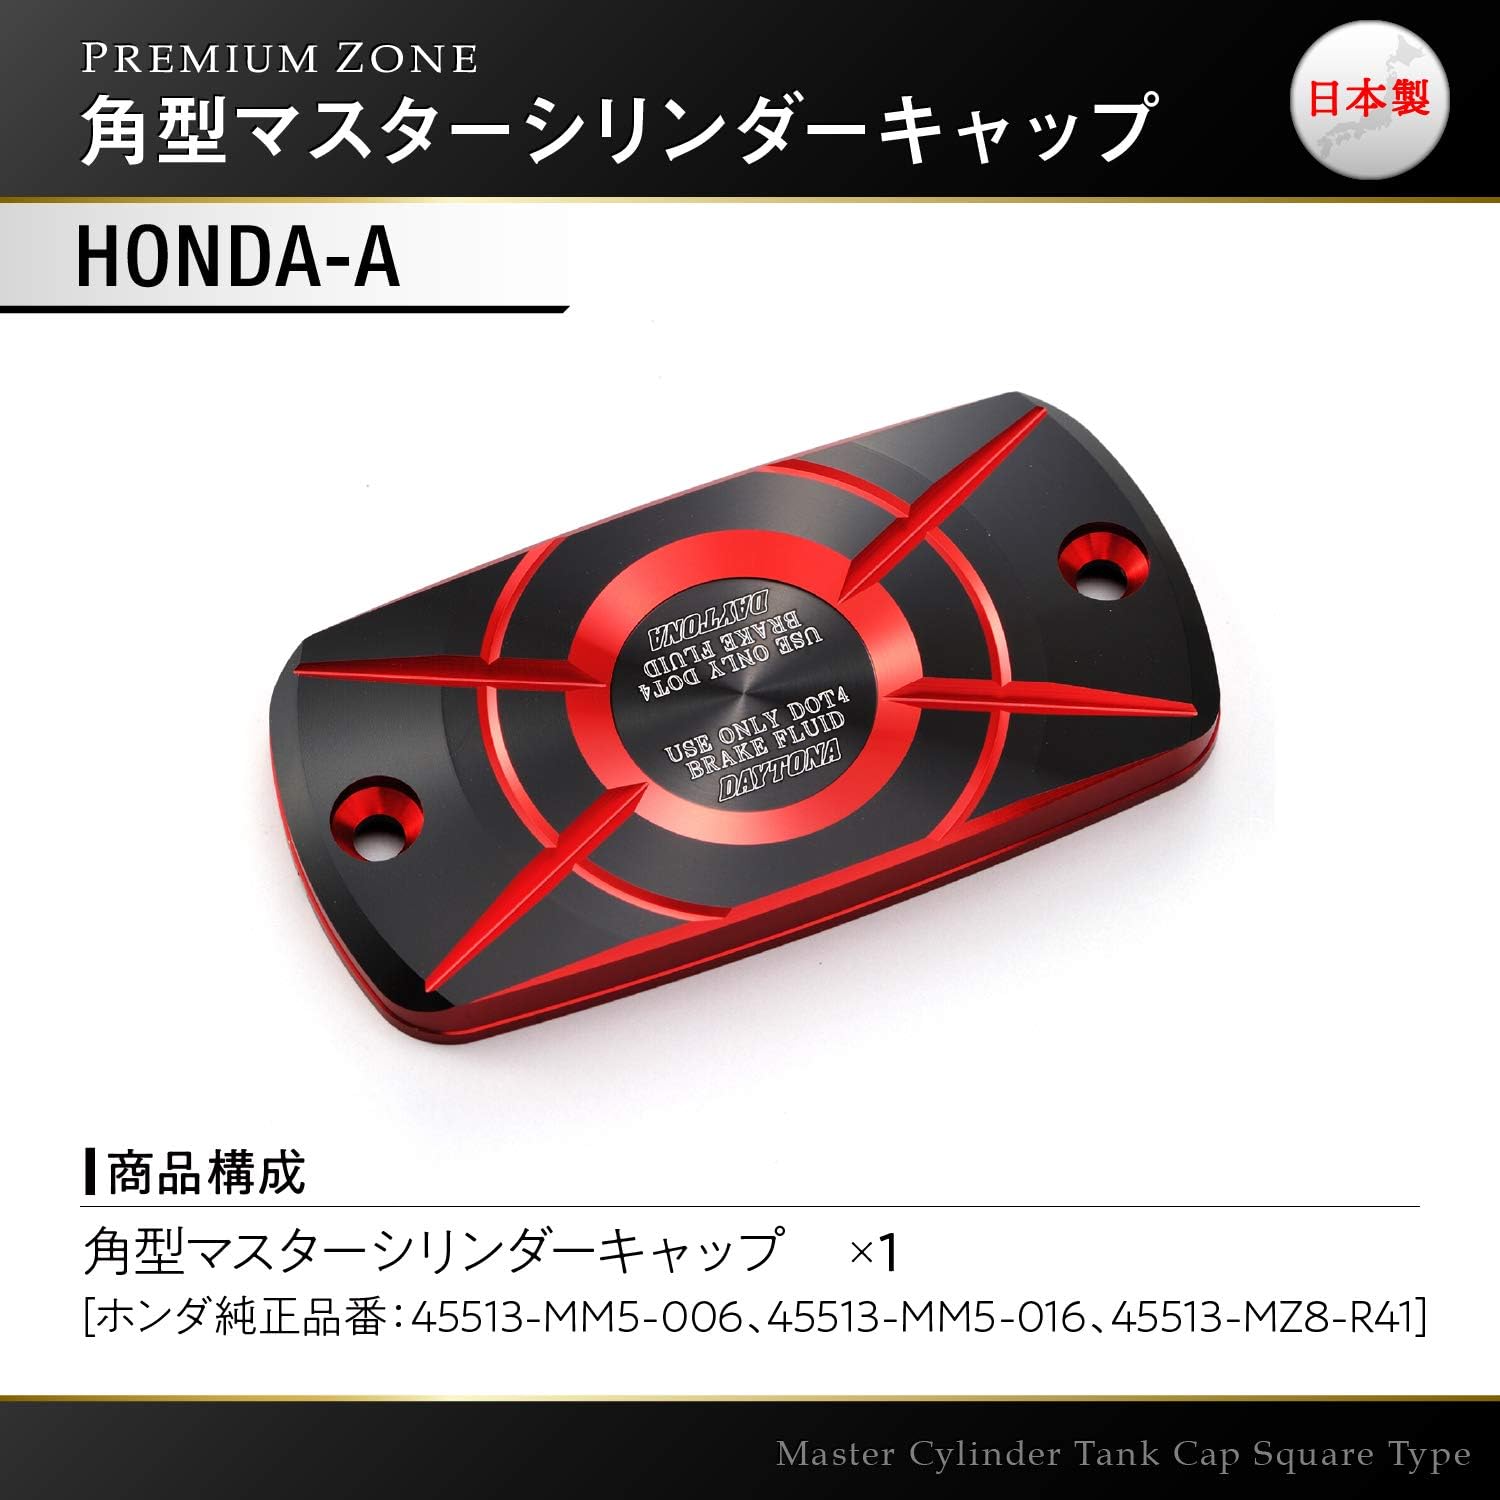
Image: The master cylinder cap with an indication of its product composition, including Honda genuine part numbers for reference.
Setup and Installation
Follow these steps carefully for proper installation. It is recommended to have a clean workspace and the necessary tools (e.g., screwdriver, torque wrench, clean rags).
- Prepare the Motorcycle: Park the motorcycle on a level surface. Turn the handlebars so the master cylinder reservoir is as level as possible to prevent brake fluid spills. Place clean rags around the master cylinder to catch any potential drips.
- Remove Original Cap: Carefully unscrew the two retaining screws holding the original master cylinder cap in place. Lift the cap off gently.
- Inspect Diaphragm: The rubber diaphragm (or gasket) is crucial for sealing the reservoir. Carefully remove it from the old cap (if it's attached) and inspect it for any tears, cracks, or damage. If damaged, replace it with a new one. If it's in good condition, transfer it to the new Daytona cap.
- Install New Cap: Place the Daytona PREMIUM ZONE Square Master Cylinder Cap onto the reservoir, ensuring the rubber diaphragm is properly seated and aligned.
- Secure Cap: Reinsert the two retaining screws. Tighten them evenly and gradually, following the motorcycle manufacturer's recommended torque specifications (typically very low torque, be careful not to overtighten).
- Check Brake Fluid Level: After installation, visually inspect the brake fluid level through the reservoir window. Ensure it is between the MIN and MAX lines. If necessary, add the correct type of brake fluid (DOT 4 as indicated on the cap) to the appropriate level.
- Clean Up: Wipe away any spilled brake fluid immediately with a clean, damp cloth.

Image: An example of the red Daytona PREMIUM ZONE Square Master Cylinder Cap installed on a motorcycle's master cylinder, showing its fit and appearance.

Image: An example of the blue Daytona PREMIUM ZONE Square Master Cylinder Cap installed on a motorcycle's master cylinder, demonstrating another color option.

Image: Examples of the gold and ash silver Daytona PREMIUM ZONE Square Master Cylinder Caps installed on different motorcycles, showcasing the range of available finishes.
Operating
Once installed, the Daytona PREMIUM ZONE Square Master Cylinder Cap functions as a direct replacement for your original cap. Its primary role is to seal the brake fluid reservoir and protect the brake fluid from contaminants and moisture. The cap is designed for use with DOT 4 brake fluid, as indicated on its surface.
- Brake Fluid Type: Always use DOT 4 brake fluid as specified on the cap and by your motorcycle manufacturer. Mixing different types of brake fluid or using an incorrect type can damage your braking system.
- Regular Checks: Periodically check the brake fluid level through the reservoir window. A drop in fluid level without a corresponding drop in pad thickness may indicate a leak and should be investigated immediately.
Maintenance
To ensure the longevity and optimal appearance of your Daytona PREMIUM ZONE Master Cylinder Cap, follow these simple maintenance guidelines:
- Cleaning: Clean the cap regularly with a soft, damp cloth and mild soap. Avoid abrasive cleaners, solvents, or harsh chemicals, as these can damage the anodized finish.
- Inspection: Periodically inspect the cap for any signs of damage, corrosion, or looseness. Ensure the retaining screws remain securely tightened.
- Diaphragm Check: If you remove the cap for any reason (e.g., brake fluid flush), always inspect the rubber diaphragm for integrity before reinstallation.
Troubleshooting
| Problem | Possible Cause | Solution |
|---|---|---|
| Brake fluid leak around cap | Cap not tightened correctly; Damaged or improperly seated rubber diaphragm; Incorrect cap for reservoir. | Ensure screws are tightened to specification. Remove cap, inspect and reseat or replace diaphragm. Verify cap compatibility. |
| Cap appears loose after installation | Screws not tightened sufficiently. | Tighten screws evenly to manufacturer's recommended torque. Do not overtighten. |
| Discoloration or fading of cap finish | Exposure to harsh chemicals or prolonged direct sunlight. | Use only mild soap and water for cleaning. Store motorcycle in shaded areas or use a cover when not in use. |
Specifications
| Feature | Detail |
|---|---|
| Product Name | Daytona PREMIUM ZONE Square Master Cylinder Cap |
| Model Number | 98270 |
| Brand | Daytona |
| Material | High-quality aluminum (anodized finish) |
| Recommended Brake Fluid | DOT 4 |
| Approx. Item Weight | 0.352 ounces |
| Approx. Package Dimensions | 5.91 x 4.72 x 0.87 inches |
Warranty and Support
Daytona products are manufactured to high standards. For specific warranty information, please refer to the warranty card included with your product or visit the official Daytona website. If you encounter any issues or have questions regarding your Daytona PREMIUM ZONE Square Master Cylinder Cap, please contact Daytona customer support or the authorized dealer from whom you purchased the product.
Daytona Official Website: www.daytona.co.jp (Please note: Website content may be in Japanese. Look for international support options or contact your local distributor.)
Related Documents - 98270
 |
OtterBox Defender Series Pro XT Clear with Magnets for Google Pixel 10 Pro XL Durable, protective OtterBox Defender Series Pro XT Clear case with MagSafe compatibility for Google Pixel 10 Pro XL. Features 7X military drop defense, dual-layer design, built-in magnets for 15W wireless charging, and raised edges for enhanced camera and screen protection. Made with recycled materials and compatible with Pixelsnap. |
Ask a question about this manual
Ask about setup, troubleshooting, compatibility, parts, safety, or missing instructions. Manuals+ will review the question and use this page’s manual context to help answer it.