1. Introduction
Thank you for purchasing the lightmaXX Vega PAR COB LED PAR Spot. This device is designed for professional stage lighting applications, offering versatile color mixing and control options. To ensure safe operation and maximize the lifespan of your product, please read this manual thoroughly before use and keep it for future reference.
2. Safety Instructions
- Electrical Safety: Ensure the power supply voltage matches the device's requirements. Always connect to a grounded outlet. Disconnect power before cleaning or servicing.
- Temperature: Do not operate the device in excessively high temperatures. Ensure adequate ventilation around the unit.
- Moisture: This device is not waterproof. Do not expose it to rain, moisture, or high humidity.
- Mounting: Always secure the device properly using appropriate clamps and safety cables. Ensure the mounting surface can support the weight of the fixture.
- Eye Safety: Do not look directly into the light source. The intense light can cause eye damage.
- Servicing: Refer all servicing to qualified personnel. Do not attempt to repair the unit yourself.
3. Package Contents
Please check that all items listed below are included in your package:
- lightmaXX Vega PAR COB LED PAR Spot
- Power Cable
- Mounting Bracket
- User Manual (this document)
- Remote Control (if applicable to your model)
4. Product Overview
Familiarize yourself with the components of your lightmaXX Vega PAR COB LED PAR Spot.

Figure 4.1: Front view of the lightmaXX Vega PAR COB LED PAR Spot, showing the COB LED light source and adjustable mounting bracket.

Figure 4.2: Rear panel of the lightmaXX Vega PAR COB LED PAR Spot, featuring the digital display, control buttons (MENU, UP, DOWN, ENTER), MIC for sound activation, DMX In/Out ports, and Power In/Out connections.

Figure 4.3: Close-up view of the digital display and control buttons (MENU, UP, DOWN, ENTER) on the rear panel, used for navigating settings and modes.

Figure 4.4: The lightmaXX Vega PAR COB LED PAR Spot shown with its infrared remote control, which allows for convenient adjustment of settings and modes from a distance.
5. Setup
- Unpacking: Carefully remove the PAR spot from its packaging. Inspect for any signs of damage during transit.
- Mounting:
- Attach the included mounting bracket to a secure truss, stand, or flat surface using appropriate hardware (not included).
- Ensure the fixture is securely fastened and use a safety cable for additional security.
- Adjust the angle of the PAR spot as desired using the bracket's locking knobs.
- Power Connection: Connect the supplied power cable to the "POWER IN" port on the rear of the unit and then to a suitable grounded power outlet.
- DMX Connection (Optional): If using DMX control, connect a DMX cable from your DMX controller's output to the "DMX IN" port on the PAR spot. For multiple units, daisy-chain from "DMX OUT" of the first unit to "DMX IN" of the next.
6. Operating Instructions
The lightmaXX Vega PAR COB can be operated via its rear panel display and buttons, or using the included infrared remote control.
6.1. Control Panel Operation
Use the MENU, UP, DOWN, and ENTER buttons on the rear panel (refer to Figure 4.3) to navigate through the settings and select operating modes.
- MENU: Cycles through the main menu options (e.g., DMX Address, Auto Programs, Sound Mode, Static Color).
- UP/DOWN: Adjusts values or scrolls through options within a menu.
- ENTER: Confirms a selection or saves a setting.
6.2. Operating Modes
The PAR spot offers several operating modes:
- DMX Mode: Allows control via an external DMX controller. Set the DMX address using the control panel. Consult the DMX chart (usually provided in a separate DMX manual or product sheet) for channel functions.
- Auto Programs: Pre-programmed light shows that run automatically. Select from various built-in programs using the control panel or remote.
- Sound-Activated Mode: The light reacts to music or sound picked up by the built-in microphone (refer to Figure 4.2). Adjust sensitivity if needed.
- Static Color Mode: Select a fixed color from the available options.
- Master/Slave Mode: Link multiple units together. One unit acts as the master, controlling all connected slave units. Connect DMX cables in a daisy chain.
6.3. Remote Control Operation
The infrared remote control (refer to Figure 4.4) provides convenient access to various functions:
- ON/OFF: Powers the unit on or off.
- DMX: Activates DMX mode.
- Auto: Cycles through automatic programs.
- Sound: Activates sound-activated mode.
- Strobe: Activates strobe effect.
- Jump/Fade: Selects between jump or fade transitions for color changes.
- Color Buttons: Directly selects static colors (e.g., RED, GREEN, BLUE, WHITE, AMBER, CYAN).
- +/- Buttons: Adjusts brightness, speed, or DMX values depending on the active mode.
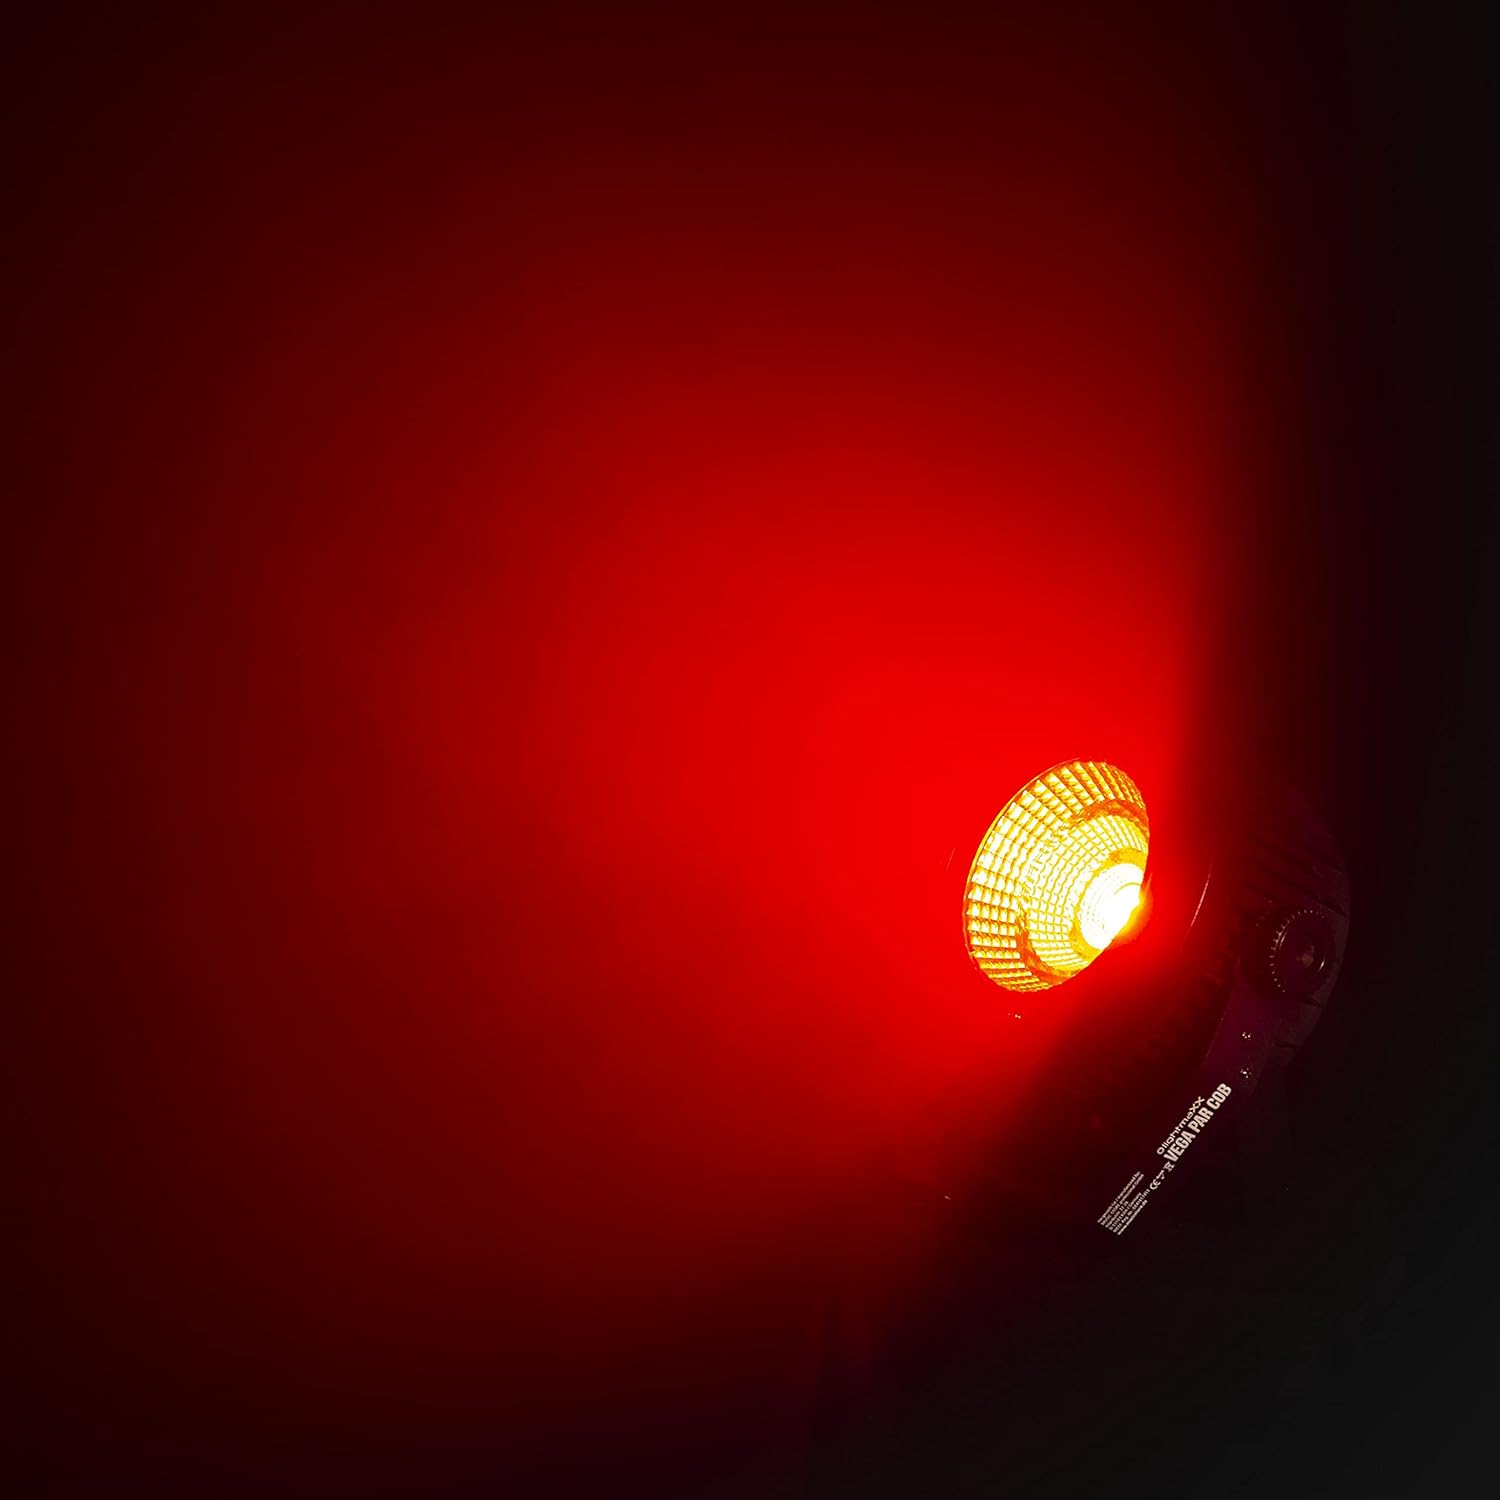
Figure 6.1: The lightmaXX Vega PAR COB LED PAR Spot projecting a vibrant red light, demonstrating its color capabilities.

Figure 6.2: The lightmaXX Vega PAR COB LED PAR Spot projecting a bright green light, showcasing another color option.

Figure 6.3: The lightmaXX Vega PAR COB LED PAR Spot projecting a deep blue light, illustrating its full-color spectrum.
7. Maintenance
- Cleaning: Regularly clean the lens and housing with a soft, lint-free cloth. Do not use abrasive cleaners or solvents. Ensure the device is unplugged before cleaning.
- Ventilation: Keep ventilation openings clear of dust and debris to prevent overheating.
- Inspection: Periodically check power cables, DMX cables, and mounting hardware for wear or damage. Replace any damaged components immediately.
- Storage: When not in use, store the PAR spot in a dry, dust-free environment.
8. Troubleshooting
| Problem | Possible Cause | Solution |
|---|---|---|
| No power | Power cable not connected; no power from outlet; blown fuse. | Check power cable connection; test outlet; replace fuse (if applicable and accessible by qualified personnel). |
| No DMX control | Incorrect DMX address; faulty DMX cable; DMX controller issue; incorrect DMX mode selected. | Verify DMX address setting; check DMX cable integrity; ensure DMX controller is functioning; select DMX mode on the fixture. |
| Light output is weak or flickering | Overheating; power supply issue; internal fault. | Ensure proper ventilation; check power connections; if problem persists, contact support. |
| Sound mode not responding | Microphone sensitivity too low; no sound input; sound mode not active. | Increase microphone sensitivity; ensure sound source is present; activate sound mode. |
9. Specifications
| Feature | Detail |
|---|---|
| Brand | lightmaXX |
| Model | Vega PAR COB |
| Part Number | LIG0015651-000 |
| Light Source | COB LED |
| Control Modes | DMX, Auto, Sound-Activated, Static Color, Master/Slave |
| Dimensions (L x W x H) | 21.2 x 21.2 x 15.7 cm |
| Weight | 1.36 kg |
| Power Source | Mains powered |
| Color | Black |
| First Available Date | January 15, 2020 |
| Country of Origin | Germany |
10. Warranty and Support
lightmaXX products are designed for reliability and performance. For warranty information, please refer to the documentation provided at the time of purchase or visit the official lightmaXX website. If you encounter any issues not covered in the troubleshooting section, or require further assistance, please contact lightmaXX customer support through their official channels.
Please retain your proof of purchase for warranty claims.