1. Introduction
The WMF Lono Sous Vide Garer Pro is a versatile 2-in-1 appliance designed for both precise low-temperature sous vide cooking and traditional slow cooking. This manual provides essential information for safe operation, setup, usage, maintenance, and troubleshooting to ensure optimal performance and longevity of your appliance.

Image 1.1: The WMF Lono Sous Vide Garer Pro in use, showcasing both sous vide and slow cooking functions.
2. Safety Instructions
Please read all safety instructions carefully before using the appliance. Failure to follow these instructions may result in electric shock, fire, or serious injury.
- Always ensure the appliance is placed on a stable, heat-resistant surface.
- Do not immerse the base unit (containing electrical components) in water or other liquids.
- Keep the appliance out of reach of children and pets.
- Unplug the appliance from the power outlet when not in use, before cleaning, and during assembly or disassembly.
- Do not operate the appliance if the power cord or plug is damaged, or if the appliance malfunctions or has been dropped. Contact authorized service personnel for repair.
- Use only original WMF accessories and spare parts.
- Ensure proper ventilation around the appliance during operation.
- The water tank and stainless steel insert can become very hot during and after operation. Use caution and oven mitts when handling.
3. Product Overview
Familiarize yourself with the components of your WMF Lono Sous Vide Garer Pro.

Image 3.1: Exploded view showing all components of the WMF Lono Sous Vide Garer Pro.
Components:
- Base Unit: Contains the heating element and control panel.
- TRITAN Water Tank (6 Liters): Transparent, BPA-free tank for holding water. Features large transport handles.
- Lid: Transparent lid for the water tank.
- Sous Vide Rack: Separator for vacuum-sealed bags to ensure even cooking.
- Stainless Steel Insert: For slow cooking functions.

Image 3.2: Detail of the transparent TRITAN water tank with integrated handles.
Control Panel:
The control panel features an LCD display and intuitive buttons for setting temperature and time.

Image 3.3: The digital control panel with LCD display, power button, start/pause, menu, and rotary dial.
- Power Button (U): Turns the appliance on/off.
- Start/Pause Button (||): Starts or pauses the cooking process.
- Menu Button (≡): Toggles between temperature and time settings.
- Rotary Dial: Used to adjust temperature and time values.
- LCD Display: Shows current temperature, target temperature, and remaining cooking time.
4. Setup
Before first use, ensure all packaging materials are removed and clean the water tank, lid, sous vide rack, and stainless steel insert with warm soapy water. Rinse thoroughly and dry.
Initial Setup Steps:
- Place the base unit on a flat, stable, and heat-resistant surface.
- Position the TRITAN water tank securely on top of the base unit.
- Fill the water tank with water. For sous vide, ensure the water level is between the MIN and MAX marks, covering the food you intend to cook. For slow cooking, refer to the recipe for appropriate liquid levels.
- Plug the power cord into a grounded electrical outlet. The display will illuminate.

Image 4.1: Front view of the appliance showing water level indicators on the TRITAN tank.
5. Operating Instructions
5.1. Sous Vide Cooking
Sous vide cooking involves precise temperature control for perfectly cooked food.
- Prepare your food (e.g., meat, fish, vegetables) and season as desired.
- Place the food in a vacuum-sealable bag and remove all air using a vacuum sealer.
- Place the sous vide rack into the water tank. This helps keep bags submerged and separated.
- Fill the water tank with water to the appropriate level.
- Press the Power button (U) to turn on the appliance.
- Use the Menu button (≡) to select the temperature setting. Rotate the dial to set the desired temperature (range: 35°C to 90°C).
- Press the Menu button again to select the timer setting. Rotate the dial to set the desired cooking time (up to 72 hours).
- Once temperature and time are set, press the Start/Pause button (||) to begin heating the water.
- When the water reaches the target temperature, carefully place the vacuum-sealed food bags into the water bath, ensuring they are fully submerged.
- Place the lid on the water tank.
- The timer will begin counting down once the target temperature is reached.
- After the cooking time expires, the appliance will alert you. Carefully remove the food bags.

Image 5.1: The sous vide rack placed inside the water tank, ready for food bags.

Image 5.2: A person carefully placing a vacuum-sealed bag of meat into the water bath with the sous vide rack.
5.2. Slow Cooking
The slow cooking function is ideal for tenderizing tougher cuts of meat and developing rich flavors.
- Ensure the TRITAN water tank is placed on the base unit.
- Insert the stainless steel insert into the water tank.
- Add your ingredients and liquids directly into the stainless steel insert.
- Fill the water tank with water around the stainless steel insert, ensuring the water level is appropriate for the slow cooking process (refer to recipe or ensure sufficient water for heat transfer).
- Press the Power button (U) to turn on the appliance.
- Use the Menu button (≡) to select the temperature setting. Rotate the dial to set the desired temperature (maximum 90°C for slow cooking).
- Press the Menu button again to select the timer setting. Rotate the dial to set the desired cooking time.
- Press the Start/Pause button (||) to begin the slow cooking process.
- Place the lid on the water tank.
- Monitor the cooking process as needed.
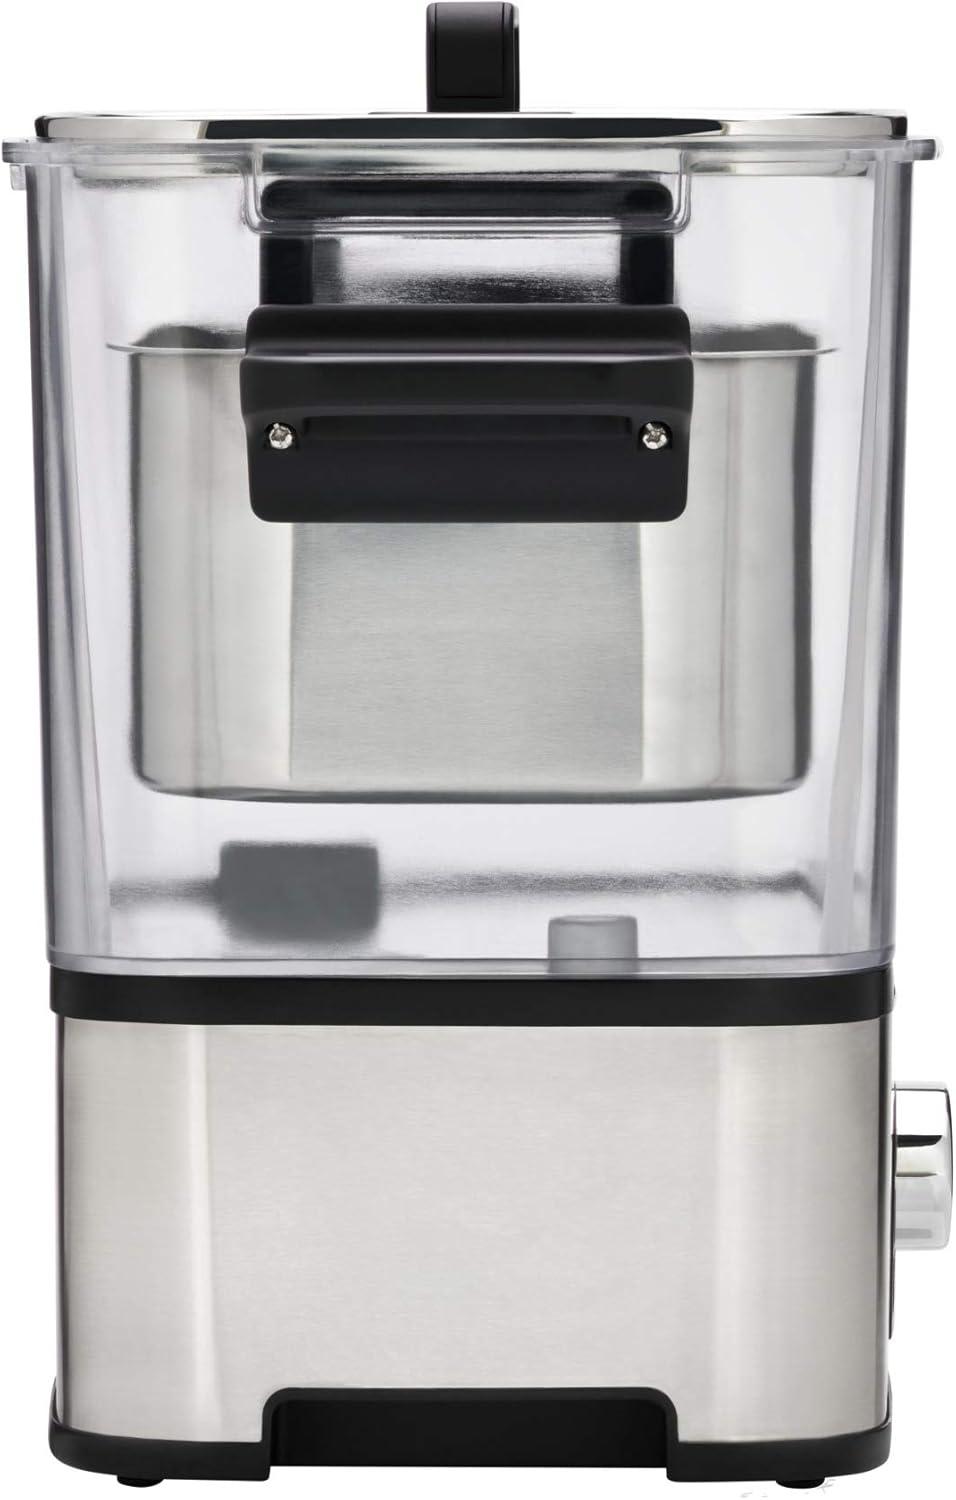
Image 5.3: The stainless steel insert positioned within the water tank for slow cooking.

Image 5.4: A meal prepared using the slow cooking function, served with pasta.
6. Maintenance and Cleaning
Regular cleaning and maintenance will prolong the life of your appliance.
Cleaning Steps:
- Always unplug the appliance and allow it to cool completely before cleaning.
- Remove the water tank, lid, sous vide rack, and stainless steel insert.
- Wash these removable parts with warm water and a mild dish soap. Rinse thoroughly and dry completely. These parts are generally dishwasher safe, but hand washing is recommended for longevity.
- Wipe the exterior of the base unit with a damp cloth. Do not use abrasive cleaners or scourers. Never immerse the base unit in water.
- Ensure all parts are dry before reassembling or storing the appliance.
Descaling:
Depending on water hardness, mineral deposits may accumulate in the water tank and on the heating element. Descale the appliance regularly (e.g., every 1-3 months) using a commercial descaling solution suitable for kitchen appliances or a mixture of water and white vinegar. Follow the descaling product's instructions or run the appliance with the descaling solution for a short period, then rinse thoroughly multiple times with clean water.
7. Troubleshooting
If you encounter issues with your WMF Lono Sous Vide Garer Pro, refer to the table below for common problems and solutions.
| Problem | Possible Cause | Solution |
|---|---|---|
| Appliance does not turn on. | Not plugged in; power outage; faulty power cord/outlet. | Check power connection; test outlet with another appliance; inspect power cord for damage. |
| Water is not heating. | Start button not pressed; heating element malfunction. | Ensure the Start/Pause button is pressed; if problem persists, contact customer support. |
| Temperature is inconsistent. | Insufficient water; mineral buildup on heating element. | Ensure water level is adequate; descale the appliance. |
| Display shows an error code. | Internal malfunction. | Unplug the appliance, wait a few minutes, then plug it back in. If the error persists, contact customer support. |
8. Specifications
- Brand: WMF
- Model Number: 0415360011
- Color: Cromargan Matte
- Product Dimensions: 52.5 x 25.8 x 43 cm (approx. 20.7 x 10.2 x 16.9 inches)
- Capacity: 6 Liters
- Power: 1500 Watts
- Material: Plastic (TRITAN, BPA-free) and Cromargan (Stainless Steel)
- Product Weight: 2.59 kg (approx. 5.7 lbs)
- Temperature Range: 35°C to 90°C (95°F to 194°F)
- Timer Function: Up to 72 hours
- Control Method: Touch and Rotary Dial
9. Warranty and Support
WMF products are manufactured to high-quality standards and come with a manufacturer's warranty. Please refer to the warranty card included with your purchase for specific terms and conditions, including the warranty period and coverage details.
For technical support, spare parts, or warranty claims, please contact WMF customer service. Contact information can typically be found on the WMF official website or in the documentation provided with your appliance.
When contacting support, please have your model number (0415360011) and proof of purchase readily available.


