1. Introduction
Thank you for choosing the Hon&Guan 4-inch Insulated Flexible Duct. This manual provides essential information for the safe and effective installation, operation, and maintenance of your new ducting system. This heavy-duty, three-layer flexible duct is designed for various HVAC and ventilation applications, including dryer vents, kitchen exhausts, and grow room air circulation.

Image 1: Hon&Guan 4-inch insulated flexible duct and included clamps.
2. Safety Information
- Always wear appropriate personal protective equipment (PPE), such as gloves, when handling the ducting to prevent cuts from the internal wire helix.
- Ensure all connections are secure and airtight to prevent air leaks and maintain system efficiency.
- Do not install the ducting near open flames or extreme heat sources unless specifically rated for such conditions.
- Verify that the duct diameter matches your fan, vent, or appliance connections to ensure a proper fit.
- Keep the ducting clear of obstructions to ensure optimal airflow.
3. Package Contents
Please check the package for the following items:
- 1 x Hon&Guan 4-inch Insulated Flexible Duct (16 feet long)
- 2 x Hose Clamps
4. Product Features
The Hon&Guan flexible duct is engineered with a robust three-layer construction to provide durability and efficient performance:
- Low Noise Silencer: Designed to reduce noise generated by fans and carbon filter systems, potentially decreasing noise levels by up to 50%.
- Lightproof Design: A thick black PVC outer layer prevents light leaks, making it suitable for applications requiring light control, such as grow rooms.
- Three-Layer Construction:
- PVC Film Covered: The outer black PVC layer provides protection against light leaks and punctures.
- Steel Spring Structured: An internal steel wire helix maintains the duct's round shape and provides flexibility.
- PET Protective Film: A layer of PET film reduces air friction and protects the inner aluminum foil.
- Aluminum Foil: Two layers of aluminum foil reflect heat and cold, offering fire resistance and insulation.
- Flexible and Easy to Use: The duct is highly flexible, allowing for easy installation and routing around obstacles. It can be cut to desired lengths using a wire cutter and a utility knife.

Image 2: Cross-section illustrating the multi-layer construction of the duct.

Image 3: Visual representation of the duct's key properties: flexibility, flame resistance, and crush resistance.
5. Specifications
| Attribute | Detail |
|---|---|
| Brand | Hon&Guan |
| Model Number | PI428 |
| Material | Aluminum, PVC |
| Color | Black |
| Size | 4 x 16 FT (Diameter x Length) |
| Inner Diameter | 4.25 inches (10.8 cm) |
| Outer Diameter | 4.33 inches (11 cm) |
| Nominal Wall Thickness | 0.08 inch |
| Maximum Pressure | 5 Bars |
| Item Weight | 1.2 pounds (544.31 Grams) |
| Structure | Spiral Steel-Wire |
| Included Components | 2 Hose Clamps, 4inch*16ft Dryer Vent Hose |

Image 4: Detailed specifications of the ducting.

Image 5: Visual guide to the duct's outer and inner diameter.
6. Installation Guide
Follow these steps for proper installation of your flexible duct:
- Prepare the Duct: Extend the duct to its maximum length before cutting or connecting. If a shorter length is required, extend it fully first, then cut it to the desired size using a wire cutter for the internal helix and a utility knife for the outer layers.
- Fit the Connection: Carefully slide one end of the duct over the outlet of your appliance (e.g., dryer vent, fan, carbon filter). Ensure a snug fit.
- Secure with Clamp: Place one of the provided hose clamps over the duct connection point. Tighten the clamp securely with a screwdriver to create an airtight seal.
- Route the Duct: Guide the duct along the desired path, avoiding sharp bends or kinks that could restrict airflow. The duct's flexibility allows for easy adjustment.
- Connect Second End: Attach the other end of the duct to the intake or exhaust port of your system, repeating steps 2 and 3 to secure it with the second hose clamp.
- Verify Connections: Double-check all connections to ensure they are tight and free of leaks.

Image 6: Easy installation steps for the flexible duct.
7. Applications
This versatile ducting is suitable for a wide range of ventilation and HVAC applications, including but not limited to:
- Kitchens: For cooking exhaust systems.
- Bathrooms: For moisture and odor exhaust.
- Dryer Rooms: As a dryer vent hose.
- Greenhouses and Grow Rooms: For air circulation, intake, exhaust, and cooling light fixtures.
- HVAC Systems: General air movement and delivery.

Image 7: Examples of common applications for the flexible duct.
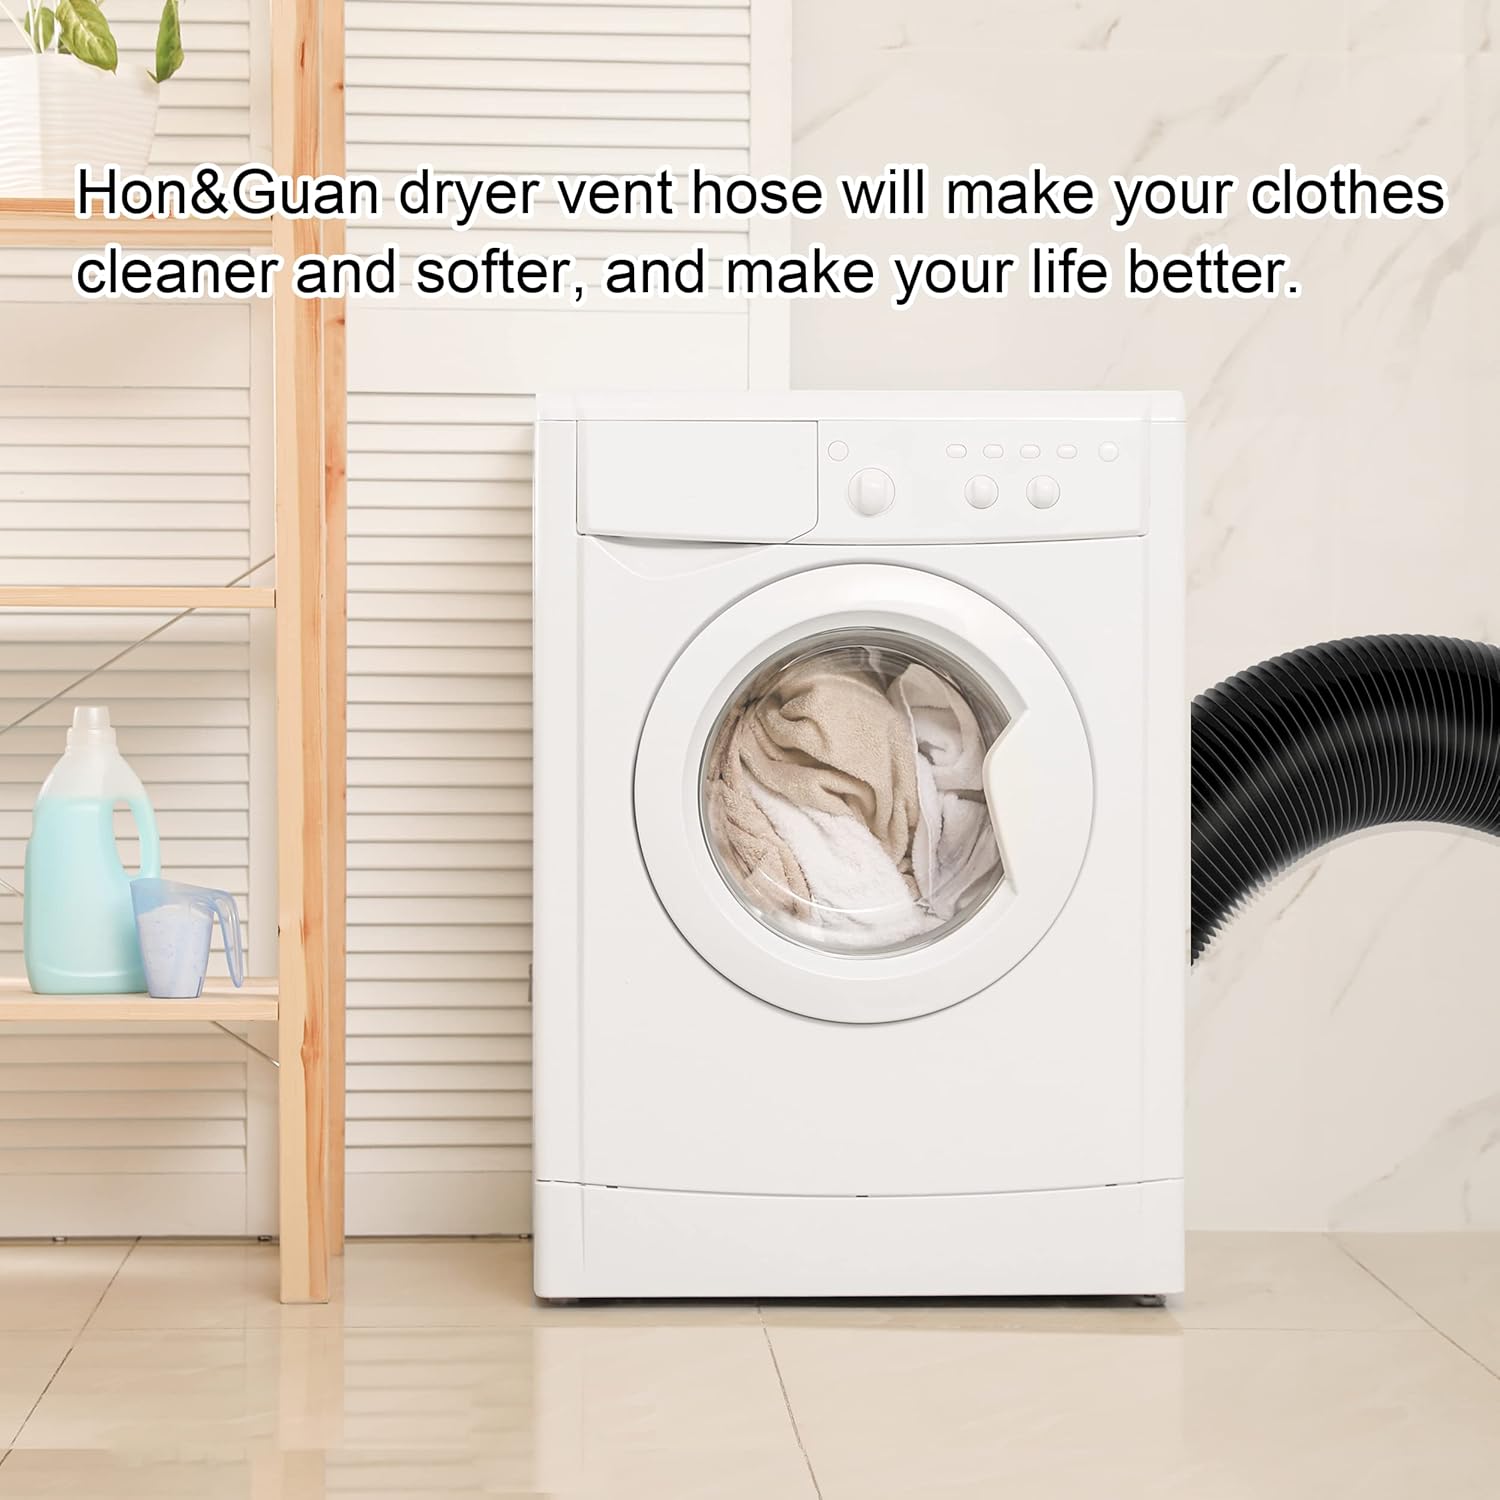
Image 8: The duct connected to a clothes dryer.
8. Maintenance
Regular maintenance ensures optimal performance and longevity of your ducting system:
- Periodic Inspection: Regularly inspect the duct for any signs of wear, tears, punctures, or loose connections. Address any issues promptly.
- Cleaning: For dryer vent applications, periodically disconnect the duct and remove any accumulated lint to prevent fire hazards and maintain airflow. For other applications, clean as needed based on the type of air being transported. Use a soft brush or vacuum cleaner for internal cleaning.
- Check Clamps: Ensure hose clamps remain tight and secure. Re-tighten if necessary.
9. Troubleshooting
If you encounter issues with your ducting, consider the following:
- Reduced Airflow:
- Check for kinks or sharp bends in the ducting that might be restricting airflow.
- Inspect for internal blockages (e.g., lint in dryer vents).
- Ensure all connections are airtight; leaks can reduce system efficiency.
- Excessive Noise:
- Verify that the duct is securely fastened and not vibrating against surfaces.
- Ensure the duct is fully extended and not compressed more than necessary, which can increase air velocity and noise.
- Light Leaks (for grow room applications):
- Inspect the entire length of the duct for any tears or punctures in the outer PVC layer.
- Ensure connections to fans or filters are completely sealed.
10. Warranty and Support
For warranty information or technical support, please refer to the Hon&Guan official website or contact their customer service directly. Keep your purchase receipt as proof of purchase.