IKEA TJUSIG
IKEA TJUSIG Hanger (White) Instruction Manual
Model: TJUSIG
Introduction
This manual provides comprehensive instructions for the assembly, installation, and care of your IKEA TJUSIG Hanger. Please read these instructions carefully before beginning assembly and retain them for future reference. Proper installation and maintenance will ensure the longevity and safe use of your product.
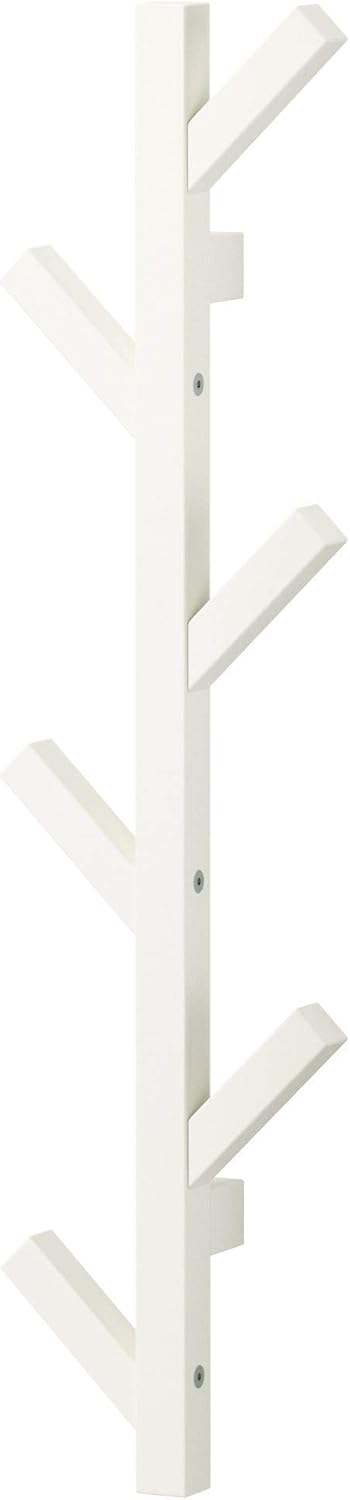
Image: The IKEA TJUSIG Hanger, a vertical white wooden unit designed for wall mounting, featuring several sturdy hooks for hanging garments and accessories.
Safety Information
- Ensure all components are present and undamaged before beginning assembly. Do not proceed with assembly if any parts are missing or damaged.
- Use appropriate tools as specified in the assembly instructions. Incorrect tools may cause damage to the product or injury.
- Mount the hanger securely to a suitable wall material. The wall must be capable of supporting the weight of the hanger and its intended load.
- Always use appropriate fasteners for your specific wall type (e.g., drywall anchors, concrete screws). Fasteners are typically sold separately by IKEA.
- Do not overload the hanger. Distribute weight evenly across the hooks. Refer to the Specifications section for approximate weight limits.
- Keep small parts and packaging materials away from children during assembly to prevent choking hazards.
Package Contents
Please verify that all parts are included in your package before starting assembly. If any parts are missing, contact IKEA customer service.
- 1 x TJUSIG Hanger main unit (white wood)
- Necessary screws for attaching hooks to the main unit
- Assembly instructions leaflet
Note: Wall mounting fasteners (screws, wall plugs) suitable for your specific wall material are typically not included and must be purchased separately.
Assembly Instructions (Setup)
Follow these steps carefully to assemble and install your IKEA TJUSIG Hanger.
Tools Required:
- Phillips head screwdriver
- Drill (with appropriate drill bits for your wall material)
- Spirit level
- Measuring tape
- Pencil
Assembly Steps:
- Unpack Components: Carefully remove all parts from the packaging. Check against the package contents list to ensure everything is present.
- Choose Location: Select a suitable location on your wall for installation. Consider height, accessibility, and proximity to doors or other furniture. Ensure the wall material is sound and can support the hanger and its load.
- Mark Mounting Points: Hold the TJUSIG Hanger against the wall at the desired height. Use a spirit level to ensure it is perfectly vertical. Mark the positions for the mounting holes with a pencil.
- Drill Pilot Holes: Using a drill, create pilot holes at the marked positions. The size of the drill bit should match the diameter of your chosen wall mounting fasteners (screws and wall plugs).
- Insert Wall Plugs (if applicable): If your wall type requires wall plugs (e.g., drywall, plaster), insert them into the drilled holes. Ensure they are flush with the wall surface.
- Secure Hanger: Align the hanger with the drilled holes. Insert your wall mounting screws through the hanger's pre-drilled holes and into the wall/wall plugs. Tighten the screws firmly with a Phillips head screwdriver until the hanger is securely fastened to the wall. Do not overtighten, as this can damage the wall or the hanger.
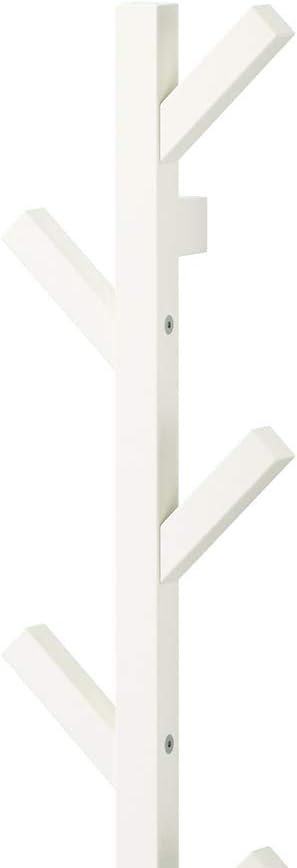
Image: The IKEA TJUSIG Hanger securely mounted on a wall, showcasing its clean design and multiple hooks ready for use.
Usage (Operating)
The IKEA TJUSIG Hanger is designed for organizing various items in your home, such as coats, jackets, scarves, bags, and other garments. To ensure optimal performance and safety:
- Distribute Weight: Always distribute the weight of items evenly across the hooks to maintain the hanger's stability and prevent undue stress on the mounting points.
- Avoid Overloading: Do not exceed the recommended weight capacity of the hanger. Overloading can lead to damage to the product or the wall.
- Intended Use: Use the hanger for its intended purpose of hanging clothing and accessories. Avoid hanging heavy or sharp objects that could damage the hooks or the unit.
Care and Maintenance
Regular care will help maintain the appearance and functionality of your TJUSIG Hanger.
- Cleaning: Wipe the hanger clean with a damp cloth. For more stubborn marks, use a mild soap solution.
- Drying: Always dry the hanger thoroughly with a clean, dry cloth immediately after cleaning to prevent moisture damage to the wood.
- Avoid Harsh Cleaners: Do not use abrasive cleaners, strong chemical detergents, or scouring pads, as these can damage the finish of the wood.
- Check Fasteners: Periodically check the wall mounting screws for tightness. Re-tighten if necessary to ensure the hanger remains securely attached to the wall.
Troubleshooting
If you encounter any issues with your TJUSIG Hanger, refer to the following common solutions:
- Hanger feels loose on the wall:
- Ensure all wall mounting screws are fully tightened.
- Verify that the wall plugs (if used) are correctly installed and suitable for your wall material. If the wall plugs are damaged or inadequate, replace them with appropriate ones.
- Check the wall itself for structural integrity. If the wall material is crumbling or damaged, professional repair may be required before re-mounting.
- Damage to hanger components: If any part of the hanger is damaged, contact IKEA customer support for advice on replacement parts or further assistance. Do not attempt to repair damaged structural components yourself if it compromises safety.
Specifications
| Feature | Detail |
|---|---|
| Brand | IKEA |
| Model Name | TJUSIG Hanger |
| Material | Wood |
| Color | White |
| Approximate Dimensions (H x W x D) | 30.75 inches x 3 inches x 1.25 inches |
| Approximate Item Weight | 2.1 pounds |
| Installation Type | Wall Mounted |
| Assembly Required | Yes |
| Recommended Use | Coats, Dresses, Bags, Accessories |
Warranty and Support
For detailed information regarding product warranty, returns, or customer support, please refer to the official IKEA website or contact your local IKEA store directly. Keep your proof of purchase for any warranty claims.
You can find contact information and frequently asked questions on the official IKEA website: www.ikea.com