1. Introduction
Thank you for choosing the Philips Azur Steam Iron GC4567/80. This powerful and efficient steam iron is designed to make your ironing tasks easier and faster, delivering excellent results on all types of fabrics. With its advanced features like the SteamGlide Advanced soleplate and Quick Calc Release system, you can enjoy smooth gliding and long-lasting steam performance. Please read this user manual carefully before first use to ensure safe and optimal operation of your appliance.
2. Important Safety Information
Before using the appliance, read this user manual and the important information booklet carefully and save them for future reference. Always follow basic safety precautions when using electrical appliances to reduce the risk of fire, electric shock, and personal injury.
- Always plug the iron into a grounded wall socket.
- Do not use the iron if the plug, the mains cord, or the iron itself shows visible damage, or if the iron has been dropped.
- This appliance can be used by children aged from 8 years and above and persons with reduced physical, sensory or mental capabilities or lack of experience and knowledge if they have been given supervision or instruction concerning use of the appliance in a safe way and understand the hazards involved.
- Keep the iron and its cord out of reach of children less than 8 years of age when it is switched on or cooling down.
- Never leave the iron unattended when it is connected to the mains.
- Do not immerse the iron in water or any other liquid.
- The soleplate of the iron can become extremely hot and may cause burns if touched.
- Only use the iron for its intended purpose as described in this manual.
3. Product Overview and Features
The Philips Azur Steam Iron GC4567/80 is engineered for powerful and efficient ironing. Below are its key components and features:

Figure 3.1: Front view of the Philips Azur Steam Iron GC4567/80, showcasing its sleek black and red design.
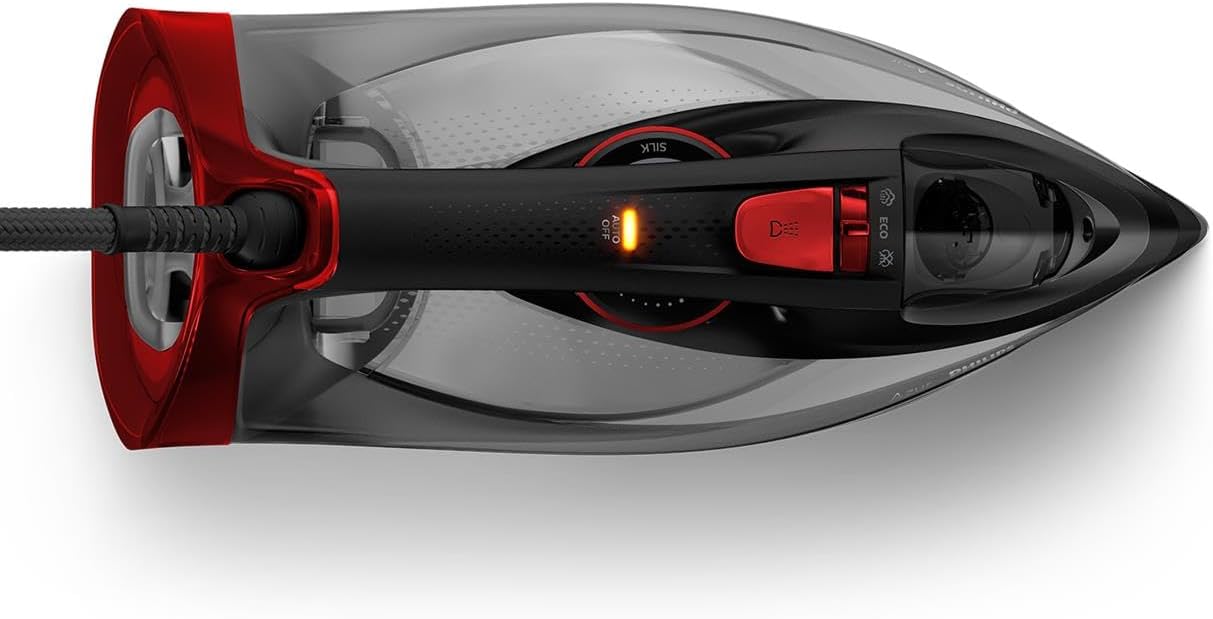
Figure 3.2: Top-down view of the iron, highlighting the water tank and control dials.
Key Features:
- Powerful Performance: 2600 W for fast heat-up, allowing you to start ironing sooner and finish faster.
- Constant Steam Output: Up to 50 g/min for efficient removal of all wrinkles.
- Powerful Steam Boost: Up to 250 g steam shot penetrates deeper into fabrics to easily remove stubborn creases.
- SteamGlide Advanced Soleplate: Exclusive soleplate with advanced titanium layer and innovative coating for ultimate gliding performance on all fabrics. It is highly scratch-resistant.
- Quick Calc Release System: Ensures a long lifespan and reliable steam performance by making descaling easy. This system collects calc particles for easy removal.
- Vertical Steaming: Allows for steaming hanging garments and curtains.

Figure 3.3: The iron in action, demonstrating the powerful steam output during use.

Figure 3.4: An internal view of the iron, illustrating the steam generation and the integrated Quick Calc Release system.
4. Getting Started (Setup)
4.1 Unpacking
Carefully remove the iron from its packaging. Remove any stickers or protective film from the soleplate.
4.2 Filling the Water Tank
- Ensure the iron is unplugged from the power outlet.
- Hold the iron in a slightly tilted position.
- Open the water filling door.
- Fill the water tank with tap water up to the 'MAX' indication. Do not overfill.
- Close the water filling door until you hear a click.
Note: For optimal performance and to prolong the life of your iron, it is recommended to use demineralized or distilled water, especially in areas with hard water. Do not use perfumed water, water from tumble dryers, or water containing additives.
4.3 First Use Preparation
When using the iron for the first time, you may notice a slight odor or some flakes coming from the soleplate. This is normal and will disappear after a short while. To remove any manufacturing residue, iron an old piece of fabric for a few minutes.
5. Operation
5.1 Powering On and Temperature Setting
- Place the iron on its heel on a stable, heat-resistant surface.
- Plug the mains cord into a grounded wall socket. The temperature indicator light will illuminate, indicating the iron is heating up.
- Once the indicator light goes out, the iron has reached the set temperature and is ready for use.
5.2 Steam Functions
- Continuous Steam: For continuous steam, ensure the water tank is filled and the temperature dial is set to a steam-suitable setting (usually indicated by steam symbols). The iron will automatically produce steam as you iron.
- Steam Boost: For stubborn creases, press the steam boost button (often located under the handle). This delivers a powerful burst of steam. Wait a few seconds between bursts to allow the soleplate to reheat.
- Vertical Steaming: Hold the iron vertically, close to the fabric (e.g., hanging clothes, curtains). Press the steam boost button to release steam and remove wrinkles. Do not let the soleplate touch the fabric.
5.3 Dry Ironing
To iron without steam, ensure the water tank is empty or set the steam control to the 'no steam' position. Select the desired temperature for your fabric type.
6. Maintenance and Cleaning
Regular maintenance ensures optimal performance and extends the lifespan of your Philips Azur Steam Iron.
6.1 Emptying the Water Tank
After each use, unplug the iron and allow it to cool down completely. Empty any remaining water from the tank to prevent calc buildup and leakage.
6.2 Quick Calc Release System
The Quick Calc Release system collects loose scale particles during ironing. For optimal performance, clean the system regularly, ideally once a month or more frequently if you iron often or live in a hard water area.
- Ensure the iron is unplugged and has cooled down completely (at least 1 hour).
- Place the iron on a flat surface.
- Pull the Quick Calc Release collector out of the back of the iron.
- Rinse the collector thoroughly under running water to remove calc particles.
- Wipe the collector dry.
- Push the collector back into the iron until it clicks into place.

Figure 6.1: Removing the Quick Calc Release collector from the iron for cleaning.

Figure 6.2: Rinsing the Quick Calc Release collector under running water to remove accumulated calc.
6.3 Cleaning the Soleplate
To clean the soleplate, use a damp cloth and a non-abrasive cleaner. Do not use abrasive scouring pads or harsh chemicals, as these can damage the soleplate's coating.
6.4 Storage
After use, unplug the iron and allow it to cool down completely. Store the iron on its heel in a dry, safe place, out of reach of children.
7. Troubleshooting
If you encounter problems with your iron, consult the following table before contacting a service center.
| Problem | Possible Cause | Solution |
|---|---|---|
| The iron does not heat up. | The iron is not plugged in or the power outlet is not working. | Check if the plug is properly inserted into a working wall socket. |
| No steam comes out. | The water tank is empty or the temperature is too low. | Fill the water tank. Set the temperature dial to a steam-suitable setting. |
| Water leaks from the soleplate. | The temperature is too low for steam, or the steam boost was used too frequently. | Increase the temperature setting. Allow a few seconds between steam boosts. |
| White flakes come out of the soleplate. | Calc buildup in the iron. | Perform the Quick Calc Release cleaning procedure as described in section 6.2. |
8. Technical Specifications
| Specification | Value |
|---|---|
| Model Number | GC4567/80 |
| Brand | Philips Domestic Appliances |
| Power | 2600 W |
| Constant Steam Output | 50 g/min |
| Steam Boost | 250 g |
| Soleplate | SteamGlide Advanced |
| Water Tank Capacity | Approx. 300 ml (5.3 cubic cm) |
| Color | Black/Red |
| Product Dimensions | 16.7 x 33.2 x 13.7 cm |
| Item Weight | 1.57 Kilograms |
| Material | Polycarbonate |
| Special Features | Vertical Steaming, Adjustable Steam Output, Fast Heat-up, Calc-Clean Function |
9. Warranty and Support
This Philips appliance comes with a standard manufacturer's warranty. For detailed warranty terms and conditions, please refer to the warranty card included in your product packaging or visit the official Philips website.
For product support, troubleshooting assistance, or to purchase accessories, please visit the Philips support website or contact their customer service in your region. Always have your product model number (GC4567/80) ready when contacting support.