1. Introduction
This manual provides essential information for the safe and efficient operation, installation, and maintenance of your Siemens 8 kg Fully-Automatic Front Loading Washing Machine, model WM14T469IN. Please read these instructions thoroughly before using the appliance for the first time and keep them for future reference.
2. Safety Instructions
Always adhere to the following safety guidelines to prevent accidents and damage to the appliance.
- Electrical Safety: Ensure the appliance is properly grounded. Do not use extension cords or adapters. Disconnect from power before cleaning or maintenance.
- Water Connection: Connect to a cold water supply using new hoses. Do not reuse old hoses.
- Child Safety: Keep children and pets away from the appliance during operation. Do not allow children to play with the machine.
- Installation: The appliance must be installed on a firm, level surface. Ensure proper ventilation.
- Operation: Do not overload the machine. Do not wash items that are soiled with flammable substances.
- Maintenance: Only perform maintenance tasks described in this manual. For complex repairs, contact authorized service personnel.
3. Setup and Installation
3.1 Unpacking the Appliance
Carefully remove all packaging materials. Inspect the machine for any transport damage. Remove all transit bolts from the rear of the machine before use. Keep packaging materials out of reach of children.
3.2 Positioning and Leveling
Place the washing machine on a stable, flat, and clean surface. Adjust the feet to ensure the appliance is perfectly level. Proper leveling reduces vibration and noise during operation.

Image 3.2.1: Top-down view of the washing machine with key dimensions indicated in millimeters. This diagram helps in planning the installation space.

Image 3.2.2: Side view of the washing machine illustrating depth and height measurements in millimeters, crucial for installation planning.
3.3 Water Connection
Connect the water inlet hose to a cold water tap with a ¾" thread. Ensure the connection is tight to prevent leaks. Position the drain hose securely into a standpipe or laundry tub, ensuring it is not kinked or blocked.
3.4 Electrical Connection
Plug the appliance into a properly installed and grounded power outlet. The voltage and frequency must match the specifications on the rating plate of the washing machine.
4. Operating the Washing Machine
4.1 Control Panel Overview

Image 4.1.1: Detailed view of the control panel, featuring the program selection knob on the left and the digital display with touch controls on the right.
The control panel consists of a program selector knob and a digital display with touch-sensitive buttons for additional settings.
4.2 Loading Laundry
Open the washing machine door and load laundry loosely into the drum. Do not overload the machine. Close the door firmly.
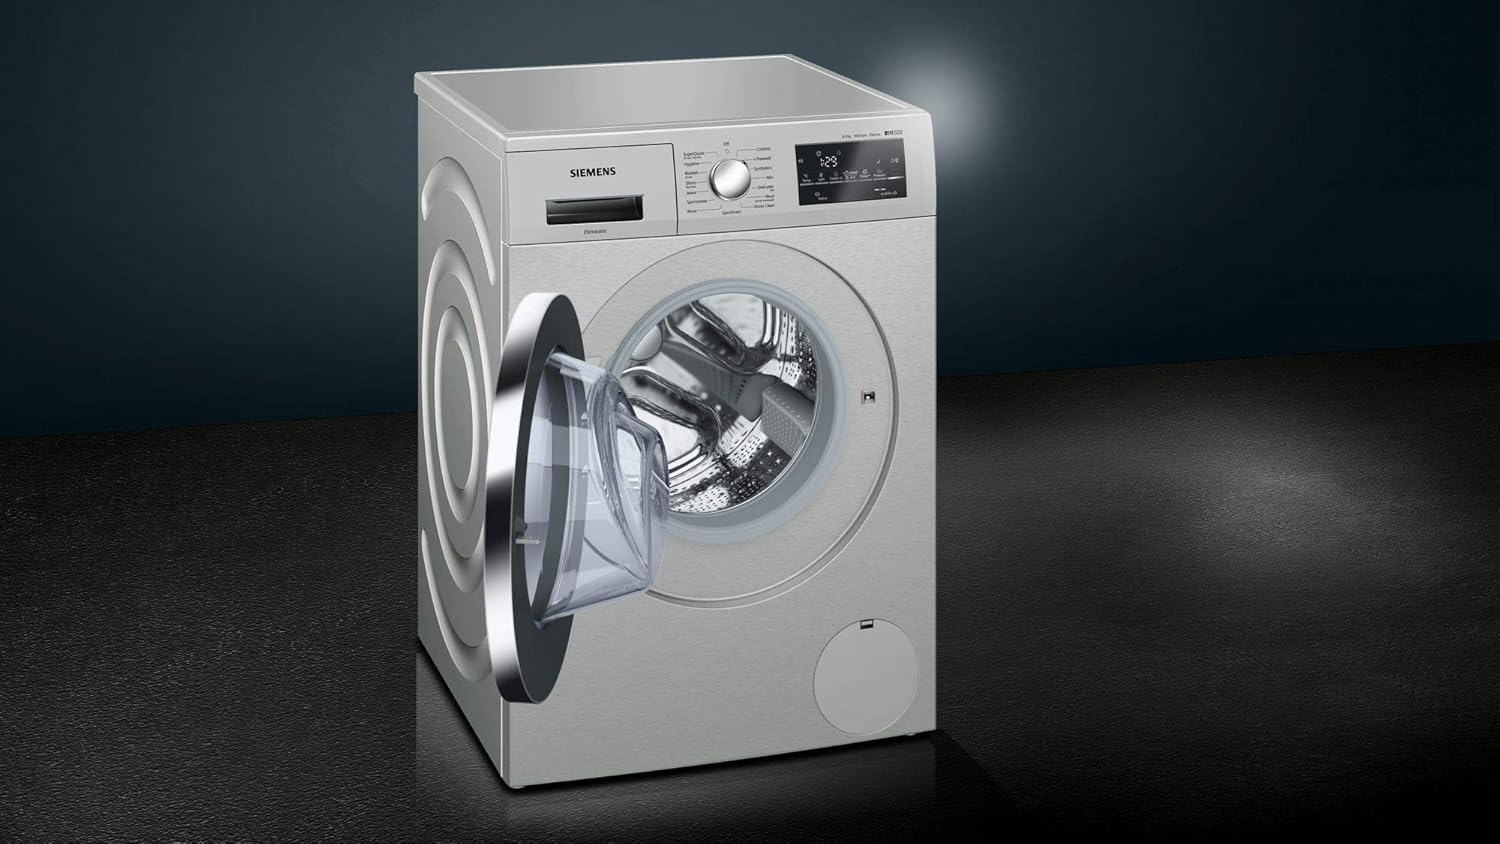
Image 4.2.1: The washing machine with its door open, providing a clear view of the stainless steel drum, ready for laundry loading.

Image 4.2.2: A close-up of the washing machine's drum interior, showcasing the textured design engineered for effective and gentle washing.
4.3 Adding Detergent and Softener
Pull out the detergent dispenser drawer. Add the appropriate amount of detergent to the main wash compartment and fabric softener to its designated compartment. Close the drawer gently.
4.4 Program Selection
Turn the program selector knob to choose the desired wash program. Available programs include:

Image 4.4.1: The program selection knob, clearly showing options such as Cottons, Synthetics, Mix, Delicates, Wool, SuperQuick, Hygiene, Blanket, Shirts, Jeans, Sportswear, Rinse, Spin/Drain, and Drum Clean.
- Cottons: For durable cotton items.
- Synthetics: For synthetic or mixed fabric items.
- Mix: For mixed loads of cotton and synthetic fabrics.
- Delicates/Silk: For delicate, washable silk, linen, or synthetic items.
- Wool: For hand-washable or machine-washable wool items.
- SuperQuick 15/30 min: For small, lightly soiled loads.
- Hygiene: For robust fabrics requiring high hygiene standards.
- Blanket/Duvet: For larger, bulky items like blankets.
- Shirts/Business: For shirts and blouses.
- Jeans: For denim items.
- Sportswear: For sportswear and outdoor clothing.
- Rinse: An extra rinse cycle.
- Spin/Drain: To spin or drain water from the drum.
- Drum Clean: For cleaning the washing machine drum.
4.5 Adjusting Settings
After selecting a program, use the touch buttons on the digital display to adjust settings such as temperature (Temp.), spin speed (rpm), rinse options, and prewash (if available for the selected program).
4.6 Starting the Wash Cycle
Press the "Start/Reload" button to begin the wash cycle. The display will show the remaining time.
5. Maintenance and Care
5.1 Cleaning the Exterior
Wipe the exterior of the washing machine with a soft, damp cloth. Do not use abrasive cleaners or solvents.

Image 5.1.1: The Siemens WM14T469IN washing machine, showcasing its clean, modern design. Regular exterior cleaning helps maintain its appearance.
5.2 Cleaning the Detergent Dispenser
Periodically remove and clean the detergent dispenser drawer under running water to prevent detergent residue buildup.
5.3 Cleaning the Drain Pump Filter
The drain pump filter should be cleaned regularly to remove lint and small objects. Refer to the diagram below for the location of the filter access panel.

Image 5.3.1: Side view of the washing machine, showing the circular anti-vibration design and the small access panel at the bottom right, which typically covers the drain pump filter.
5.4 Drum Cleaning
Use the "Drum Clean" program periodically to remove detergent residues and odors from the drum.
6. Troubleshooting
Before contacting service, consult the following table for common issues and their solutions.
| Problem | Possible Cause | Solution |
|---|---|---|
| Machine does not start | Power cord not plugged in; door not closed properly; program not selected; "Start" button not pressed. | Check power connection; ensure door is latched; select a program; press "Start". |
| Water not filling | Water tap closed; inlet hose kinked or blocked; water pressure too low. | Open water tap; straighten hose; check household water pressure. |
| Water not draining | Drain hose kinked or blocked; drain pump filter clogged. | Straighten drain hose; clean drain pump filter (refer to Section 5.3). |
| Excessive vibration/noise | Transit bolts not removed; machine not level; load unbalanced. | Remove transit bolts; adjust leveling feet; redistribute laundry in the drum. |
| Detergent residue in dispenser | Insufficient water pressure; dispenser clogged. | Clean detergent dispenser (refer to Section 5.2); check water pressure. |
7. Specifications
| Feature | Detail |
|---|---|
| Brand | SIEMENS |
| Model | WM14T469IN |
| Capacity | 8 Kilograms |
| Maximum Rotational Speed | 1400 RPM |
| Installation Type | Freestanding |
| Form Factor | Front-loading |
| Colour | White |
| Control Console | Touch |
| Access Location | Front Load |
| Item Weight | 77 kg |
| Cycle Options | Bedsheet, Cotton, Delicates, Drain, Hygiene, Jeans, Mix Wash, Prewash, Rinse, Shirts, Sports Wear, Super 15 / 30 minutes, Synthetic, Temperature Selection, Tub Clean, Wool |
8. Warranty and Support
For warranty information and customer support, please refer to the warranty card provided with your appliance or visit the official Siemens website. Keep your purchase receipt as proof of purchase for warranty claims.
For technical assistance or to schedule a service appointment, please contact Siemens customer service. Contact details can typically be found on the Siemens website or in the documentation included with your washing machine.


