Introduction
This manual provides essential information for the setup, operation, and maintenance of your Rega Planar 1 Plus Turntable. The Planar 1 Plus is designed for ease of use, featuring a pre-mounted Carbon MM cartridge and an integrated high-quality moving magnet phono stage, allowing direct connection to any line-level input on an amplifier or audio system.
Key features include:
- Integrated MM phono stage for direct connection.
- RB110 tonearm with ultra-low friction bearings.
- Factory-fitted Rega Carbon Moving Magnet Phono Cartridge.
- EBLT advanced drive belt for improved speed accuracy.
- Phenolic resin flywheel effect platter.
- 24 V low noise synchronous motor.
Setup
Follow these steps to set up your Rega Planar 1 Plus turntable.
1. Unpacking and Placement
- Carefully remove all components from the packaging. Retain the packaging for future transport or storage.
- Place the turntable on a stable, level surface, away from direct sunlight, heat sources, and strong vibrations.
- Ensure adequate ventilation around the unit.

Image: Side view of the Rega Planar 1 Plus turntable with the dust cover closed, showing its compact design.
2. Platter and Mat Installation
- Place the phenolic resin platter onto the sub-platter spindle.
- Position the felt mat on top of the platter.

Image: Top-down view of the Rega Planar 1 Plus turntable with the black felt mat on the platter.
3. Tonearm and Cartridge
The Rega Planar 1 Plus comes with the RB110 tonearm and Rega Carbon MM cartridge factory-fitted and pre-set. No adjustments for tracking force or anti-skate are required for initial setup.
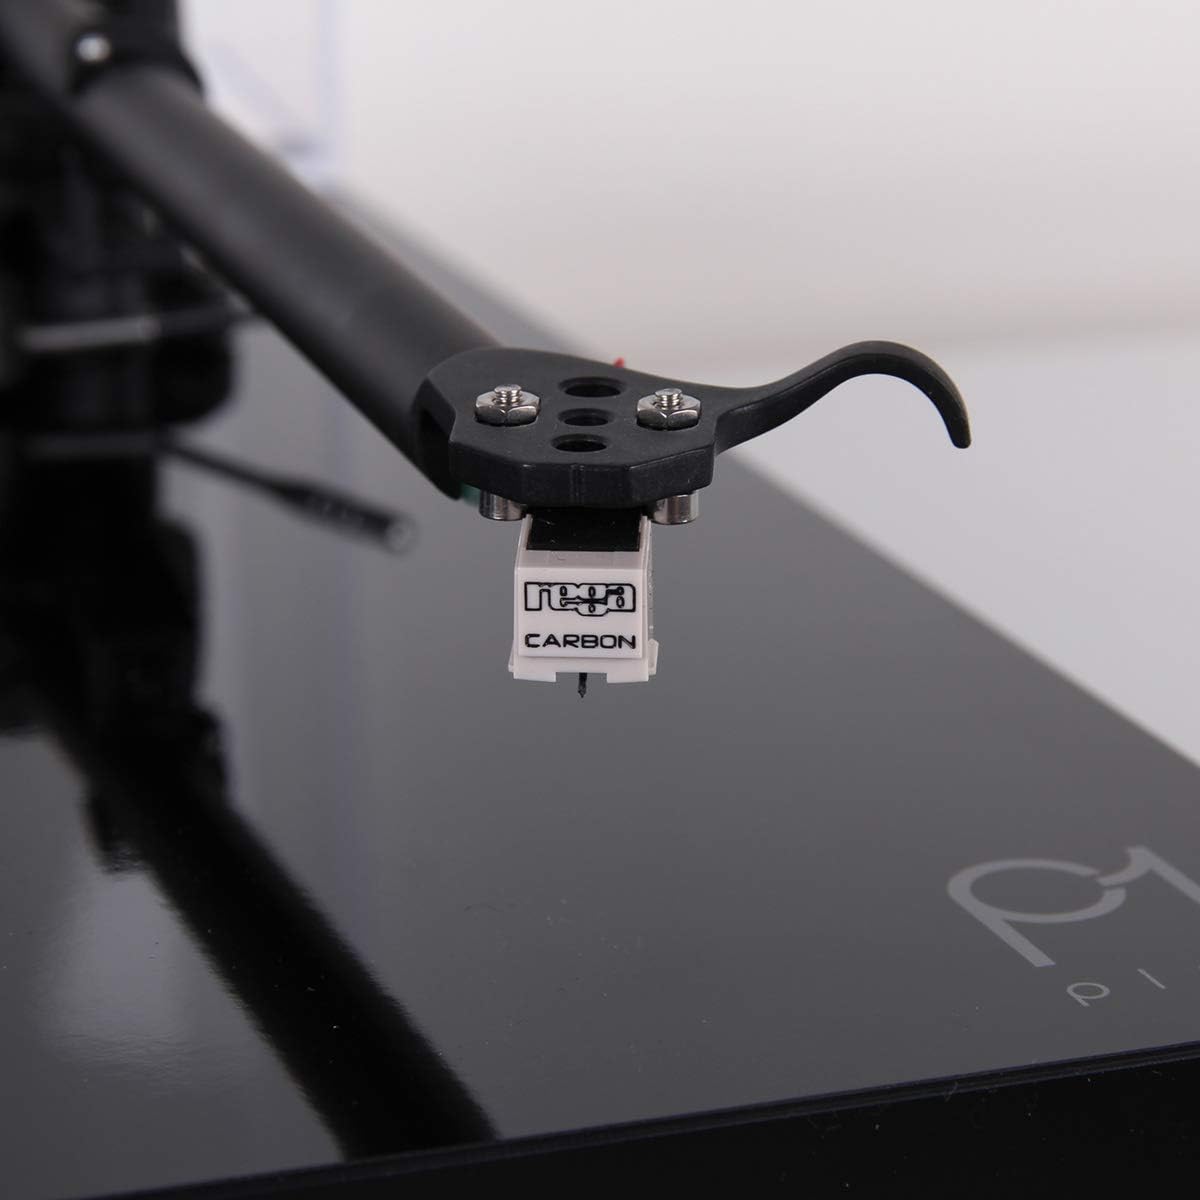
Image: Close-up view of the Rega Carbon Moving Magnet cartridge attached to the tonearm.
4. Connecting to an Amplifier
Due to the integrated phono stage, connect the turntable directly to any line-level input on your amplifier or audio system (e.g., AUX, CD, Tuner input).
- Connect the supplied twin phono-to-phono lead from the turntable's output to a suitable line-level input on your amplifier.
- Connect the power supply to the turntable and then plug it into a wall outlet.
Important: Do not connect the Planar 1 Plus to an amplifier's dedicated "Phono" input if it already has a built-in phono preamplifier, as this will result in distorted sound. Use a line-level input.
Operating Instructions
1. Playing a Record
- Ensure the turntable is powered on.
- Place a record on the felt mat, ensuring it is centered on the spindle.
- Lift the tonearm using the cueing lever.
- Carefully position the tonearm over the desired starting groove of the record.
- Gently lower the tonearm using the cueing lever. The stylus will make contact with the record, and playback will begin.
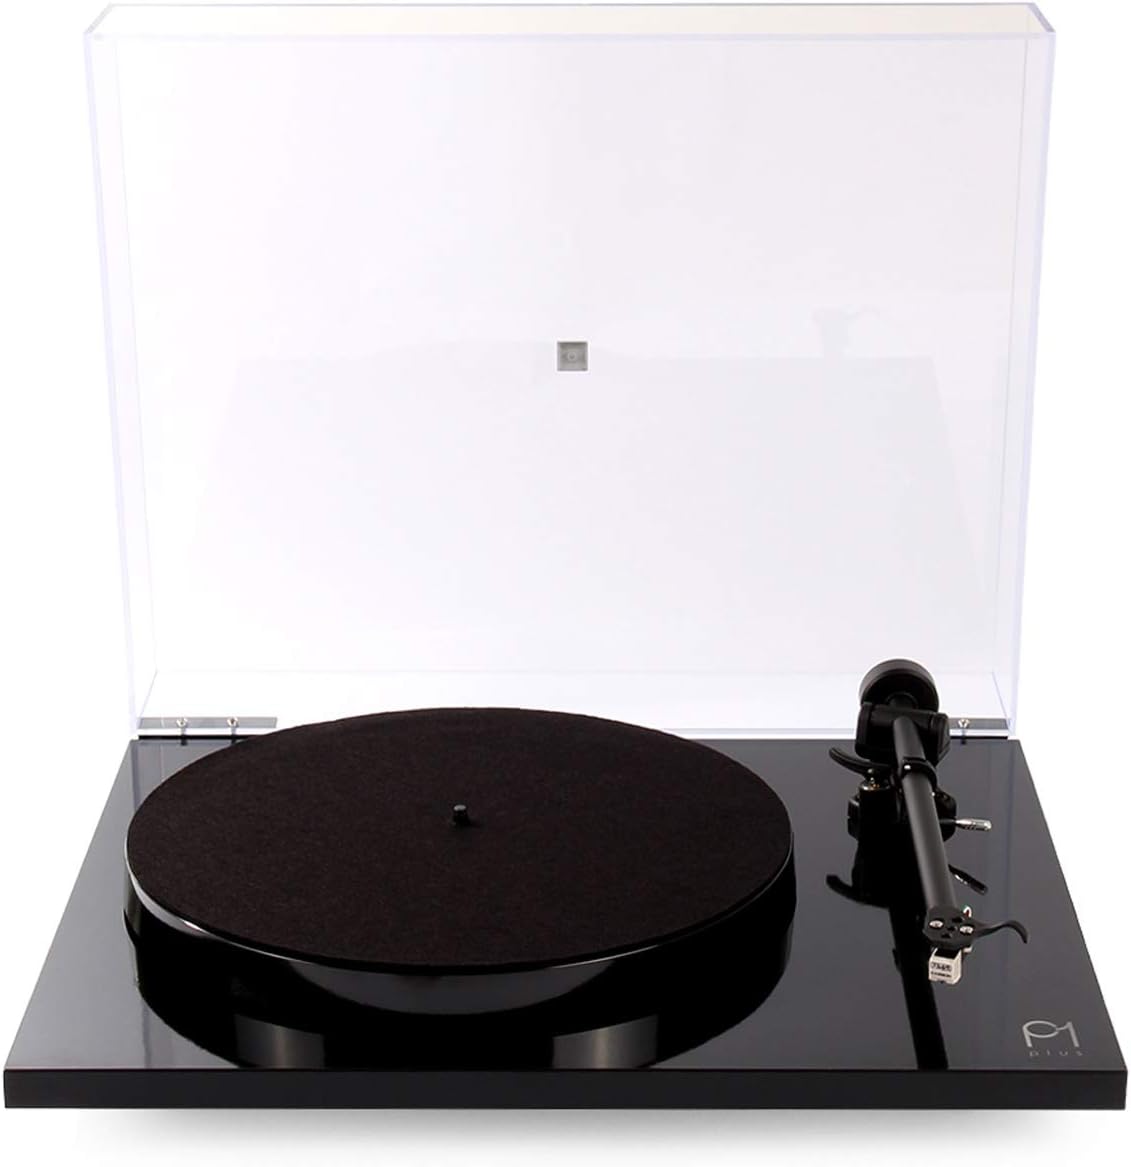
Image: The Rega Planar 1 Plus turntable with its clear dust cover open, ready for operation.
2. Stopping Playback
- Lift the tonearm using the cueing lever.
- Return the tonearm to its rest and secure it with the tonearm clip.
- Turn off the turntable power.
- Remove the record and store it properly.
3. Changing Playback Speed (33 1/3 RPM to 45 RPM)
The Rega Planar 1 Plus supports both 33 1/3 RPM and 45 RPM records. To change speed, you must manually move the drive belt on the motor pulley.
- Turn off the turntable power.
- Carefully remove the felt mat and the phenolic platter.
- Locate the drive belt around the sub-platter and the motor pulley.
- To change from 33 1/3 RPM to 45 RPM, move the drive belt from the smaller diameter of the motor pulley to the larger diameter.
- To change from 45 RPM to 33 1/3 RPM, move the drive belt from the larger diameter of the motor pulley to the smaller diameter.
- Replace the platter and felt mat.
- Turn on the turntable power.
Maintenance
1. Cleaning the Turntable
- Always turn off and unplug the turntable before cleaning.
- Use a soft, lint-free cloth to gently wipe the plinth and dust cover. For stubborn marks, a slightly damp cloth can be used, followed by a dry cloth.
- Avoid using abrasive cleaners, solvents, or chemical sprays, as these can damage the finish.
2. Stylus Care
- A clean stylus is crucial for optimal sound quality and record longevity.
- Use a dedicated stylus cleaning brush or fluid. Always brush from back to front (from the pivot point towards the stylus tip).
- Avoid touching the stylus with your fingers.
- The Rega Carbon cartridge has a typical lifespan of approximately 1000 hours of playback. Consider replacing the stylus or cartridge after this period for best performance.
3. Drive Belt
The EBLT drive belt is designed for durability. However, if you notice inconsistent speed or the belt appears stretched or cracked, it may need replacement. Contact your dealer for a genuine Rega replacement belt.
Troubleshooting
If you encounter issues with your Rega Planar 1 Plus, refer to the following common problems and solutions.
No Sound or Low Volume
- Check Connections: Ensure all cables (power, audio) are securely connected.
- Input Selection: Verify that your amplifier is set to the correct line-level input (e.g., AUX, CD).
- Volume Level: Confirm the amplifier's volume is turned up.
- Incorrect Input: If connected to an amplifier's dedicated "Phono" input, switch to a line-level input. The Planar 1 Plus has a built-in phono stage.
Distorted Sound
- Stylus Cleanliness: Clean the stylus as described in the Maintenance section.
- Record Condition: Ensure the record is clean and free from dust or scratches.
- Incorrect Input: If connected to an amplifier's dedicated "Phono" input, switch to a line-level input. Connecting to a phono input with the built-in phono stage active will cause distortion.
Humming Noise
- Grounding: Ensure the turntable is properly grounded. While the Planar 1 Plus typically handles grounding internally, external interference can occur.
- Cable Routing: Keep audio cables away from power cables and other electrical interference sources.
- Component Proximity: Move the turntable away from other electronic devices that might emit electromagnetic interference.
Inconsistent Speed or Wow/Flutter
- Drive Belt: Check the drive belt for wear, stretching, or proper seating on the motor pulley and sub-platter. Replace if necessary.
- Platter Seating: Ensure the platter is correctly seated on the spindle.
- Record Weight: While the Planar 1 Plus is robust, extremely heavy records (e.g., some 180g or 200g pressings) can sometimes challenge the motor's stability, especially if the belt is worn. Ensure the belt is in good condition.
Specifications
| Brand | REGA |
| Model Name | Rega Planar 1 Plus |
| Model Number | TT-PL1-PLUS-BLK-USA |
| Maximum Rotational Speed | 45 RPM (manual belt change for 33 1/3 RPM) |
| Included Components | Rega Carbon moving magnet cartridge, built-in phono preamplifier, RB110 tonearm, 24 V synchronous AC motor, felt mat, dust cover, power supply, twin phono-to-phono lead. |
| Special Feature | Built-In Phono Stage |
| Material | Plastic (Plinth), Phenolic Resin (Platter) |
| Item Weight | 9.59 Pounds (approx. 4.35 kg) |
| Color | Matte Black |
| Connectivity Technology | Wired |
| Signal-to-Noise Ratio | 65 dB |
| Voltage | 24 Volts |
| Power Source | AC |
Warranty Information
The Rega Planar 1 Plus Turntable is covered by a 3-year manufacturer's warranty. This warranty covers defects in materials and workmanship under normal use. Please retain your proof of purchase for warranty claims.
The warranty does not cover damage caused by misuse, accident, unauthorized modification, or normal wear and tear of consumable parts such as the stylus or drive belt.
Support
For further assistance, technical support, or warranty inquiries, please contact your authorized Rega dealer or visit the official Rega website.
Rega Website: www.rega.co.uk
You can also refer to the Rega Store on Amazon for additional product information.