
Introduction
This manual provides instructions for the ABUSVEX Front Outer Lens Glass Screen Replacement Repair Kit for the Samsung Galaxy S23 Ultra (6.8 inch). This kit is designed to replace the cracked or damaged outer glass lens of your device. Please note that this kit contains the glass lens only and does not include the AMOLED display or digitizer. The replacement glass is made from high-quality tempered glass, intended to restore the original functionality and appearance of your screen's outer layer.
Safety Information
WARNING: This is an extremely technical and delicate repair procedure. Attempting this repair without proper experience or caution can result in further damage to your device, including the underlying AMOLED display. We cannot accept responsibility for any damage incurred during the replacement process.
- Always power off your device completely before beginning any repair.
- Handle glass components with extreme care to avoid cuts from broken glass shards. Consider wearing protective gloves and eyewear.
- The repair process requires heat. Use a hairdryer or heat gun carefully to soften adhesive, avoiding excessive heat that could damage internal components.
- Keep all small tools and components away from children.
Package Contents
Verify that all items listed below are present in your kit:
- 1 x Front Outer Screen Lens Glass Replacement (for Samsung Galaxy S23 Ultra 6.8 inch)
- 1 x Set of Repair Tools
- 1 x Adhesive Tape
- 1 x Gold Wire
- 1 x Tweezer
- Other auxiliary tools
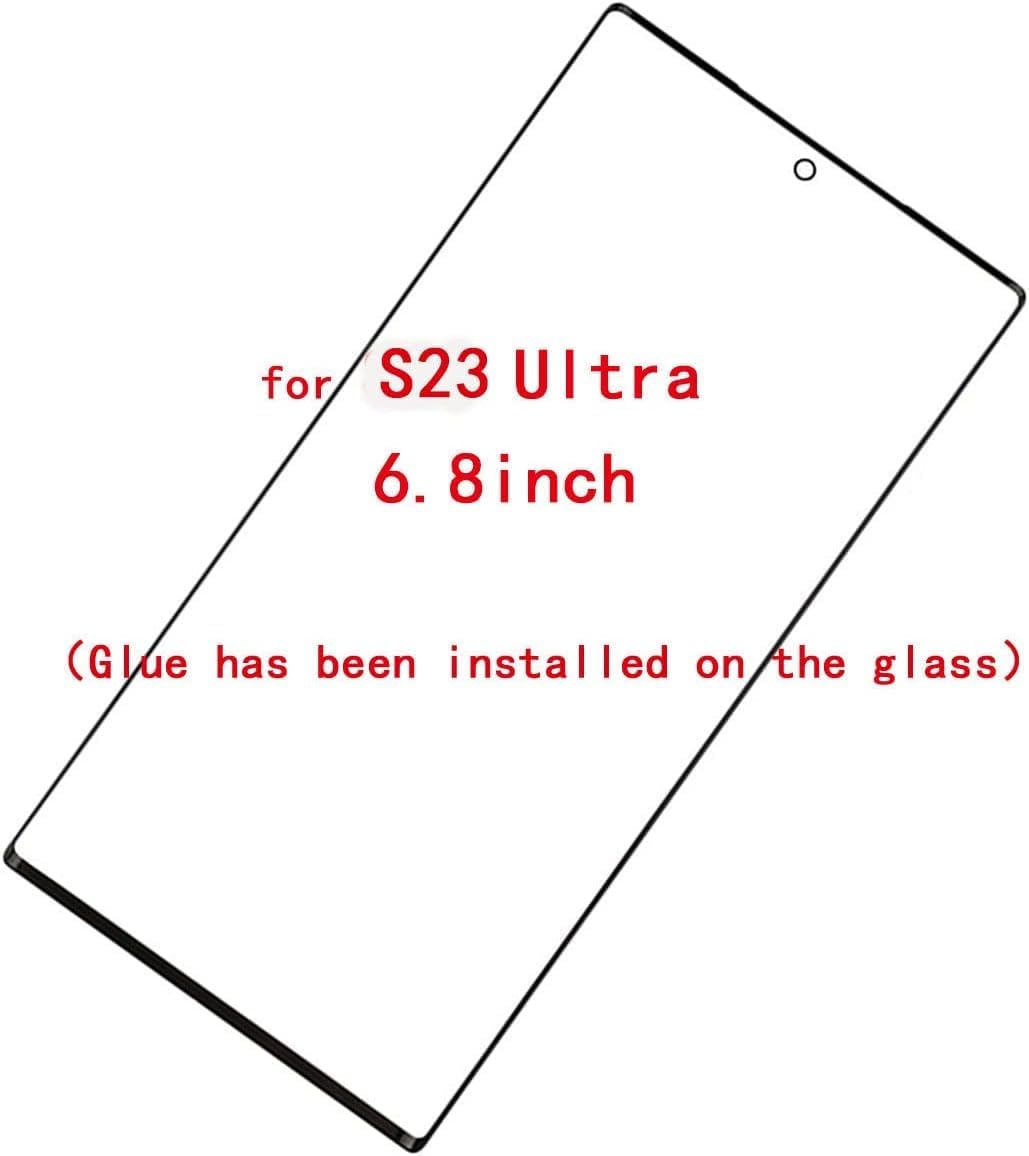
Image: The ABUSVEX Front Outer Lens Glass Replacement for Samsung Galaxy S23 Ultra. This image shows the clear glass panel with a small cutout for the front camera, indicating it is the outer glass layer.
Additional Tools Required (Not Included)
The following items are essential for a successful repair but are not supplied with this kit:
- Hairdryer or Heat Gun: Necessary for softening the adhesive holding the original glass.
- Packing Tape / Scotch Tape: Recommended for covering the broken screen to prevent small glass pieces from falling onto the digitizer during removal.
- Isopropyl Alcohol (90% or higher): For cleaning residual adhesive.
- Clean, lint-free cloths.
Setup and Preparation
Before beginning the repair, thorough preparation is crucial:
- Familiarize Yourself: This procedure is favored by professional technicians. It is highly recommended to familiarize yourself with the entire process before attempting it. Search for instructional videos on platforms like YouTube, TikTok, or Google by searching for "Samsung Galaxy S23 Ultra glass only screen replacement" to understand the steps involved.
- Power Off Device: Ensure your Samsung Galaxy S23 Ultra is completely powered off to prevent accidental damage.
- Protect the Display: If your screen is cracked, apply packing tape or scotch tape over the entire broken glass surface. This helps contain glass shards and prevents them from damaging the underlying AMOLED display during removal.
- Prepare Workspace: Work in a clean, well-lit, and dust-free environment. Lay out all tools and components in an organized manner.
Operating / Installation Instructions
This is a complex repair. Proceed with caution. Professional installation is strongly recommended if you lack experience.
- Heat the Screen: Using a hairdryer or heat gun, gently and evenly heat the edges of the phone screen for approximately 1-2 minutes. This softens the adhesive holding the broken glass. Do not overheat any single area.
- Separate the Glass: Carefully insert the gold wire (or a thin prying tool) into a small gap created by the heat between the broken glass and the frame. Slowly and gently slide the wire across the screen, separating the broken glass from the AMOLED display. Work slowly and avoid applying excessive force to prevent damage to the display.
- Remove Broken Glass: Once the adhesive is sufficiently loosened, carefully lift and remove the broken glass. Use tweezers for any stubborn small pieces.
- Clean the AMOLED Display: Thoroughly clean the underlying AMOLED display and frame of any residual adhesive or glass fragments. Use isopropyl alcohol and a lint-free cloth to ensure a pristine surface. Any dust or debris will be visible under the new glass.
- Apply New Adhesive: If the replacement glass does not have pre-applied adhesive, carefully apply the provided adhesive tape to the edges of the phone frame where the new glass will sit. Ensure even application.
- Install New Glass: Carefully align the new front outer lens glass with the phone frame and the AMOLED display. Once aligned, gently press down on the edges to secure it in place, ensuring the adhesive bonds properly.
- Final Inspection: Power on your device and test the touch functionality and display clarity. Ensure there are no gaps or misalignments.
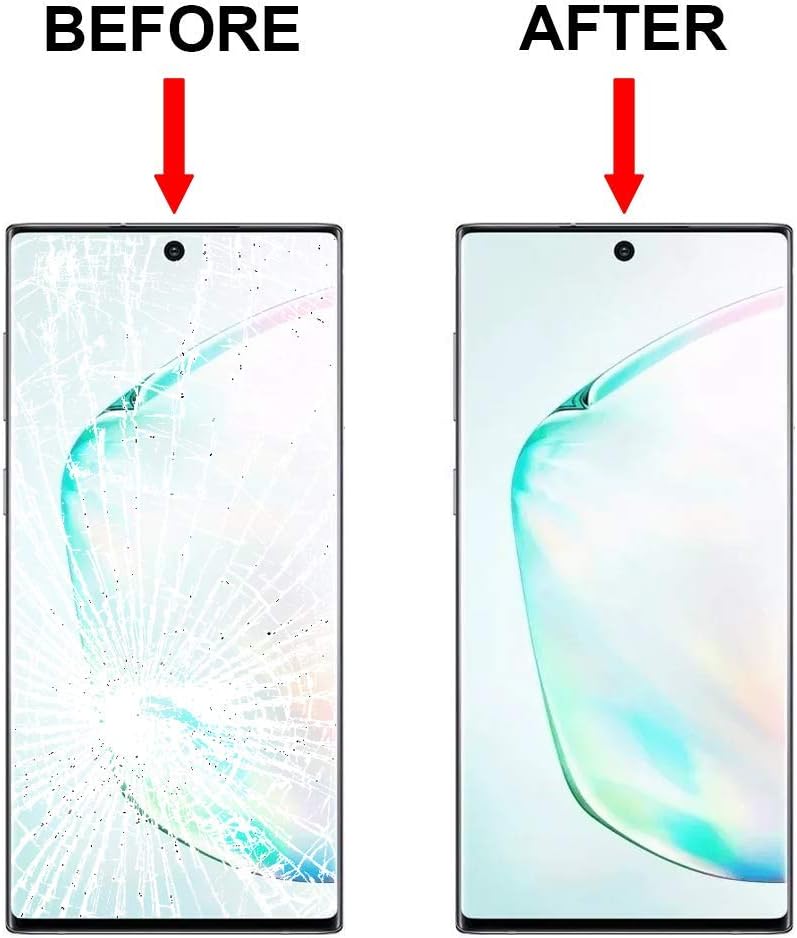
Image: A side-by-side comparison showing a Samsung Galaxy S23 Ultra with a severely cracked screen (BEFORE) and the same model with a perfectly clear, repaired screen (AFTER), illustrating the intended outcome of the glass replacement.
Maintenance
After successfully replacing the outer glass, follow these guidelines to maintain your screen's condition:
- Use a Screen Protector: Apply a high-quality screen protector to add an extra layer of defense against scratches and minor impacts.
- Use a Protective Case: A robust phone case can significantly reduce the risk of future screen damage from drops.
- Clean Gently: Use a soft, lint-free cloth, possibly dampened with a screen cleaner or a small amount of water, to clean the screen. Avoid harsh chemicals or abrasive materials.
- Avoid Extreme Conditions: Protect your phone from extreme temperatures and direct exposure to sharp objects.
Troubleshooting
If you encounter issues during or after the repair, consider the following:
- New Glass Not Adhering: Ensure the frame and display surface were thoroughly cleaned of old adhesive. Re-apply heat gently to the edges and press firmly to activate the adhesive.
- Bubbles Under New Glass: Small bubbles may dissipate over time. For larger bubbles, ensure proper alignment and even pressure during installation. Sometimes, re-heating and pressing can help.
- Display Issues (e.g., lines, dead pixels, no touch response): If the AMOLED display itself was damaged during the removal of the old glass, this kit will not resolve those issues. A full AMOLED display and digitizer replacement would be necessary. This kit is only for the outer glass.
- Difficulty Removing Old Glass: Ensure sufficient heat is applied to soften the adhesive. Work slowly and patiently with the gold wire.
Specifications
| Feature | Detail |
|---|---|
| Compatibility | Samsung Galaxy S23 Ultra (6.8 inch) |
| Item Weight | 3.2 ounces |
| Package Dimensions | 6.85 x 3.46 x 1.06 inches |
| Item Model Number | Samsung Galaxy S23 Ultra |
| ASIN | B07G89B3XZ |
Warranty Information
Due to the highly technical nature of this repair and the potential for user error, the manufacturer cannot accept responsibility for any damage incurred during the replacement process. Returns for screens where an installation attempt has been made may not be accepted. It is crucial to ensure you are capable of performing this job before attempting the replacement.
Support
For further assistance or if you are unsure about any step of the repair process, it is highly recommended to:
- Consult additional instructional videos and guides available online (e.g., YouTube, Google).
- Seek assistance from a professional phone repair technician.