Garage-Pro JCWREPT730354GP
Garage-Pro Tail Light Instruction Manual
Compatible with Toyota Prius 2010-2011 (Driver Side)
1. Product Overview
The Garage-Pro Tail Light is a high-quality, direct-fit OE replacement component designed for the driver side of Toyota Prius models from 2010 to 2011. This assembly includes halogen bulbs and features a clear and red lens, ensuring proper signaling and visibility for safe vehicle operation. It is engineered to meet strict production standards, providing reliable performance and a precise fit.
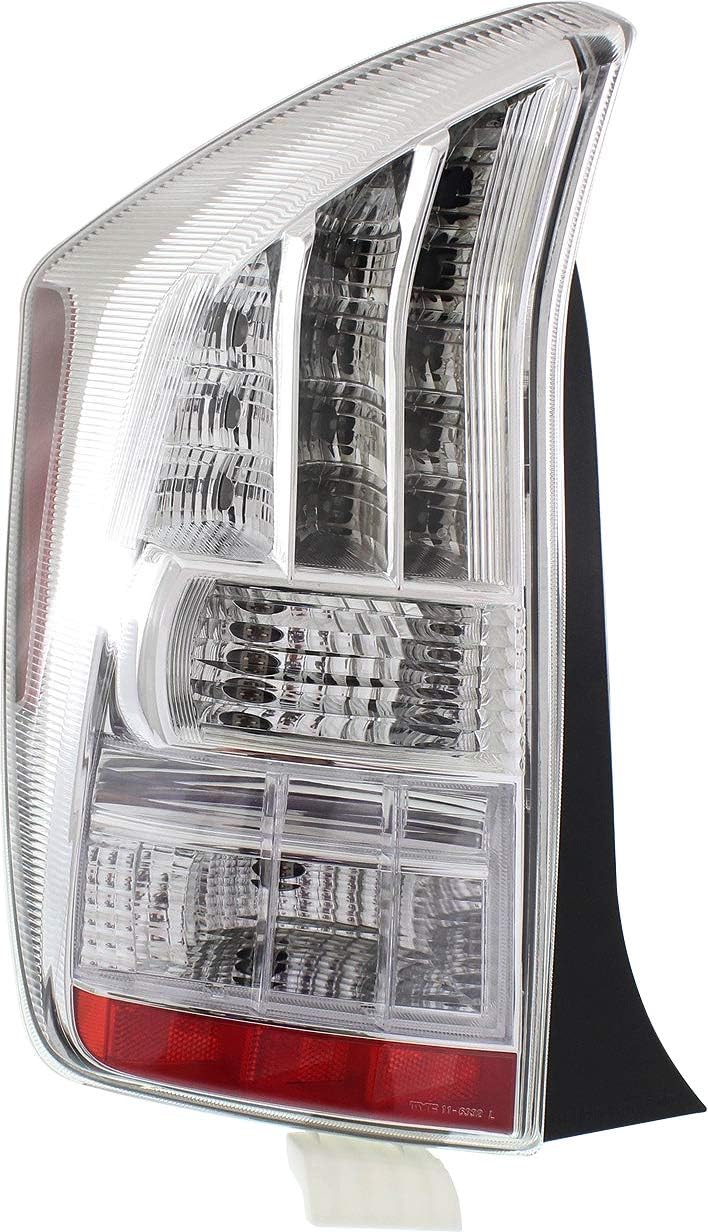
Figure 1.1: Front view of the Garage-Pro Tail Light assembly, showcasing its clear and red lens design.
2. Compatibility
This tail light assembly is specifically designed for and compatible with the following vehicle:
- Make: Toyota
- Model: Prius
- Years: 2010, 2011
- Position: Driver Side (Left Hand - LH)

Figure 2.1: Vehicle orientation diagram indicating the Driver Side (LH) for proper part placement.
3. Key Features
The Garage-Pro Tail Light offers several features designed for optimal performance and ease of installation:
- Direct Fit OE Replacement: Engineered to match the original equipment specifications for a seamless installation.
- Halogen Bulb Type: Utilizes standard halogen bulbs for reliable illumination.
- Clear & Red Lens: Provides clear visibility for reverse and turn signals, and red for brake and tail lights.
- Durable Construction: Made from high-quality plastics to ensure strength and durability in various environmental conditions.
- Safety Compliant: Lens reflector designed for maximum safety, in accordance with FMVSS108 standards.
- Interchange Part Number: 8156147111

Figure 3.1: Illustration highlighting the precision engineering for a perfect fit.

Figure 3.2: Illustration emphasizing the high-quality materials used in the tail light's construction.
4. Specifications
| Attribute | Value |
|---|---|
| Brand | Garage-Pro |
| Model Number | JCWREPT730354GP |
| OEM Part Number | 8156147111-PFM |
| UPC | 195975366050 |
| Color | Clear & Red Lens |
| Bulb Type | Halogen |
| Auto Part Position | Left (Driver Side) |
| Lens Material | Polycarbonate |
| Item Dimensions (L x W x H) | 20.02 x 14.98 x 11.93 inches |
| Item Weight | 6 pounds |
5. Setup and Installation
Installation of the tail light assembly typically involves basic hand tools and can be performed by individuals with moderate mechanical experience. Always ensure the vehicle's power is off before beginning any electrical work.
Required Tools:
- Ratchet & Socket Set
- Screwdriver Set
- Trim Panel Removal Tools (if applicable)
Installation Steps:
- Safety First: Park the vehicle on a level surface and engage the parking brake. Turn off the ignition and disconnect the negative terminal of the vehicle's battery to prevent accidental electrical shorts.
- Access the Tail Light: Open the trunk or tailgate. Locate the access panel or trim covering the tail light assembly from the inside of the vehicle. Carefully remove any fasteners (screws, clips) holding the trim in place using appropriate tools.
- Disconnect Wiring: Once the tail light assembly is accessible, locate the electrical connector(s) attached to the back of the unit. Gently press any release tabs and pull to disconnect the wiring harness.
- Remove Old Assembly: Identify the mounting bolts or nuts securing the tail light assembly to the vehicle body. Use a ratchet and socket to loosen and remove these fasteners. Carefully pull the old tail light assembly straight out from the vehicle.
- Inspect and Clean: Before installing the new tail light, inspect the mounting area for any debris, corrosion, or damage. Clean the area as necessary.
- Install New Assembly: Position the new Garage-Pro Tail Light assembly into the opening, ensuring all mounting points align. Gently push it into place.
- Secure New Assembly: Reinstall the mounting bolts or nuts and tighten them securely. Do not overtighten, as this can damage the plastic housing.
- Reconnect Wiring: Connect the electrical harness to the new tail light assembly. Ensure the connection is firm and secure.
- Test Functionality: Reconnect the vehicle's battery. Turn on the ignition and test all tail light functions: parking lights, brake lights, turn signals, and reverse lights. Ensure all bulbs illuminate correctly.
- Reinstall Trim: Once all functions are verified, reinstall any removed trim panels and fasteners.

Figure 5.1: Rear view of the tail light, illustrating the bulb sockets and wiring connections.
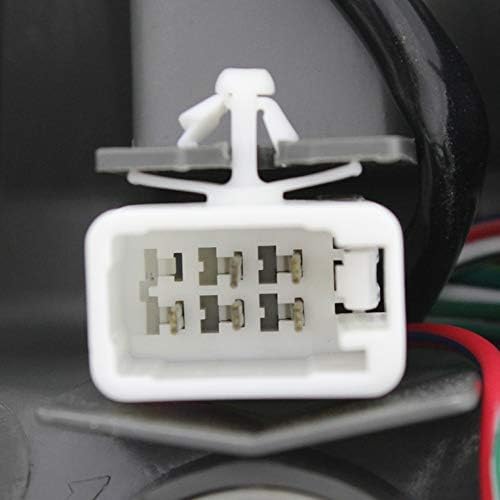
Figure 5.2: Detailed view of the electrical connector, ensuring proper connection during installation.
6. Operating Instructions
The Garage-Pro Tail Light operates in conjunction with your vehicle's existing electrical system. Once properly installed, it will function automatically when the corresponding vehicle controls are activated:
- Parking Lights/Tail Lights: Activate when the vehicle's headlights or parking lights are turned on.
- Brake Lights: Illuminate when the brake pedal is pressed.
- Turn Signals: Flash when the turn signal lever is engaged for a left turn.
- Reverse Lights: Activate when the vehicle is shifted into reverse gear.
No user intervention is required for the operation of the tail light assembly itself beyond proper installation.
7. Maintenance
Regular maintenance of your Garage-Pro Tail Light will ensure its longevity and optimal performance:
- Cleaning: Periodically clean the outer lens with a soft cloth and mild automotive soap to remove dirt, dust, and road grime. Avoid abrasive cleaners or harsh chemicals that could scratch or damage the lens.
- Inspection: Regularly check the tail light for any cracks, chips, or moisture accumulation inside the lens. Inspect the wiring harness for any signs of wear, fraying, or loose connections.
- Bulb Replacement: If a bulb burns out, replace it promptly with a new halogen bulb of the correct type and wattage as specified by your vehicle's manufacturer. Refer to your vehicle's owner's manual for specific bulb types.
8. Troubleshooting
If you experience issues with your tail light, consider the following troubleshooting steps:
- Light Not Working:
- Check the bulb: A burnt-out bulb is the most common cause. Replace the bulb.
- Check the fuse: Consult your vehicle's owner's manual for the location of the fuse box and the specific fuse for the tail lights. Replace any blown fuses.
- Check the wiring connection: Ensure the electrical connector is securely plugged into the tail light assembly. Inspect for any damaged or corroded wires.
- Intermittent Operation:
- Loose connection: Re-seat the electrical connector firmly.
- Corrosion: Clean any corrosion on the bulb contacts or electrical connector pins.
- Moisture Inside Lens:
- Small amounts of condensation may dissipate naturally. If excessive moisture or water accumulates, it may indicate a seal issue. Ensure the assembly is properly seated and sealed against the vehicle body.
If troubleshooting steps do not resolve the issue, it is recommended to consult a qualified automotive technician.
9. Warranty and Support
Garage-Pro items, including this tail light assembly, come with a FREE 1-year UNLIMITED mileage warranty coverage. This warranty covers defects in materials and workmanship under normal use.
For warranty claims, technical assistance, or any other inquiries, please contact Garage-Pro customer support through their official channels. Keep your purchase receipt or proof of purchase handy when contacting support.
For more information about Garage-Pro products and support, you may visit the Garage-Pro Store on Amazon.
Related Documents - JCWREPT730354GP
 |
Pro Comp 57048B 5079B 4-Inch Lift Kit Installation Manual for 2007-2012 Toyota Tundra 4WD Detailed installation instructions and warranty information for the Pro Comp 57048B 5079B 4-inch suspension lift kit designed for the 2007-2012 Toyota Tundra 4WD. Includes parts list, front and rear installation steps, and torque specifications. |
 |
Teckentrup CarTeck GSW 40 Series Sectional Garage Doors: Technical Guide & Specifications Comprehensive technical guide for Teckentrup CarTeck GSW 40-S, GSW 40-M, and GSW 40-L sectional garage doors. Features include installation data, dimensions, product specifications, color options, and a 5-point guarantee. |
 |
Teckentrup GSW 40-L Side Hinged Garage Door Fitting Instructions Comprehensive fitting instructions for Teckentrup GSW 40-L side hinged garage doors and side doors. This guide covers unpacking, frame and door leaf adjustment, threshold fitting, and final checks for a secure installation in domestic garages. |
 |
Dynavin D8-DF17 Pro VW Touran Installation Guide Step-by-step assembly instructions for the Dynavin D8-DF17 Pro 10.1-inch Android car radio for VW Touran (2006-2011), including English, German, and French language guides. |
 |
Brake Light Pro Supplementary Manual for Suzuki VZ1500 Intruder M1500 / Boulevard M90 Installation guide for the Healtech Brake Light Pro (BLP-U01) accessory for Suzuki VZ1500 Intruder M1500 and Boulevard M90 motorcycles (2009-2013 models). |
 |
Westin Pro Traxx 5 Running Boards Installation Guide for Dodge Ram Step-by-step installation instructions for Westin Pro Traxx 5 running boards on Dodge Ram 1500, 2500, and 3500 models (2009-2015). Includes parts list, tools needed, and safety warnings. |
Ask a question about this manual
Ask about setup, troubleshooting, compatibility, parts, safety, or missing instructions. Manuals+ will review the question and use this page’s manual context to help answer it.