SMONET USSM-A16108101T
SMONET 5MP Wired Home Security Camera System User Manual
Model: USSM-A16108101T | Brand: SMONET
Introduction
This manual provides comprehensive instructions for the installation, operation, and maintenance of your SMONET 5MP Wired Home Security Camera System. This system features a 16-channel H.265+ DVR with a pre-installed 1TB hard drive and 8x1080P HD indoor/outdoor waterproof CCTV cameras, offering 24/7 recording, remote access, and intelligent alerts. Please read this manual thoroughly before setting up and using your system to ensure proper functionality and safety.

Figure 1: SMONET 5MP Wired Home Security Camera System Overview
Setup Guide
Follow these steps to set up your SMONET security camera system:
1. Initial Connections
- Connect Monitor: Connect a PC or TV monitor to the DVR using a VGA or HDMI cable. Ensure you use a dedicated PC or TV monitor; laptops or all-in-one computers are not supported for direct connection.
Video 1: System Connection - Step 1: Connect PC or TV monitor to the DVR with a VGA or HDMI cable.
- Power and Mouse Connection: Plug in the power supply for the DVR. Connect the included USB mouse to one of the USB ports on the DVR.
Video 2: System Connection - Step 2: Plug in the power supply for the DVR and connect the mouse.
- Network Connection: Connect the Router LAN Port to the DVR Ethernet port using a network cable. Ensure your router is configured for Wide Area Network (WAN) access.
Video 3: System Connection - Step 3: Connect the Router LAN Port to the DVR Ethernet port with a network cable.
- Camera Power Splitter: Connect the 1-to-4 splitter adapter cable to the power supply for the cameras.
Video 4: System Connection - Step 4: Connect the 1 to 4 splitter adapter cable to the power supply for the camera.
- Camera BNC Connection: Connect the BNC cable from each camera to the splitter, and then connect the BNC cable to the DVR's VIDEO IN port.
Video 5: System Connection - Step 5: Connect BNC cable to the splitter and to the DVR's VIDEO IN port.
Once all connections are made, the system will power on and display the camera feeds on the connected monitor. Follow any on-screen prompts for initial setup, such as setting the date, time, and administrator password.

Figure 2: DVR Back Panel and Camera Expansion Capabilities
Operating Your System
1. Remote Viewing on Mobile Devices
The SMONET system allows for remote viewing and playback via a mobile application. Follow these steps to set up remote access:
- Ensure your DVR is connected to the internet via the Ethernet cable.
- On the DVR monitor, navigate to "Main Menu" > "Network" > "Phone App". You should see the NAT status as "Connected".
- Download the "Danale" app from Google Play Store (Android) or Apple App Store (iOS) on your smartphone or tablet.
- Register a new account within the Danale app using your email or phone number, then log in.
- In the app, click the central "+" icon to add a device. Select "QR code to add" at the bottom of the interface.
- Scan the SN QR code displayed on the DVR screen in the "Phone App" section (under Cloud1).
- Enter a device name (e.g., "Home Security") and press "OK".
- Double-click the device picture in the app to view your cameras live.
Video 6: Remote Viewing on Phone - Detailed steps for setting up mobile access.

Figure 3: Easy Remote Access Anywhere via Danale App
2. Recording Modes
Your DVR supports various recording modes. The system defaults to 24/7 recording. You can configure specific time periods or motion-triggered recording.
- Scheduled Recording: Set specific times for continuous recording.
- Motion Detection Recording: Record only when motion is detected.
- Manual Recording: Start and stop recording manually.
Video 7: Three Types of Recording - Demonstrates setting up different recording modes.
3. Motion Detection Setup
To configure motion detection and alerts:
- Right-click on the DVR monitor to access the Main Menu.
- Navigate to "Alarm" and select the desired channel (e.g., Channel 1).
- Ensure "Enable" is toggled on for Motion Detect.
- Click "Advanced" to set sensitivity (Lowest, Lower, Middle, Higher, Highest) and define the detection region. The default region is the entire area; left-click the mouse to exclude specific areas if needed.
- Select the record channel(s) for motion-triggered recording.
- Tick "Show message" to display on-screen alerts and "Send Email" to receive email notifications.
- Click "OK" and then "Application" to save settings. Repeat for other channels as needed.
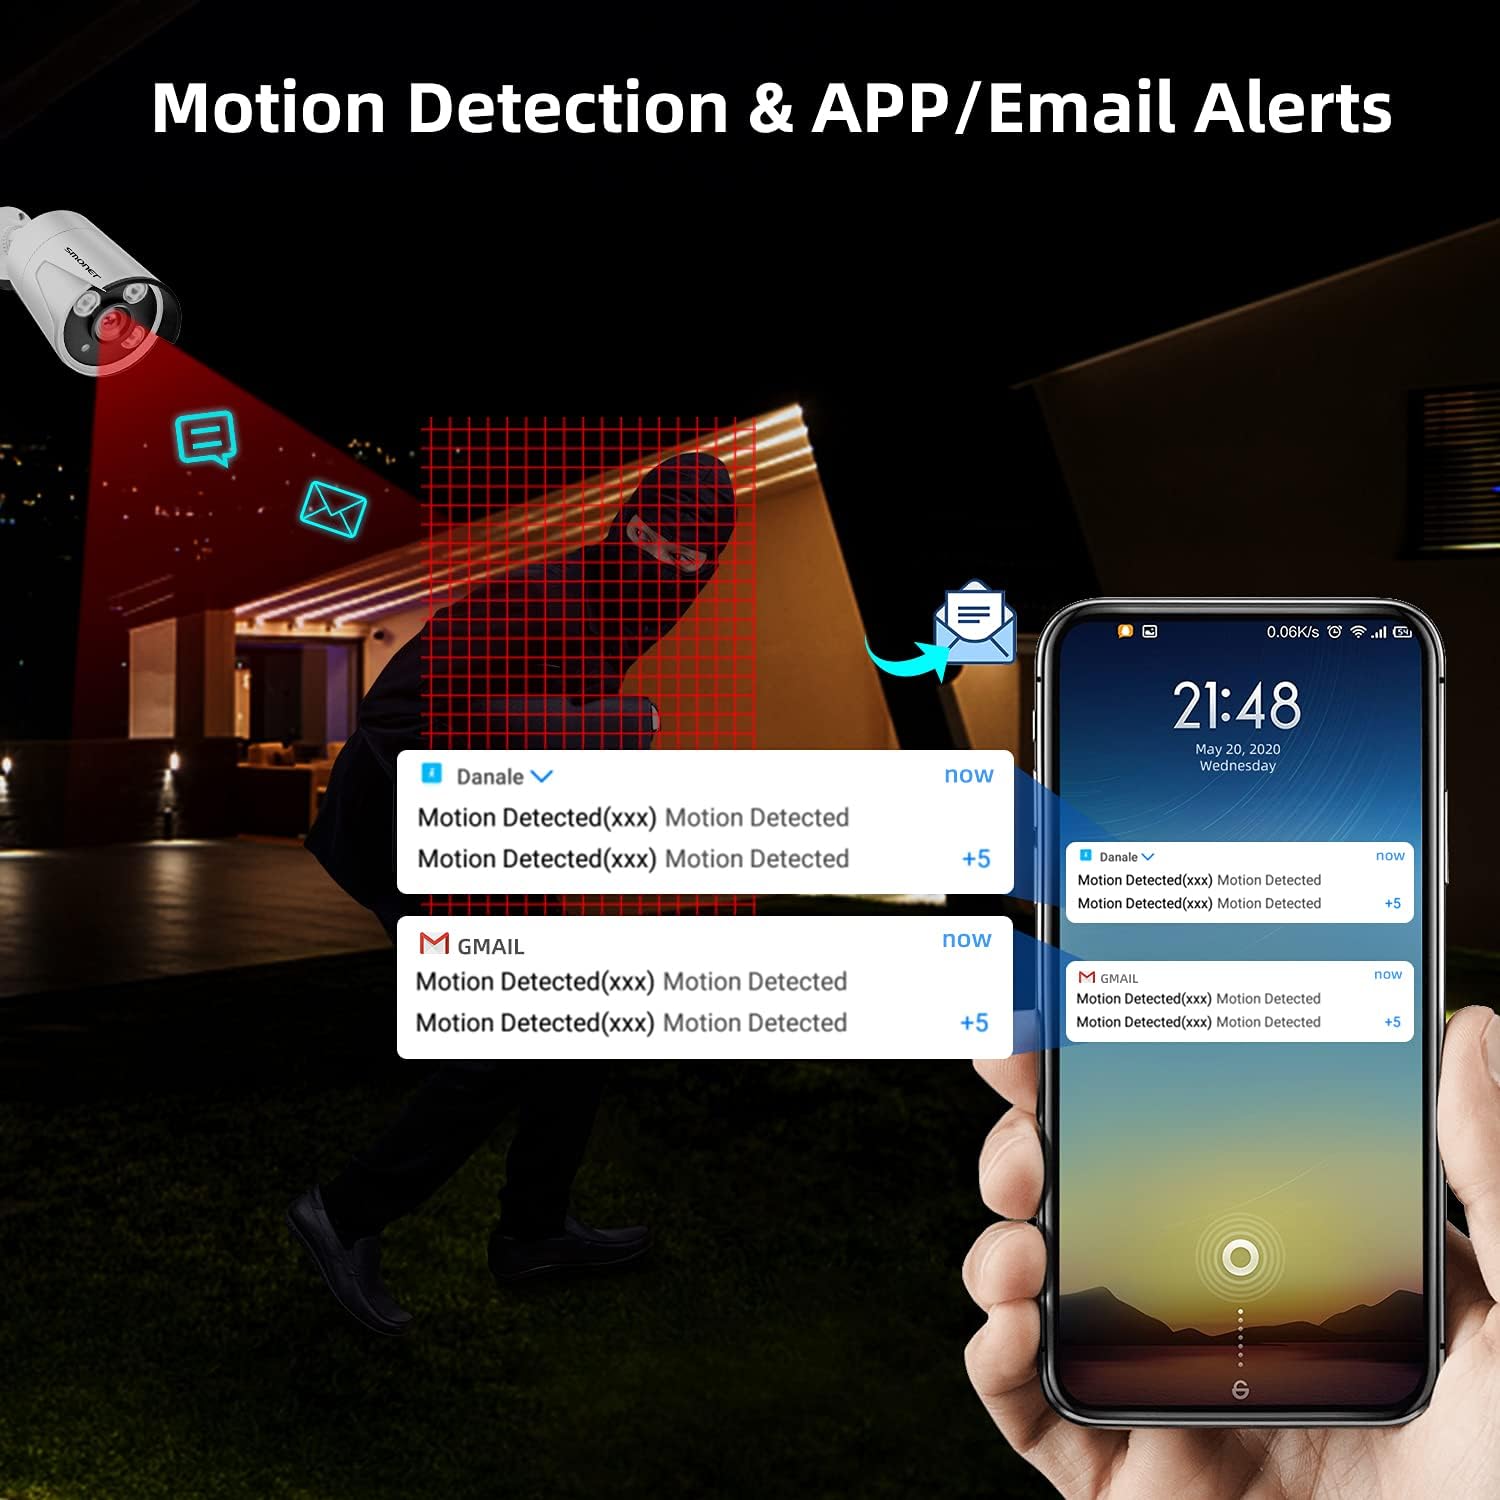
Figure 4: Motion Detection & APP/Email Alerts
4. Playback Recorded Footage
To view recorded footage, ensure you have set up recording functions and have recorded files.
- Right-click on the DVR monitor to access the Main Menu.
- Navigate to "Playback".
- Select the specific recording time (date) from the calendar.
- Select the channel(s) you wish to playback.
- Click "Search" to find recorded files.
- Click the play button to start playback. You can use the fast forward symbol (supports up to 16x speed) if needed.
- To stop playback, right-click and select "Stop Playing". To exit the playback interface, right-click again and select "UpWindow".
Maintenance
- Regular Cleaning: Gently wipe camera lenses and DVR surfaces with a soft, dry cloth. Avoid abrasive cleaners or solvents. For outdoor cameras, periodically check for dirt, dust, or spiderwebs that may obstruct the view.
- Firmware Updates: Periodically check the SMONET official website or contact customer support for available firmware updates. Keeping your system updated ensures optimal performance and security.
- Hard Drive Management: The 1TB HDD provides ample storage. The system will automatically overwrite the oldest footage when the hard drive is full. If you need to preserve specific footage, back it up to an external storage device (e.g., USB drive) before it is overwritten.
- Cable Inspection: Regularly inspect all cables (power, video, network) for any signs of wear, damage, or loose connections. Secure or replace damaged cables to prevent signal loss or system malfunction.
- Environmental Considerations: Ensure the DVR is placed in a well-ventilated area, away from direct sunlight, heat sources, and excessive moisture. While cameras are waterproof, extreme weather conditions can affect performance; consider additional protective measures if necessary.

Figure 5: Outdoor Waterproof Camera
Troubleshooting
| Problem | Possible Cause | Solution |
|---|---|---|
| No video display on monitor. | Loose cable connection, incorrect monitor input, DVR not powered on. | Check HDMI/VGA cable connections. Ensure monitor input is set correctly. Verify DVR power supply is connected and unit is on. |
| No remote viewing on phone app. | No internet connection, incorrect app settings, NAT status not connected. | Verify DVR is connected to the internet. Check app settings and device ID. Ensure NAT status is "Connected" in DVR network settings. Restart DVR and router. |
| Cameras not recording. | Recording schedule not set, motion detection not enabled, hard drive full or faulty. | Check recording settings (scheduled/motion). Ensure motion detection is enabled for relevant channels. Verify hard drive status; format if necessary (this will erase data). |
| Poor night vision quality. | Obstruction in front of camera, IR LEDs blocked, insufficient ambient light. | Clear any obstructions from the camera lens. Ensure IR LEDs are not blocked. Consider adding external IR illuminators if needed. |

Figure 6: Enhanced Night Vision Capability
Specifications
- Brand: SMONET
- Model Number: USSM-A16108101T
- Connectivity Technology: Wired
- Video Capture Resolution: 1080p (5MP input supported)
- Special Features: HD Resolution, 24/7 Local Recording, Night Vision (up to 65 feet), Motion Detection, Email & App Alert, IP66 Weatherproof Cameras, Preinstalled 1TB Hard Drive, Remote Access
- Number of Channels: 16
- Memory Storage Capacity: 1 TB (Pre-installed HDD)
- Color: White (Cameras), Black (DVR)
- Power Source: Corded Electric
- Item Dimensions (L x W x H): 16.3 x 11.3 x 12.5 inches
- Recommended Uses: Indoor, Outdoor, Office, Shop, Backyard, Restaurant
- Compatible Devices: Smartphones, Cameras, Computers, Tablets
- Signal Format: Analog (AHD / CVI / TVI / Analog Video Inputs supported)
- Low Light Technology: Night Color
- Focal Length: 3.6 millimeters
- Frame Rate: 30 FPS or higher
- Recording Mode: Motion Detection, Scheduled, Manual
- Optical Sensor Technology: CMOS
- Total USB Ports: 2
- Lens Type: Fixed
- Video Input: BNC
- Item Weight: 19.81 pounds
- Date First Available: July 31, 2018

Figure 7: H.265 Coding for Efficient Storage
Warranty and Support
SMONET is committed to providing high-quality products and excellent customer service. Your security system comes with the following:
- 100% Satisfaction Guarantee: We aim for your complete satisfaction.
- 30-Day Money-Back Guarantee: If you are not satisfied, you can return the product within 30 days for a full refund.
- 2-Year Warranty: The product is covered by a 2-year warranty. During this period, SMONET will provide free brand-new parts for replacement if needed.
- Lifetime Free Technical Support: For any technical assistance, setup queries, or troubleshooting, please contact our support team.
For technical support or warranty claims, please refer to the contact information provided in your product packaging or visit the official SMONET website.
Ask a question about this manual
Ask about setup, troubleshooting, compatibility, parts, safety, or missing instructions. Manuals+ will review the question and use this page’s manual context to help answer it.