1. Introduction
Thank you for choosing the Clikon 20 Liter Digital Microwave Oven. This manual provides essential information for the safe and efficient operation, installation, and maintenance of your appliance. Please read these instructions carefully before use and retain them for future reference.
2. Important Safety Instructions
WARNING: To reduce the risk of fire, electric shock, injury to persons, or exposure to excessive microwave energy, observe the following basic precautions:
- Read all instructions before using the appliance.
- Do not operate this oven if the door is bent, warped, or otherwise damaged, or if it does not close firmly.
- Do not tamper with the door safety interlocks.
- Maintenance should be carried out only by a qualified serviceman.
- Remove the plug or disconnect from the mains before removing any cover.
- Do not heat liquids or other foods in sealed containers as they are liable to explode.
- Only use utensils that are suitable for use in microwave ovens.
- Do not use corrosive chemicals or vapors in this appliance.
- This appliance is intended for household use only.
3. Product Overview
The Clikon 20 Liter Digital Microwave Oven is designed for convenient and efficient food preparation. It features a digital control panel, multiple power levels, and a rotating glass base for even heating.

Figure 3.1: Front view of the microwave oven with the door open, showing the interior cavity and control panel.

Figure 3.2: Front view of the microwave oven with the door closed, highlighting the sleek design and digital display.

Figure 3.3: Angled view of the microwave oven, showcasing its compact form factor.

Figure 3.4: Side view of the microwave oven, showing ventilation grilles.

Figure 3.5: Close-up of the digital control panel with push buttons for various functions.
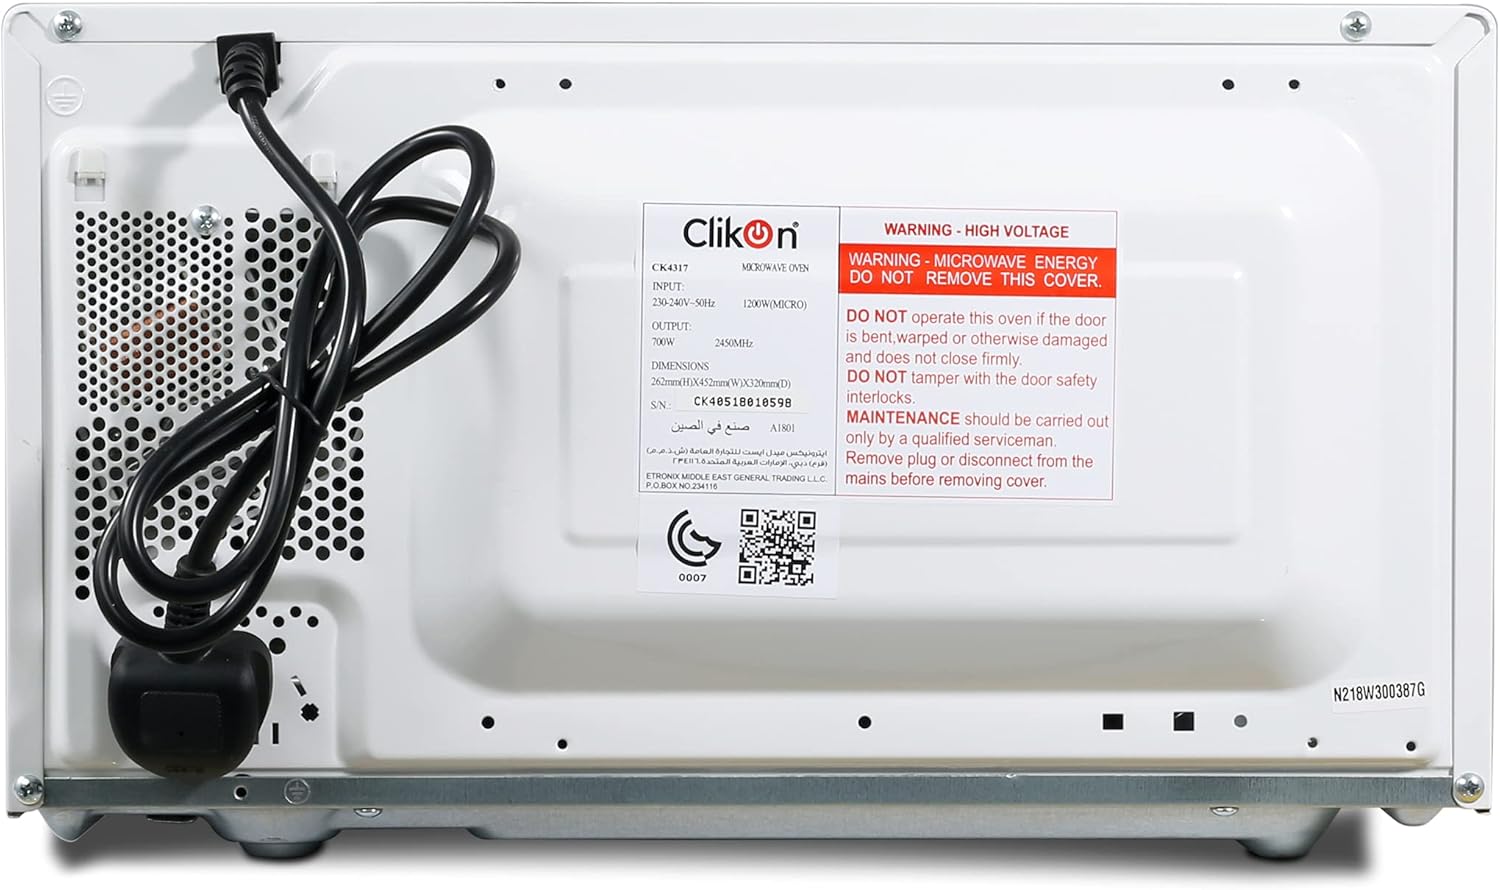
Figure 3.6: Rear view of the microwave oven, showing the power cord, ventilation, and product label with safety warnings and specifications. The GSO conformity mark (0007-960) is visible.
3.1 Components
- Microwave Oven Unit
- Glass Turntable
- Turntable Ring
- Instruction Manual
3.2 Control Panel Functions
The control panel features a digital display and various push buttons for easy operation:
- Number Buttons (0-9): Used to set cooking time, weight, or select preset programs.
- Clock: Sets the current time.
- Preset: Accesses pre-programmed cooking functions.
- Express: For quick start cooking.
- Power Level: Adjusts the microwave power output.
- Time: Used in conjunction with number buttons to set cooking duration.
- Memory: Stores and recalls frequently used cooking settings.
- Jet Defrost / Weight Defrost: Specific defrosting functions.
- Cancel: Stops cooking, clears settings, or cancels a program.
- Start: Begins the cooking process.
4. Setup
4.1 Unpacking and Placement
- Remove all packaging materials from the oven cavity and accessories.
- Inspect the oven for any damage, such as dents or a misaligned door. Do not operate the oven if it is damaged.
- Place the microwave oven on a stable, level surface strong enough to hold the oven and the food you place in it.
- Ensure adequate ventilation. Leave a minimum of 10 cm (4 inches) of space at the rear, 20 cm (8 inches) at the top, and 5 cm (2 inches) on each side for proper airflow. Do not block any ventilation openings.
4.2 Electrical Connection
Plug the power cord into a standard 230-240V, 50Hz grounded electrical outlet. Ensure the outlet is easily accessible.
4.3 Turntable Assembly
Place the turntable ring in the center of the oven cavity. Then, place the glass turntable securely on top of the turntable ring. Ensure it rotates freely.
5. Operating Instructions
5.1 Setting the Clock
- Press the Clock button once.
- Use the number buttons to enter the current time (e.g., 12:30).
- Press the Clock button again to confirm.
5.2 Microwave Cooking
- Place food in a microwave-safe container on the glass turntable. Close the door.
- Press the Time button.
- Use the number buttons to enter the desired cooking time.
- Press the Power Level button repeatedly to select the desired power level (e.g., P100 for full power, P80 for 80% power).
- Press the Start button to begin cooking.
5.3 Express Cooking
For quick cooking at full power:
- Press the Express button repeatedly to set a quick cooking time (e.g., one press for 30 seconds, two presses for 1 minute).
- Press the Start button.
5.4 Defrosting
The microwave offers two defrosting methods: Jet Defrost and Weight Defrost.
5.4.1 Weight Defrost
- Press the Weight Defrost button.
- Use the number buttons to enter the weight of the food in grams.
- Press the Start button.
5.4.2 Jet Defrost
- Press the Jet Defrost button.
- Use the number buttons to enter the desired defrosting time.
- Press the Start button.
5.5 Child Safety Lock
To prevent unsupervised operation, especially by children:
- To activate: Press and hold the Cancel button for 3 seconds. A lock indicator will appear on the display.
- To deactivate: Press and hold the Cancel button for 3 seconds again. The lock indicator will disappear.
6. Maintenance and Cleaning
Regular cleaning helps maintain the performance and longevity of your microwave oven.
- Interior: Wipe the inside of the oven with a damp cloth after each use. For stubborn stains, use a mild detergent. Do not use abrasive cleaners or scouring pads.
- Exterior: Clean the exterior surface with a soft, damp cloth. Avoid getting water into the ventilation openings.
- Door and Door Seals: Keep the door and door seals clean. Use a soft cloth and mild soap if necessary.
- Glass Turntable: The glass turntable and turntable ring can be washed in warm soapy water or in a dishwasher. Ensure they are completely dry before placing them back in the oven.
- Always unplug the microwave oven from the power outlet before cleaning.
7. Troubleshooting
If you encounter any issues with your microwave oven, refer to the following table for common problems and solutions:
| Problem | Possible Cause | Solution |
|---|---|---|
| Oven does not start | Power cord not plugged in; Door not closed properly; Fuse blown or circuit breaker tripped; Child lock activated. | Ensure plug is firmly in outlet; Close door securely; Check household fuse/circuit breaker; Deactivate child lock. |
| Food not heating | Door not closed properly; Cooking time or power level set incorrectly; Microwave-safe dish not used. | Close door securely; Adjust cooking time/power; Use appropriate microwave-safe cookware. |
| Turntable not rotating | Turntable not properly placed; Debris under turntable ring. | Ensure turntable and ring are correctly positioned; Clean under the turntable ring. |
| Unusual noise during operation | Turntable or roller ring not correctly placed; Food container touching oven walls. | Re-position turntable/ring; Ensure food container is centered and not touching walls. |
If the problem persists after checking these solutions, please contact customer support.
8. Specifications
| Feature | Specification |
|---|---|
| Brand | Clikon |
| Model Number | CK4317 (also CK4319, CK4320) |
| Capacity | 20 Liters |
| Power / Wattage | 700 watts |
| Voltage | 230-240 Volts |
| Material | Stainless Steel (interior/components), White exterior |
| Product Dimensions (D x W x H) | 36 x 44 x 26 cm |
| Item Weight | 11.7 Kilograms |
| Special Features | Digital Interface, Push Button Control, Auto Off, Child Safety Lock, Rotating Glass Base |
9. Warranty and Support
9.1 Warranty Information
This Clikon Microwave Oven comes with a 2-year warranty from the date of purchase, covering manufacturing defects under normal household use. Please retain your proof of purchase for warranty claims.
9.2 Customer Support
For installation, service support, or any inquiries regarding your Clikon microwave oven, please contact our support team:
- Phone: +966 503568714 / +966 500535584