1. Introduction
Thank you for choosing the Dongcheng DSM02-125B 1200-Watt Angle Grinder. This powerful and durable tool is designed for various applications including metal parts cleaning, burring, weld groove preparation, sanding, and grinding with a 125mm grinding wheel. Please read this manual carefully before operating the tool to ensure safe and efficient use. Keep this manual for future reference.
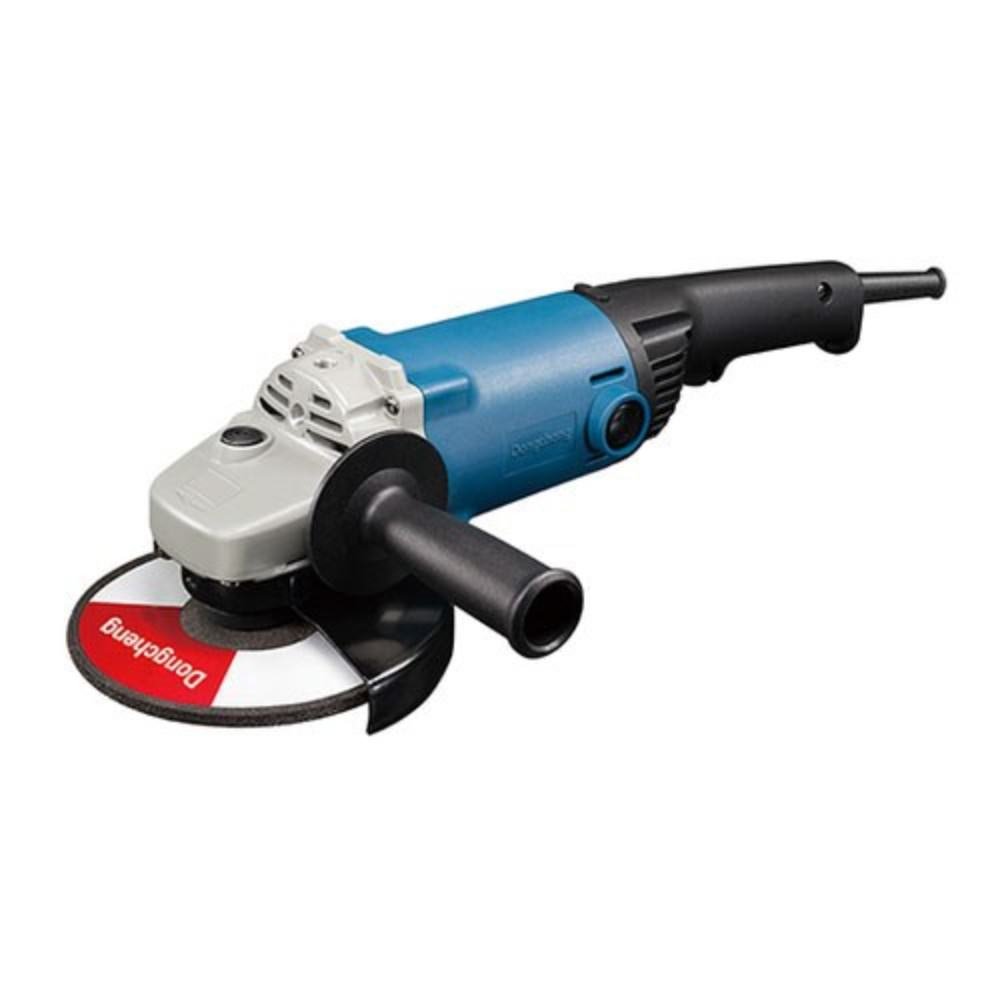
Figure 1: Dongcheng DSM02-125B 1200-Watt Angle Grinder. This image shows the main body of the angle grinder, typically blue in color, with the auxiliary handle attached, and a grinding disc mounted. The power cord extends from the rear.
2. General Safety Instructions
Always observe the following basic safety precautions when using electric power tools to reduce the risk of fire, electric shock, and personal injury.
- Work Area Safety: Keep the work area clean and well-lit. Cluttered or dark areas invite accidents. Do not operate power tools in explosive atmospheres, such as in the presence of flammable liquids, gases, or dust.
- Electrical Safety: Power tool plugs must match the outlet. Never modify the plug in any way. Avoid body contact with earthed or grounded surfaces. Do not expose power tools to rain or wet conditions.
- Personal Safety: Always wear eye protection (safety glasses or goggles). Use hearing protection when operating for extended periods. Wear a dust mask if operations create dust. Dress properly; avoid loose clothing or jewelry.
- Tool Use and Care: Do not force the power tool. Use the correct power tool for your application. Disconnect the plug from the power source before making any adjustments, changing accessories, or storing power tools.
- Specific Grinder Safety: Ensure the wheel guard is properly positioned and secured. Use only grinding wheels rated for the grinder's speed. Never use damaged or incorrect accessories. Maintain a firm grip on the tool with both hands.
3. Components
Familiarize yourself with the main parts of your Dongcheng DSM02-125B Angle Grinder:
- Main Body/Motor Housing: Contains the motor and internal components.
- Spindle: The rotating shaft where the grinding wheel is mounted.
- Spindle Lock Button: Used to lock the spindle for easy wheel changes.
- Wheel Guard: Protects the user from sparks and debris, and from accidental contact with the rotating wheel.
- Auxiliary Handle: Provides additional grip and control during operation. Can be mounted on either side.
- Power Switch: To turn the grinder ON and OFF.
- Grinding Wheel/Disc: The abrasive accessory used for grinding or cutting. (Not included with all models, check packaging).
- Inner and Outer Flanges/Nuts: Secure the grinding wheel to the spindle.
Note: A detailed diagram illustrating these components would typically be found here.
4. Setup and Assembly
Before connecting the tool to the power supply, ensure all components are correctly assembled.
4.1 Attaching the Auxiliary Handle
- The auxiliary handle can be screwed into either the left or right side of the gear housing, depending on user preference and application.
- Tighten the handle securely by hand.
4.2 Adjusting the Wheel Guard
- Loosen the screw or lever on the wheel guard.
- Rotate the guard to a position that provides maximum protection for the operator, directing sparks away from the body.
- Tighten the screw or lever firmly to secure the guard in place. Never operate the grinder without the wheel guard.
4.3 Mounting the Grinding Wheel
- Ensure the grinder is unplugged from the power source.
- Place the inner flange onto the spindle.
- Position the grinding wheel onto the spindle, ensuring it sits flush against the inner flange. The wheel's label should face outwards.
- Thread the outer flange/nut onto the spindle.
- Press and hold the spindle lock button.
- Using the provided spanner wrench, tighten the outer flange/nut clockwise until the wheel is securely fastened. Release the spindle lock.
Note: Always check the wheel for damage before mounting. Never use a cracked or chipped wheel.
5. Operating Instructions
Follow these steps for safe and effective operation of your angle grinder.
- Pre-Operation Check: Before plugging in, ensure the power switch is in the "OFF" position. Inspect the power cord for damage. Verify the wheel guard and auxiliary handle are securely attached.
- Power Connection: Plug the grinder into a suitable power outlet (AC 220-240V, 50/60Hz).
- Starting the Grinder: Hold the grinder firmly with both hands. Press the power switch to the "ON" position. Allow the wheel to reach full speed before contacting the workpiece.
- Grinding Technique: Apply light, even pressure. Do not force the tool. Move the grinder smoothly across the workpiece. For cutting, use a cutting disc and make shallow passes.
- Stopping the Grinder: Lift the grinder away from the workpiece. Release the power switch to the "OFF" position. Wait for the wheel to stop completely before setting the tool down.
Warning: Never start the grinder with the wheel in contact with the workpiece. Avoid grinding near flammable materials.
6. Maintenance
Regular maintenance ensures optimal performance and extends the life of your tool. Always unplug the grinder before performing any maintenance.
- Cleaning: Regularly clean the ventilation openings to prevent motor overheating. Use a soft brush or compressed air to remove dust and debris. Do not use water or chemical cleaners.
- Inspection: Periodically inspect the power cord for cuts, abrasions, or signs of wear. Check the wheel guard and auxiliary handle for damage or looseness.
- Carbon Brushes: The motor uses carbon brushes which wear over time. If the grinder experiences reduced power, excessive sparking, or stops working, the carbon brushes may need replacement. This should ideally be done by a qualified service technician.
- Storage: Store the grinder in a dry, secure place, out of reach of children.
7. Troubleshooting
Refer to this section for common issues and their solutions.
| Problem | Possible Cause | Solution |
|---|---|---|
| Grinder does not start. | No power supply; Faulty power switch; Worn carbon brushes. | Check power outlet and cord; Ensure switch is ON; Replace carbon brushes (professional service recommended). |
| Excessive vibration. | Damaged or unbalanced grinding wheel; Loose flanges; Bent spindle. | Replace grinding wheel; Tighten flanges; Contact service center for spindle issues. |
| Reduced power or excessive sparking. | Worn carbon brushes; Overload. | Replace carbon brushes (professional service recommended); Reduce pressure on the tool. |
| Overheating. | Blocked ventilation slots; Continuous heavy use. | Clean ventilation slots; Allow tool to cool down during prolonged use. |
If the problem persists after attempting these solutions, please contact an authorized service center.
8. Technical Specifications
- Model: DSM02-125B
- Type: Angle Grinder
- Rated Power Input: 1200 Watts
- No Load Speed: 11800 RPM
- Wheel Diameter: 125 mm (5 inches)
- Bore Diameter: 22 mm
- Power Source: AC (Alternating Current)
- Voltage: 220-240V (typical for India market)
- Frequency: 50/60 Hz
- Item Weight: 6 kg
- Product Dimensions (LxWxH): 20 x 20 x 5 cm
9. Warranty and Support
Dongcheng products are manufactured to high-quality standards. For warranty information, please refer to the warranty card included with your product or contact your local Dongcheng dealer or authorized service center. Keep your purchase receipt as proof of purchase.
For technical support, spare parts, or service inquiries, please contact the manufacturer or your retailer. Contact details can usually be found on the product packaging or the official Dongcheng website.