
1. Important Safety Information
Please read all instructions carefully before installation. Improper installation can lead to vehicle damage or personal injury.
- Professional Installation Recommended: Due to the complexity of automotive electrical systems and vehicle disassembly, professional installation by a qualified technician is highly recommended.
- Compatibility: These headlight assemblies are designed specifically for 2009-2014 Nissan Maxima Halogen Models. They are NOT compatible with models equipped with factory HID (High-Intensity Discharge) headlights. Verify your vehicle's headlight type before installation.
- DOT & SAE Compliance: These headlights meet all regulations in the USA and Canada, featuring DOT & SAE stamps for street legality.
- Bulbs Not Included: This product includes only the headlight housing and lens. Bulbs must be purchased separately or transferred from your original headlight assembly.
- Electrical Safety: Disconnect the vehicle's battery before beginning any electrical work to prevent short circuits or electrical shock.
2. Product Overview
The ACANII Headlight Assembly is a direct replacement for the original headlight units on 2009-2014 Nissan Maxima halogen models. This set includes both driver and passenger side headlight assemblies, featuring a black housing and clear lens for a refreshed appearance.

Each assembly is constructed with a durable polycarbonate lens for superior UV protection and high impact resistance, ensuring longevity and clear light output. The integrated amber reflectors comply with OEM standards for safety.
3. Specifications
- Brand: ACANII
- Model: AC-H-J-NM09-AM-BK
- Compatibility: 2009-2014 Nissan Maxima (Halogen Models Only)
- Part Numbers (OEM Equivalent): 260609N00A, 260109N00A, NI2502177, NI2503177, NI2503186, NI2502186
- Color: Black Housing, Clear Lens
- Lens Material: Polycarbonate
- Light Source Type: Halogen (Bulbs not included)
- Special Feature: Waterproof
- Wattage: 120 watts (typical for halogen systems)
- Item Weight: Approximately 20 pounds (for the pair)
- Package Dimensions: Approximately 25 x 21 x 14 inches
- Certifications: DOT & SAE Stamped
4. Setup and Installation
This section provides general guidance for installing your new ACANII headlight assemblies. Specific vehicle disassembly steps may vary and are not detailed here. Professional installation is strongly recommended.
4.1 Pre-Installation Checks
- Verify that the new headlight assemblies match your vehicle's make, model, and year (2009-2014 Nissan Maxima Halogen Models).
- Ensure you have all necessary tools, including wrenches, sockets, screwdrivers, and potentially trim removal tools.
- Confirm that you have the correct halogen bulbs for your new assemblies, as they are not included.
4.2 Installation Steps (General)
- Disconnect Battery: Always disconnect the negative terminal of your vehicle's battery before starting any electrical work.
- Access Headlights: Depending on your vehicle, this may involve removing the front bumper, grille, or fender liners to access the headlight mounting bolts.
- Remove Old Headlights: Unplug all electrical connectors and carefully unbolt and remove the existing headlight assemblies.
- Transfer Bulbs/Wiring: Transfer any necessary bulbs, bulb sockets, or wiring harnesses from your old headlight assemblies to the new ACANII units. Ensure all connections are secure.
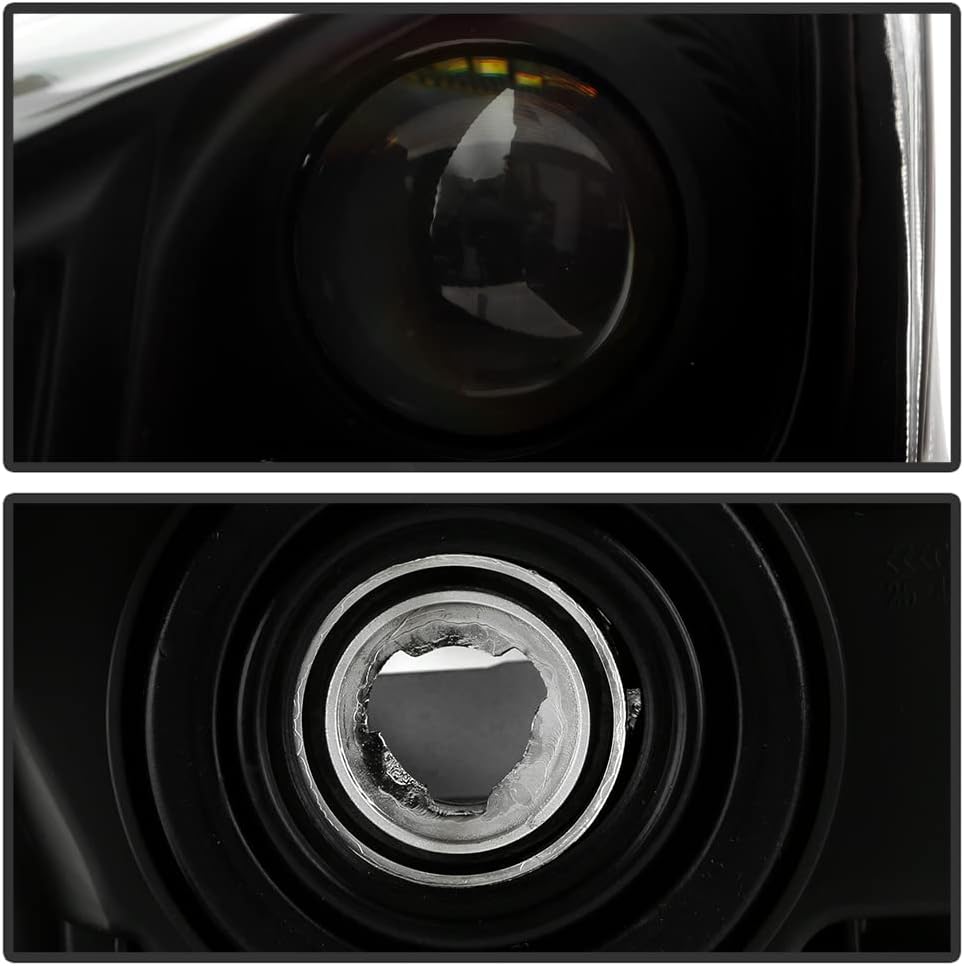


- Install New Headlights: Carefully position the new ACANII headlight assemblies into place and secure them with the mounting bolts.
- Reconnect Wiring: Plug in all electrical connectors to the new headlight assemblies.
- Reassemble Vehicle: Reinstall any removed bumper, grille, or fender components.
- Reconnect Battery: Reconnect the negative terminal of the vehicle's battery.
4.3 Headlight Aiming Adjustment
After installation, it is crucial to properly aim your headlights to ensure optimal visibility and to avoid blinding oncoming drivers. Most headlights have adjustment screws for vertical and horizontal aiming.

- Park your vehicle on a level surface facing a wall or garage door approximately 25 feet away.
- Turn on your low beam headlights.
- Locate the vertical and horizontal adjustment screws on the back or top of the headlight assembly. Refer to Figure 4.5 for the vertical adjuster.
- Adjust the beam pattern according to local regulations and vehicle manufacturer guidelines. Typically, the top of the low beam cut-off should be at or slightly below the height of the headlight center.
- Caution: Do not over-adjust the screws, as this can damage the internal mechanism. If you are unsure, consult a professional.
5. Operating Instructions
Once installed, the ACANII headlight assemblies operate in conjunction with your vehicle's existing headlight control system. There are no special operating procedures for these aftermarket units beyond standard vehicle operation.
- Headlight Activation: Use your vehicle's dashboard controls to turn on the parking lights, low beams, and high beams as needed.
- Turn Signals: The integrated turn signals will function with your vehicle's turn signal stalk.
- Daytime Running Lights (DRL): If your vehicle is equipped with DRLs and they utilize the main headlight bulbs, they will function as before.
Ensure all lights are functioning correctly after installation by testing each mode (parking lights, low beams, high beams, turn signals, hazard lights).
6. Maintenance
Proper maintenance will help prolong the life and maintain the clarity of your ACANII headlight assemblies.
- Regular Cleaning: Clean the exterior of the headlight lenses regularly with a soft cloth and mild automotive soap or glass cleaner. Avoid abrasive cleaners or harsh chemicals that can damage the polycarbonate lens.
- Lens Protection: To prevent UV damage and yellowing over time, consider applying a UV protectant or automotive wax specifically designed for plastic lenses. Products like PLASTIX can help maintain their appearance.
- Bulb Replacement: If a bulb burns out, replace it promptly with the correct type and wattage halogen bulb. Refer to your vehicle's owner's manual for specific bulb types.
- Inspect Seals: Periodically inspect the seals around the headlight assembly for any signs of damage or degradation that could lead to moisture intrusion.
7. Troubleshooting
This section addresses common issues you might encounter with your new headlight assemblies.
- Lights Not Working:
- Check all electrical connections to ensure they are securely plugged in.
- Verify that the bulbs are correctly installed and not burnt out.
- Inspect vehicle fuses related to the headlights.
- Condensation/Moisture Inside Lens:
- Minor condensation can occur due to temperature changes and usually dissipates.
- If excessive moisture or water droplets are present, check the rear caps and seals for proper seating. Ensure all bulbs are correctly installed and sealed.
- If the issue persists, contact customer support.
- Improper Beam Pattern/Alignment:
- Refer to Section 4.3 for headlight aiming instructions.
- Ensure the headlight assembly is securely mounted and not loose.
For issues not covered here, or if troubleshooting steps do not resolve the problem, please contact ACANII customer support.
8. Warranty Information
This product is covered by a 30-day return policy from the date of purchase. Please retain your proof of purchase for any warranty or return claims.
For specific details regarding returns, exchanges, or warranty claims, please refer to the seller's policy or contact ACANII customer support.
9. Support and Contact
If you require further assistance, have questions about installation, or need to report a product issue, please contact the seller or ACANII customer support through the platform where the product was purchased.
When contacting support, please have your product model number (AC-H-J-NM09-AM-BK) and purchase details readily available.