1. Introduction
This manual provides detailed instructions for the installation, operation, and maintenance of your ASUS Prime B450-Plus AMD Ryzen ATX Gaming Motherboard. The motherboard is designed to maximize connectivity and speed, supporting 2nd generation AMD Ryzen AM4 processors, NVMe M.2 storage, USB 3.1 Gen2, DDR4 memory up to 3200 MHz, and Gigabit LAN. It incorporates 5X Protection III for component longevity and reliability, along with Aura Sync RGB for customizable lighting.
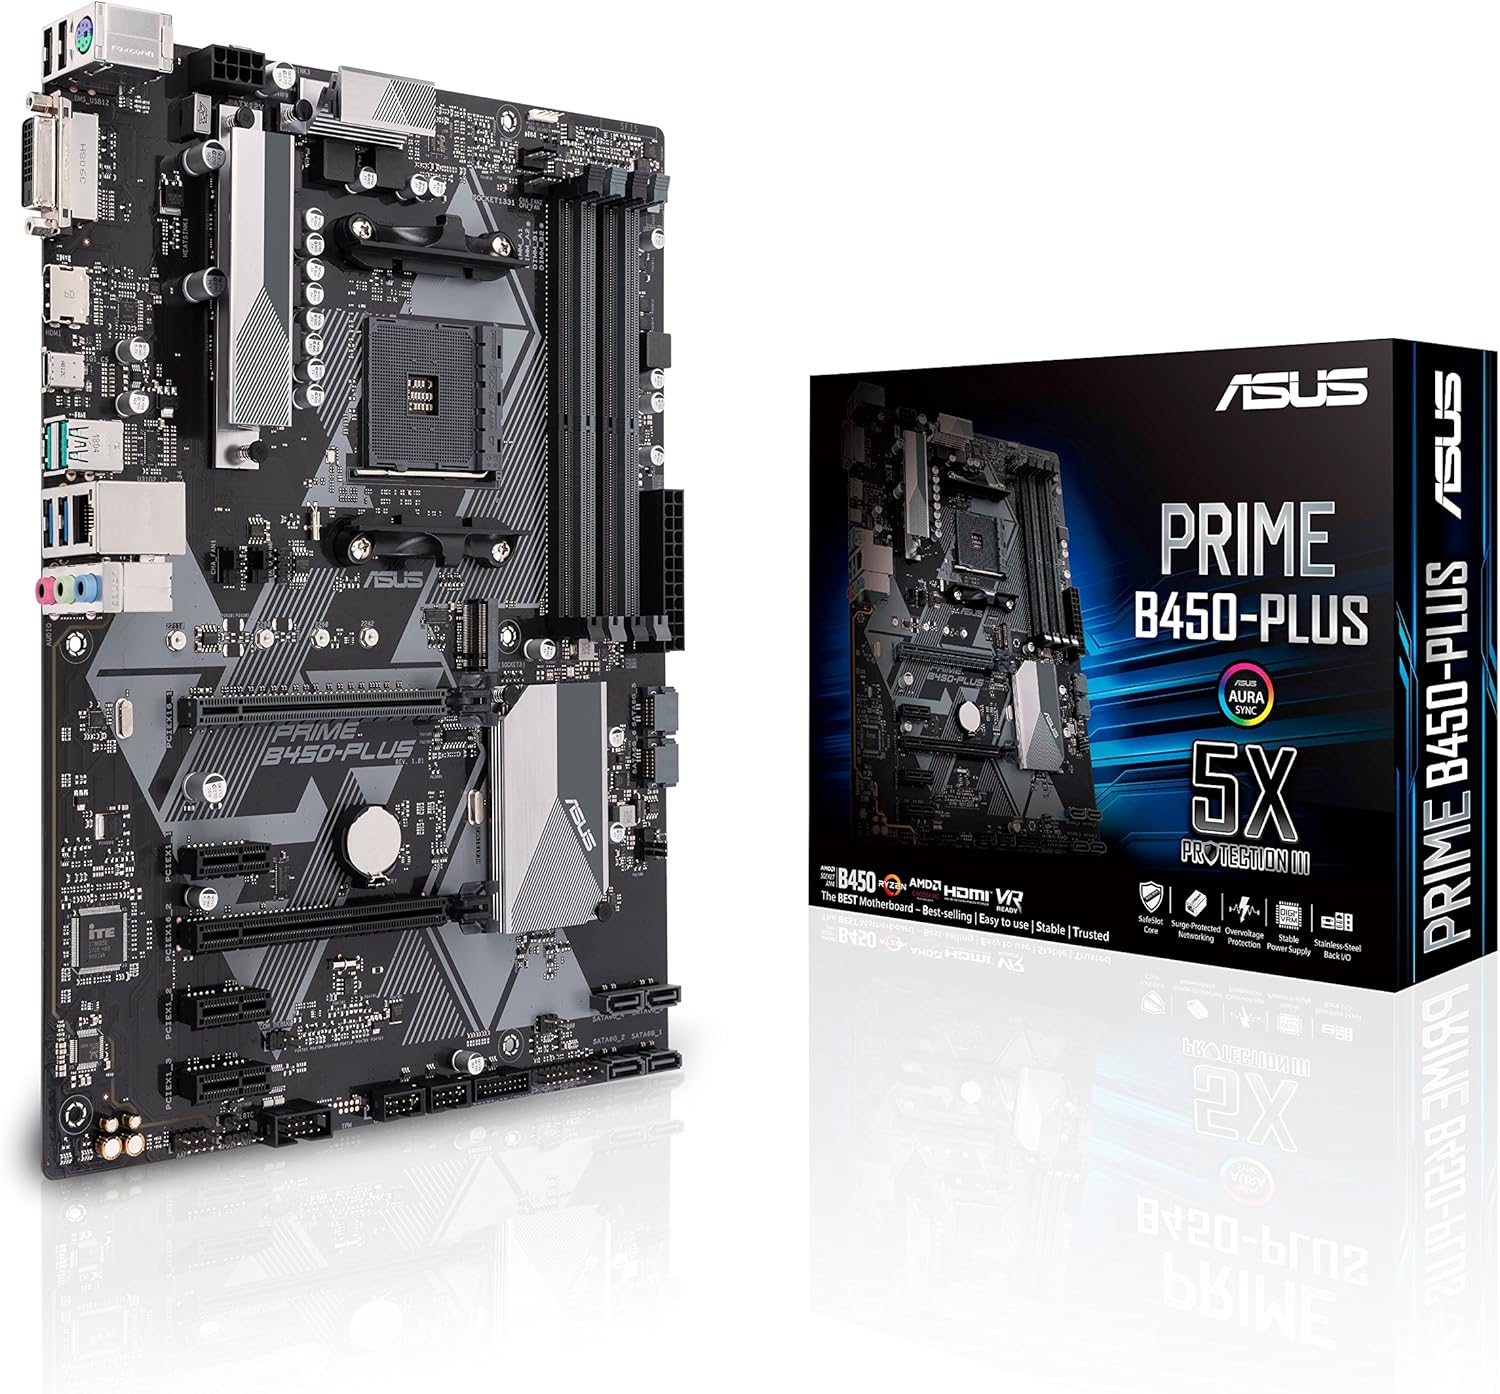
Figure 1.1: ASUS Prime B450-Plus Motherboard and its retail packaging.
2. Safety Information
- Always disconnect the power cord from the wall outlet before touching any internal components.
- Wear an anti-static wrist strap when handling the motherboard or other components to prevent electrostatic discharge (ESD) damage.
- Handle components by their edges to avoid touching sensitive parts.
- Ensure proper ventilation within your PC case to prevent overheating.
- Refer to the component manufacturer's instructions for specific installation details.
3. Package Contents
Verify that all items listed below are present in your motherboard package:
- ASUS Prime B450-Plus Motherboard
- User Manual / Quick Installation Guide
- Driver CD (for initial driver installation)
- I/O Shield
- SATA 6Gb/s Cables (2x)
- M.2 SSD Screws and Standoffs
- ASUS Case Badge / Sticker
4. Setup
4.1. Motherboard Overview

Figure 4.1: Overview of the ASUS Prime B450-Plus Motherboard, highlighting key components and ports.
The motherboard features an AM4 socket for AMD Ryzen processors, four DDR4 DIMM slots, PCIe 3.0 x16 and x1 slots, M.2 slots for NVMe SSDs, and various I/O ports including HDMI, DVI, USB 3.1 Gen 2, and Gigabit LAN.
4.2. CPU Installation
The ASUS Prime B450-Plus supports AMD Ryzen 2nd generation processors. Carefully align your CPU with the AM4 socket, ensuring the golden triangle on the CPU matches the triangle on the socket. Gently lower the CPU into the socket and secure it with the retention lever.

Figure 4.2: AMD Ryzen processor compatibility.
4.3. RAM Installation
This motherboard features four DDR4 DIMM slots, supporting up to 128GB of DDR4 memory at speeds up to 3200 MHz (overclocked). Open the clips on both ends of the DIMM slot, align the memory module with the slot key, and press down firmly until the clips snap into place.
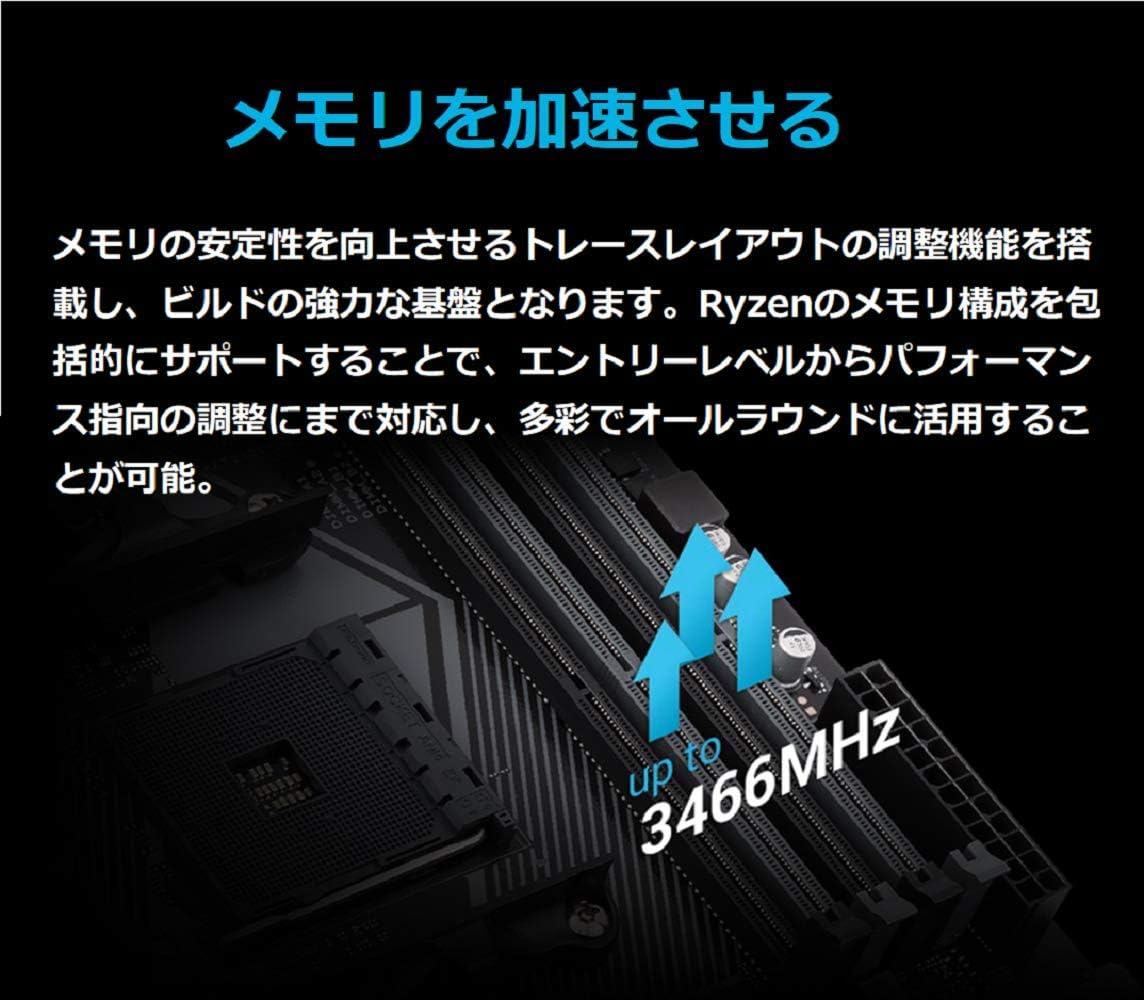
Figure 4.3: Memory acceleration support up to 3466MHz (OC).
4.4. Storage Installation (M.2 SSD)
The motherboard includes NVMe M.2 slots for high-speed storage. Insert your M.2 SSD into the designated slot at an angle, then gently push it down and secure it with the provided screw and standoff.
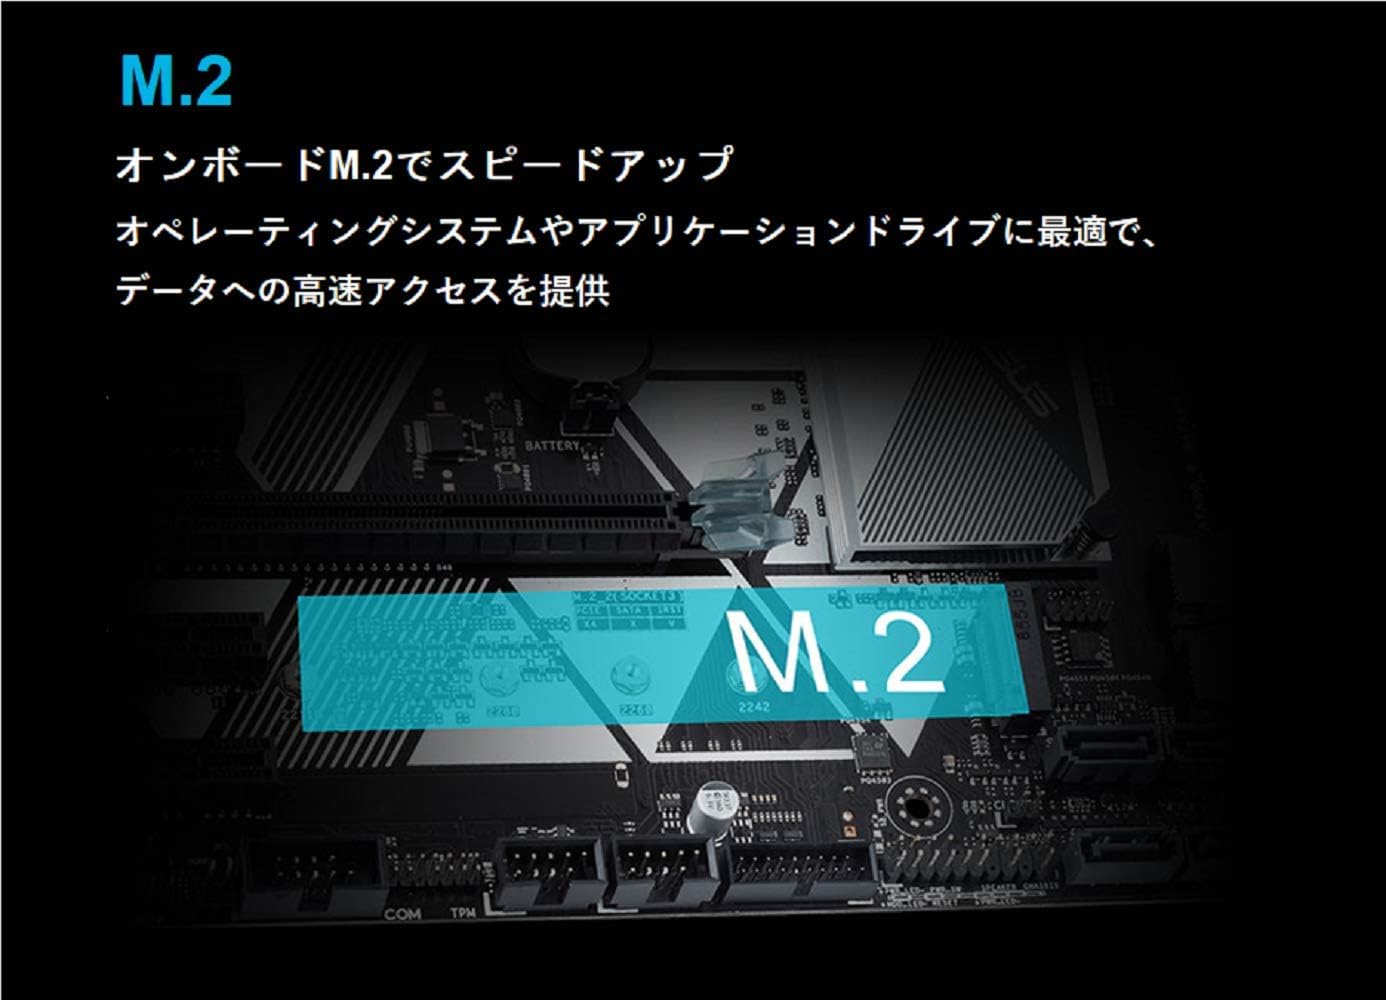
Figure 4.4: M.2 slot for onboard speed-up, ideal for operating systems and applications.
4.5. Power Connections
Connect the 24-pin ATX power connector and the 8-pin ATX 12V power connector from your power supply to the corresponding sockets on the motherboard. Ensure all connections are secure.
4.6. Front Panel and Peripherals
Connect your case's front panel connectors (power button, reset button, LED indicators, front USB ports) to the appropriate headers on the motherboard. The motherboard features USB 3.1 Gen 2 ports for ultra-high-speed connectivity and USB 3.1 Gen 1 front panel connectors.

Figure 4.5: High-speed connectivity with onboard USB 3.1 Gen 2 Type-A and USB 3.1 Gen 1 front panel connectors.
5. Operating
5.1. UEFI BIOS Configuration
The UEFI BIOS provides an intuitive interface for system configuration. You can access it by pressing the Delete key during system startup. Here, you can adjust settings such as XMP profiles for memory, boot order, and monitor system status.
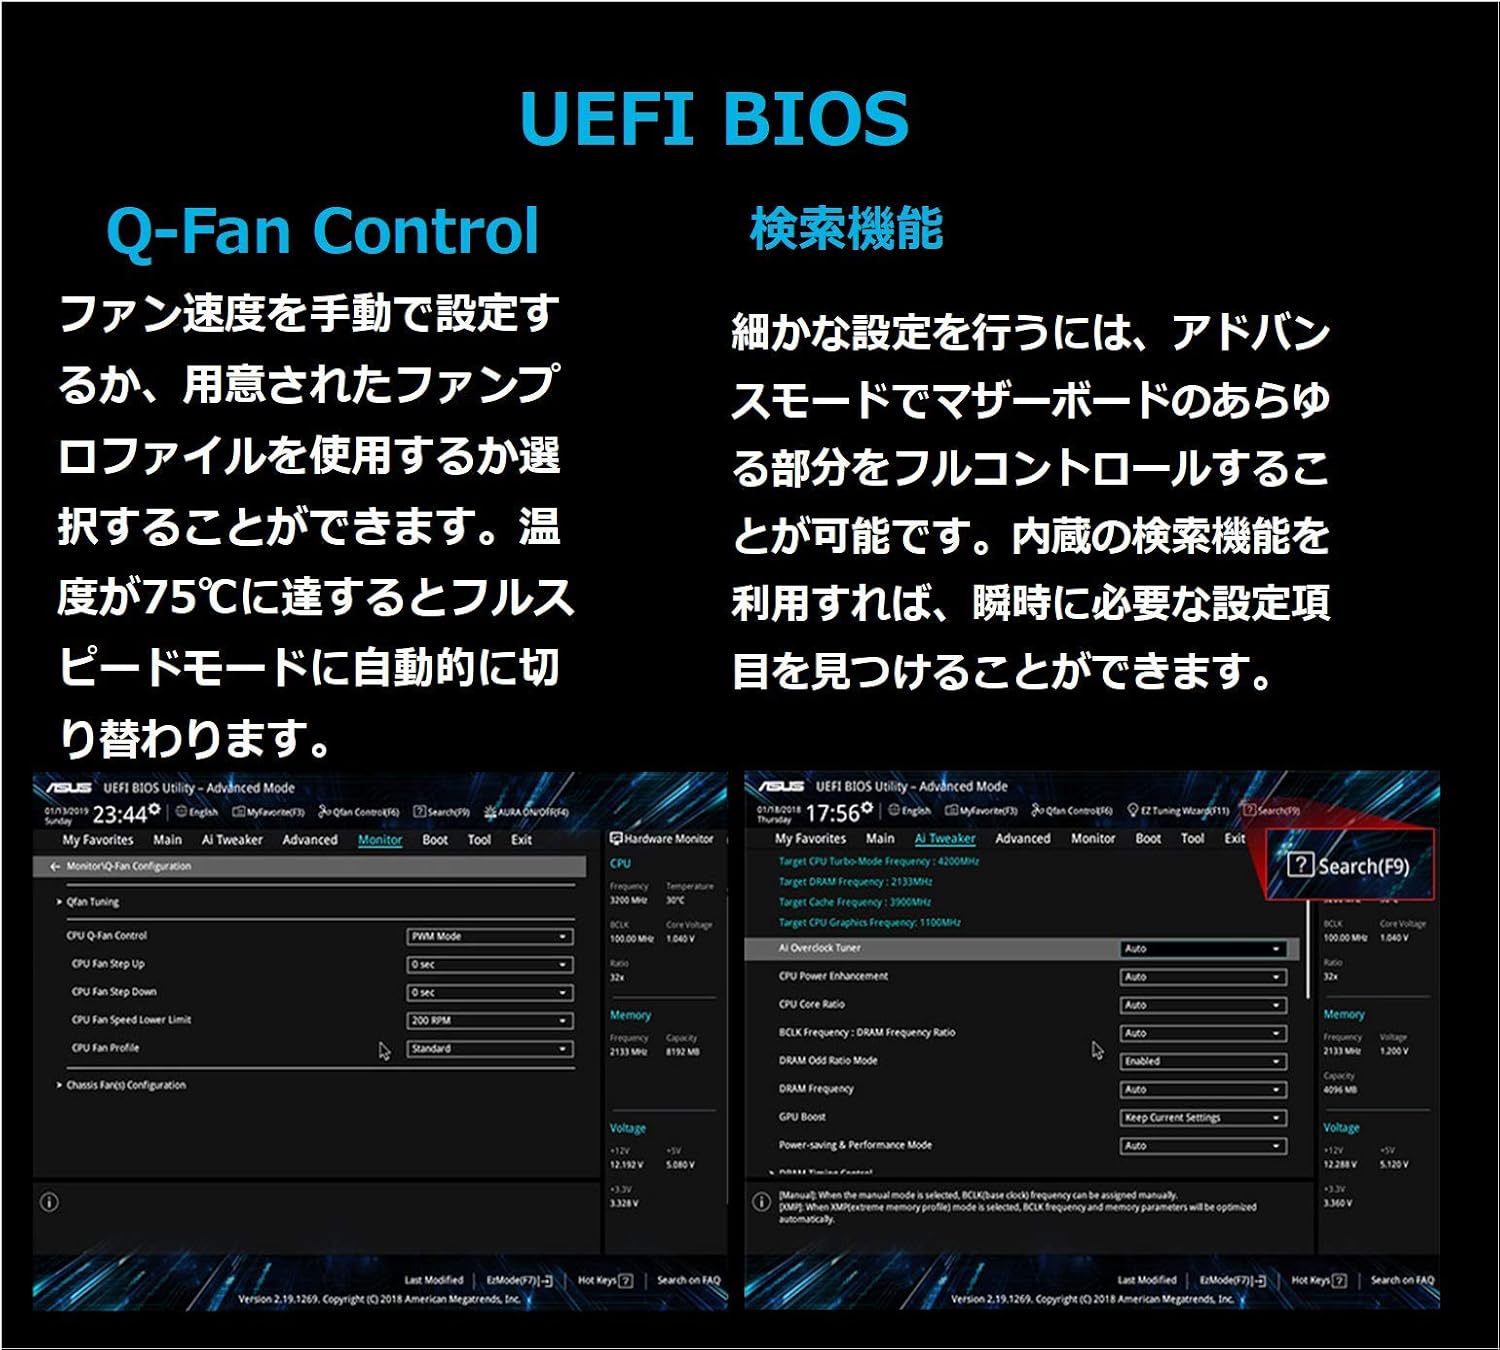
Figure 5.1: UEFI BIOS with Q-Fan Control for manual fan speed settings or pre-defined profiles, and a search function for advanced settings.
5.2. FanXpert 4 Core
FanXpert 4 Core provides comprehensive controls for fans and AIO pumps, including GPU-temperature sensing for optimized cooling. This feature can be accessed through the UEFI BIOS or the ASUS AI Suite software.
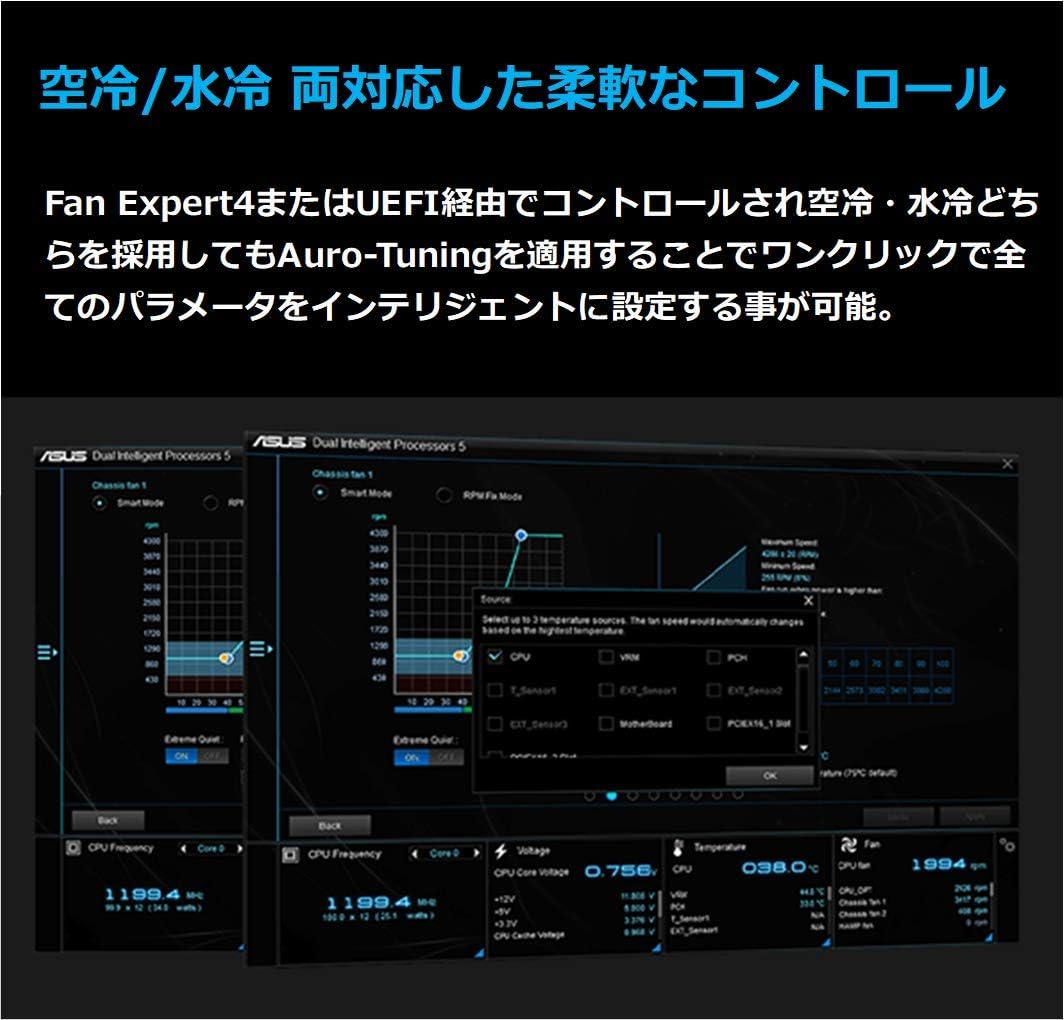
Figure 5.2: FanXpert 4 Core interface for flexible control of air and liquid cooling, with one-click intelligent tuning.
5.3. Aura Sync RGB
The Aura Sync RGB header allows you to synchronize lighting effects across compatible devices, offering a wide spectrum of colors and effects to personalize your system.
6. Maintenance
6.1. Driver Updates
For optimal performance and stability, regularly update your motherboard drivers. You can download the latest drivers from the official ASUS support website.
7. Troubleshooting
7.1. General System Checks
If you encounter any issues, first check all power connections and component seating. Access the UEFI BIOS to review system status, temperatures, and fan speeds. Ensure all cables are properly connected.
8. Specifications
| Feature | Specification |
|---|---|
| Brand | ASUS |
| Model Name | PRIME B450-PLUS |
| CPU Socket | Socket AM4 |
| Compatible Processors | AMD 2nd Generation Ryzen |
| Chipset Type | AMD B450 |
| RAM Memory Technology | DDR4 SDRAM |
| Memory Clock Speed | 3200 MHz |
| Product Dimensions | 10.4 x 13 x 2.1 inches |
| Item Weight | 1.8 pounds |
| Wireless Type | Bluetooth (Note: Product description mentions Gigabit LAN, not Bluetooth for wireless. This might be a data discrepancy. Sticking to provided spec.) |
| Number of USB 2.0 Ports | 1 |
| Platform | Windows 10 |
9. Warranty and Support
For warranty information and technical support, please visit the official ASUS website or contact their customer service. Keep your proof of purchase for any warranty claims.