1. Introduction
This manual provides essential information regarding the Enginetech Engine Rebuild Overhaul Kit, Model R-RCMI2.4AP. This kit is designed to facilitate a comprehensive engine rebuild for specific Mitsubishi 2.4L SOHC 4G69 engines manufactured between 2004 and 2006, found in models such as the Eclipse, Outlander, Galant, and Lancer.
Important: Engine rebuilding is a complex procedure that requires specialized tools, knowledge, and experience. It is highly recommended that installation and assembly be performed by a certified professional technician. Refer to your vehicle's specific service manual for detailed engine disassembly and assembly procedures.
2. Kit Contents
The Enginetech Engine Rebuild Overhaul Kit includes a variety of high-quality components necessary for a complete engine refresh. The exact contents may vary slightly based on specific vehicle application and kit configuration. Please verify all parts against your order and vehicle requirements before beginning installation.

Figure 2.1: Overview of the Enginetech Engine Rebuild Overhaul Kit components.
Key Components Included:
- Full Gasket Set: Includes Multi-Layer Steel (MLS) head gaskets and various other gaskets and seals for upper and lower engine components.
- Hyper-Eutectic Dish-Top Pistons with Coated Skirts: Designed for durability and reduced friction.
- Premium Piston Rings: Essential for proper cylinder sealing and oil control.
- Rod Bearings and Main Bearings: Critical for crankshaft and connecting rod rotation.
- Thrust Washer: Manages crankshaft end play.
- Timing Belt: Synchronizes camshaft and crankshaft rotation.
- Timing Belt Tensioner and Idler: Maintains proper tension and guides the timing belt.
- Oil Pump: Circulates engine oil for lubrication and cooling.
- Valve Stem Seals: Prevents oil from entering the combustion chamber through valve guides.
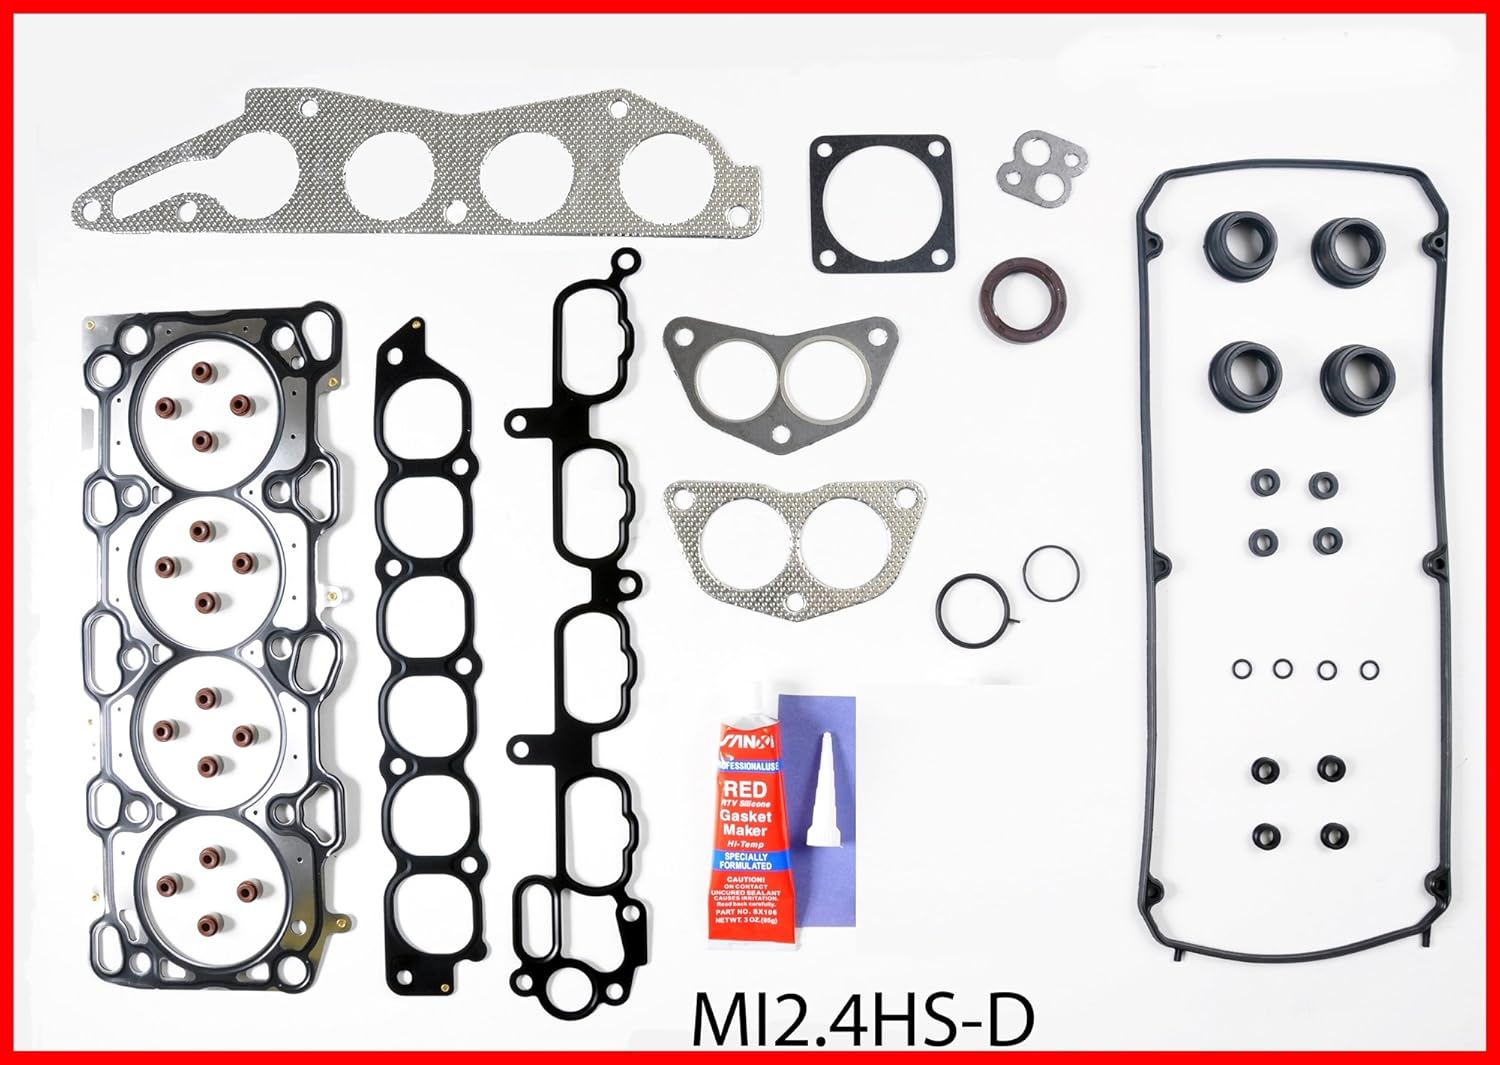
Figure 2.2: Full Gasket Set, part number MI2.4HS-D, including head gaskets and various seals.

Figure 2.3: Additional Gasket Set, part number MI2.4CS-C, providing comprehensive sealing components.

Figure 2.4: Hyper-Eutectic Dish-Top Piston, part number P4007, with coated skirts.

Figure 2.5: Main Bearings, part number BC1524STD, for crankshaft support.

Figure 2.6: Timing Belt, part number TB332, for engine timing.

Figure 2.7: Timing Belt Tensioner, part number TT274A, ensuring correct belt tension.

Figure 2.8: Timing Belt Idler, part number TT351, guiding the timing belt.
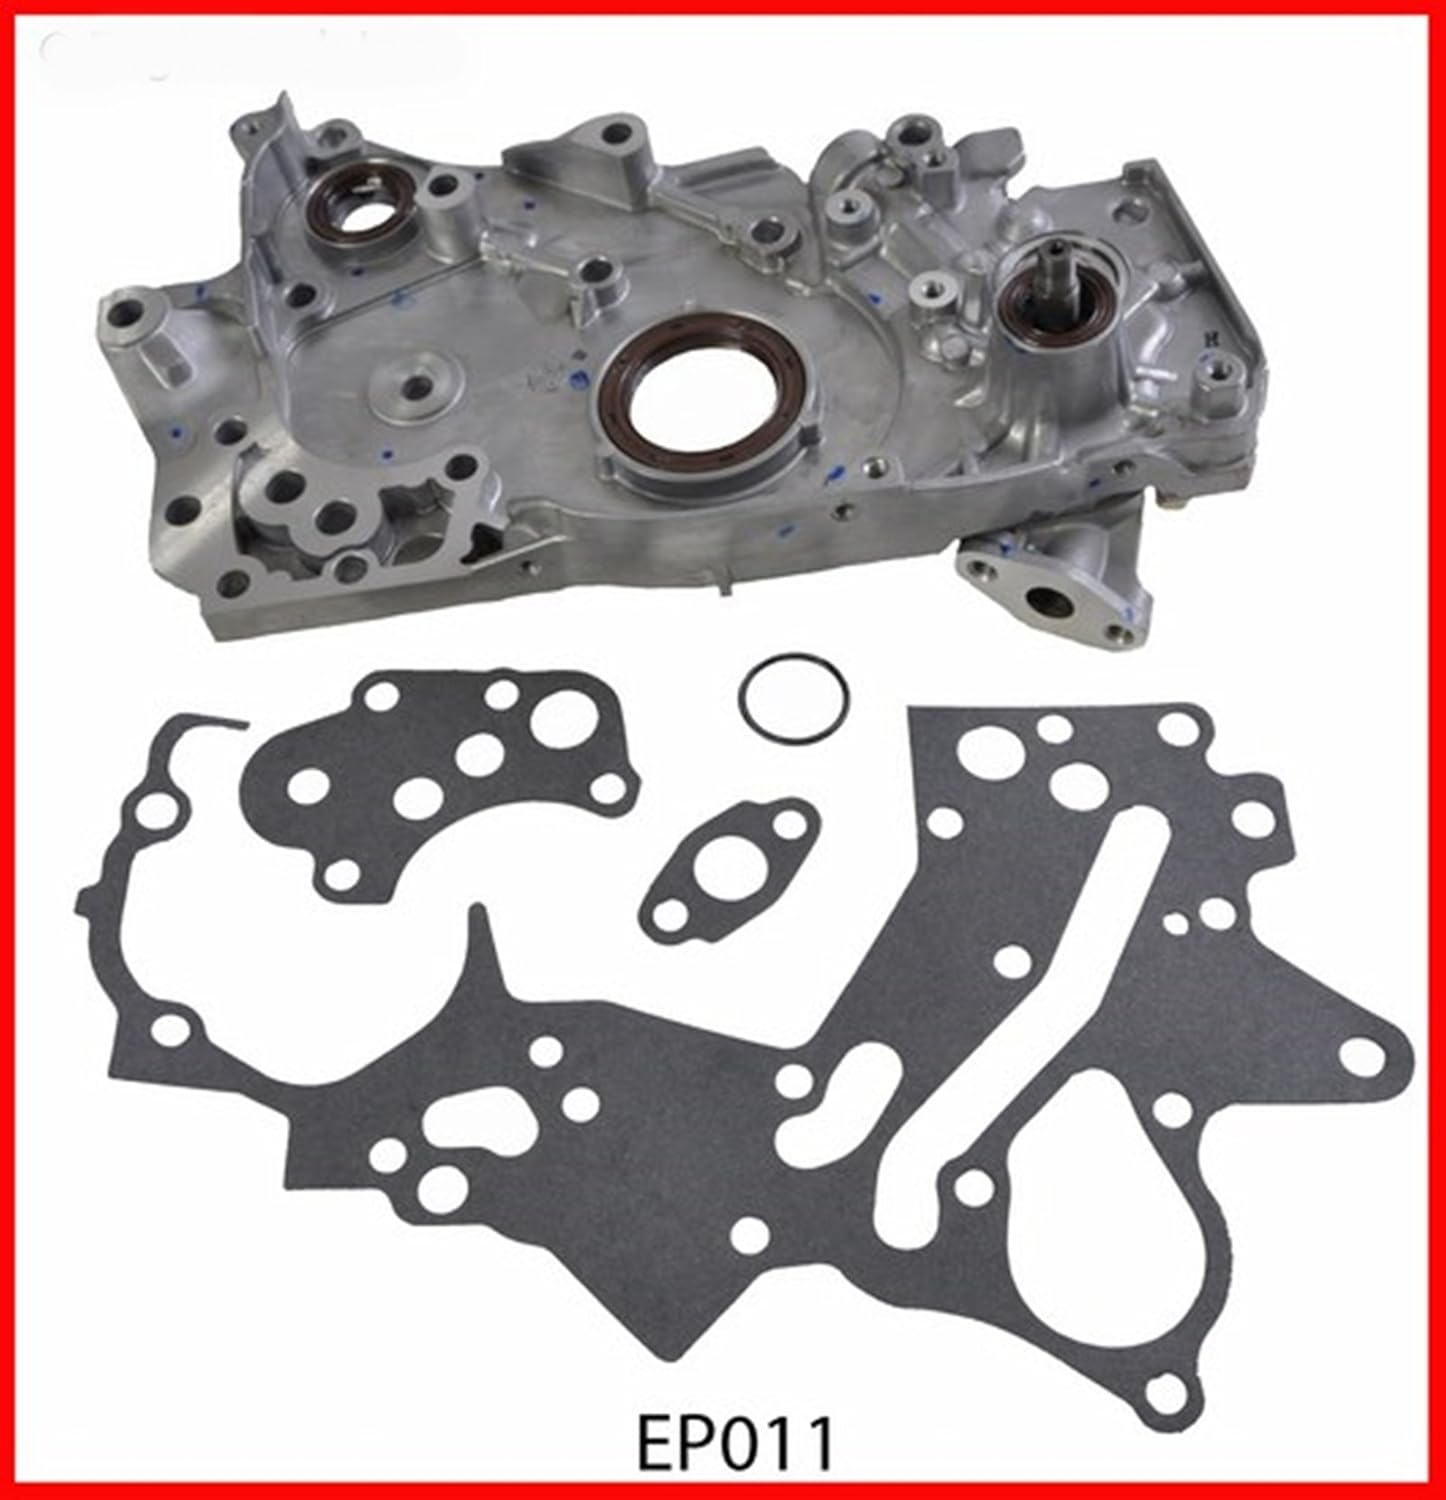
Figure 2.9: Oil Pump, part number EP011, for engine lubrication.
Available Sizes:
- Piston Rings: Standard (STD), 020
- Rod/Main Bearings: Standard (STD), 010, 020
Note: After placing your order, it is crucial to communicate your desired part sizes (e.g., piston rings, rod/main bearings) to ensure you receive the correct components for your specific engine rebuild.
3. Setup and Installation
The installation of this engine rebuild kit involves the complete disassembly and reassembly of the engine. This process requires adherence to strict torque specifications, clearances, and timing procedures specific to the 2004-2006 Mitsubishi 2.4L SOHC 4G69 engine.
General Steps (Consult Service Manual for Details):
- Engine Removal and Disassembly: Carefully remove the engine from the vehicle and disassemble it according to the manufacturer's service manual.
- Component Inspection and Cleaning: Thoroughly inspect all engine components for wear, damage, or cracks. Clean all parts meticulously to remove carbon deposits, old gasket material, and contaminants.
- Machining (if necessary): Cylinder boring/honing, crankshaft grinding, and cylinder head resurfacing may be required based on inspection results.
- Bearing Installation: Install new main and rod bearings, ensuring proper lubrication and clearances.
- Piston and Ring Installation: Assemble pistons with new rings and install them into the cylinders, paying close attention to ring orientation and gap.
- Gasket and Seal Replacement: Install all new gaskets and seals from the kit, using appropriate sealants where specified.
- Timing Component Installation: Install the new timing belt, tensioner, and idler, ensuring correct engine timing.
- Oil Pump Installation: Install the new oil pump.
- Engine Reassembly: Reassemble the engine, adhering to all torque specifications and procedures outlined in the vehicle's service manual.
- Engine Installation: Reinstall the rebuilt engine into the vehicle.
Professional Video Resource: For a general overview of engine kit components and their purpose, you may refer to the following video. Note that this video provides a general perspective and is not specific to your exact engine model or installation process.
Video 3.1: An overview of engine kit components by DNJ Engine Components. This video illustrates various parts typically found in an engine rebuild kit.
4. Operating Considerations (Engine Break-in)
After a complete engine rebuild, a proper break-in procedure is critical for the longevity and performance of the engine. Consult your vehicle's service manual or engine builder for specific break-in recommendations. General guidelines often include:
- Avoid heavy loads and high RPMs for the first few hundred miles.
- Vary engine speed during initial driving to help seat piston rings.
- Change engine oil and filter after the initial break-in period (e.g., 500-1000 miles) to remove any assembly lubricants or wear particles.
- Monitor fluid levels and engine temperature closely.
5. Maintenance
Regular maintenance is essential for the continued optimal performance of your rebuilt engine. Follow your vehicle manufacturer's recommended maintenance schedule, which typically includes:
- Regular oil and filter changes using the recommended oil type and viscosity.
- Checking and maintaining proper coolant levels.
- Inspecting and replacing air and fuel filters as needed.
- Monitoring engine belts and hoses for wear.
- Regular inspection of spark plugs and ignition system components.
6. Troubleshooting
If you encounter issues during or after the engine rebuild, consider the following general troubleshooting steps. Always refer to your vehicle's service manual for specific diagnostic procedures.
Common Issues and Potential Causes:
- Low Oil Pressure: Incorrect oil pump installation, clogged oil passages, incorrect bearing clearances, or faulty oil pressure sensor.
- Engine Overheating: Improper coolant fill, air in cooling system, faulty thermostat, incorrect head gasket installation, or cooling system component failure.
- Excessive Smoke: Incorrect piston ring installation, damaged valve stem seals, or improper cylinder honing.
- Unusual Engine Noises: Incorrect bearing clearances, improper valve lash adjustment, or loose components.
- Engine Misfire/Rough Idle: Incorrect timing, faulty spark plugs/ignition components, vacuum leaks, or fuel system issues.
If you are unable to resolve an issue, it is advisable to consult with a professional automotive technician.
7. Specifications
This Enginetech Engine Rebuild Overhaul Kit (Model R-RCMI2.4AP) is designed for the following applications:
- Engine Type: Mitsubishi 2.4L SOHC 4G69
- Model Years: 2004-2006
- Compatible Vehicles: Mitsubishi Eclipse, Outlander, Galant, Lancer (with 2.4L SOHC 4G69 engine)
- Manufacturer Part Number: R-RCMI2.4AP
- Item Weight: Approximately 1 pound (total kit weight may vary)
- ASIN: B07FKKSYP8
8. Warranty and Support
Enginetech is committed to providing quality products. If you encounter any issues with your kit or require a different size part than originally ordered, please follow these steps:
- Part Exchanges: If you need to exchange a part for a different size, do not open a return request. Instead, send a direct message to the seller (Redline Engine Supply) detailing the part you wish to exchange and the size required. They will assist you with the exchange process.
- Product Issues: If there are any issues with the kit components upon receipt, please send a message to the seller with details of the problem and a call-back phone number. The seller aims to resolve issues quickly and efficiently.
For further assistance or inquiries, please contact the seller directly through the platform where the purchase was made.