Introduction
This manual provides instructions for the TeKswamp Video Projector Remote Control, designed for use with the Mitsubishi WD570U projector. This remote control is pre-programmed and requires no additional setup for basic functionality. It is engineered to provide most of the original commands for your device, ensuring seamless control over essential projector functions.
Setup
Battery Installation
The remote control requires two AAA batteries (not included) for operation. Follow these steps to install the batteries:
- Locate the battery compartment cover on the back of the remote control.
- Slide the battery compartment cover downwards or in the direction indicated by an arrow to open it.
- Insert two AAA batteries, ensuring the positive (+) and negative (-) terminals align correctly with the markings inside the compartment.
- Slide the battery compartment cover back into place until it clicks securely.

Image: The remote control with its battery compartment open, revealing the slots for two AAA batteries. Ensure correct polarity when inserting batteries.

Image: The back of the remote control, illustrating the location of the battery compartment cover before opening or after closing.
Operating Instructions
This remote control is designed to provide most of the original functions for your Mitsubishi WD570U projector. No programming is required; simply insert batteries and begin use.
Basic Functions
- Power On/Off: Press the ON or OFF button to power the projector on or off.
- Menu Navigation: Use the directional arrow buttons (Up, Down, Left, Right) and the OK button to navigate and select options within the projector's menu system.
- Input Signal Selection: Use buttons labeled HDMI, VGA1, VGA2, VIDEO, S-VID, COMP, USB, LAN to select the desired input source.
- Volume Control: Use the VOL + and VOL - buttons to adjust the audio volume.
- Exit: Press the EXIT/LAMP button to exit menus or on-screen displays.
Important Note: While this remote provides most original commands, some specific functions such as page flip, keystone correction, video adjustment, and number input may not work properly with all devices in rare cases. This remote does not include a laser pointer function.

Image: A clear, top-down view of the remote control, highlighting the layout and labels of all functional buttons.
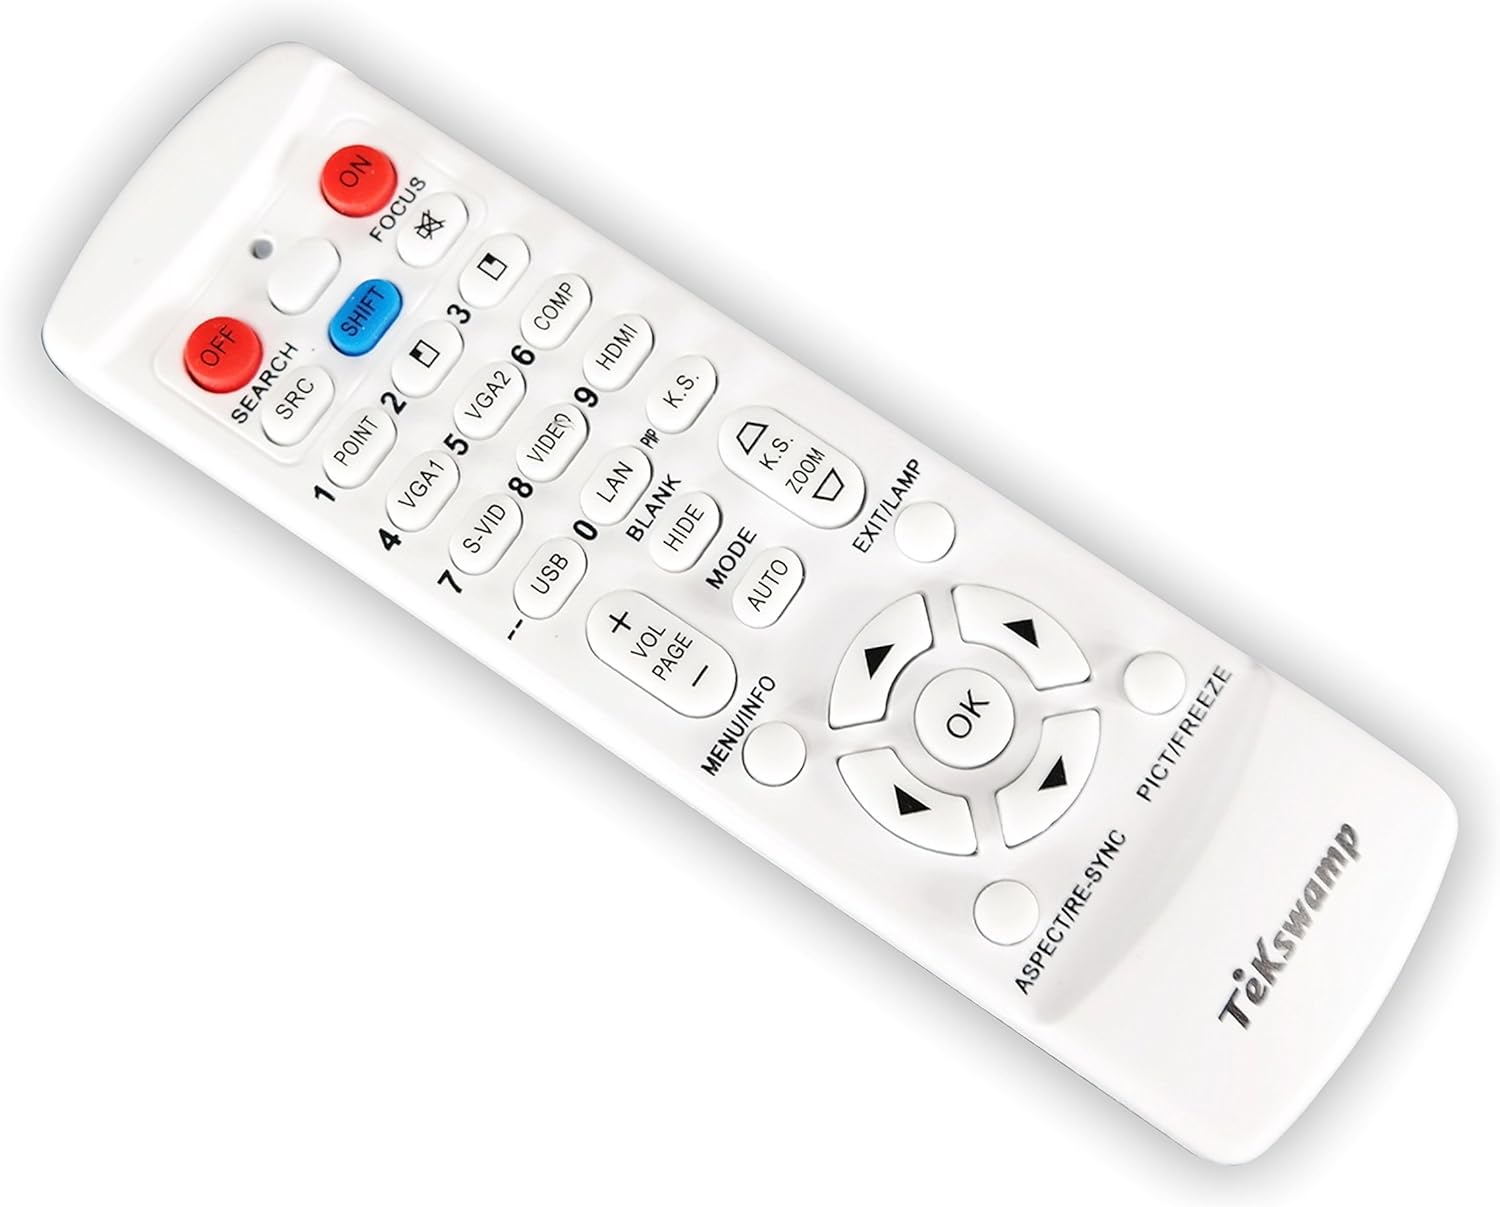
Image: An angled front view of the remote control, providing a general overview of its design and button arrangement.
Maintenance
Battery Replacement
Replace the batteries when the remote control's response becomes sluggish or stops working. The ON indicator light, which illuminates after any active button press, will dim or fail to light up when batteries are low. Refer to the 'Battery Installation' section for detailed steps on replacing batteries.
- Always replace both AAA batteries at the same time.
- Do not mix old and new batteries, or different types of batteries.
- Remove batteries if the remote control will not be used for an extended period to prevent leakage.
Troubleshooting
Common Issues and Solutions
- Remote not responding:
- Check if the batteries are inserted correctly with the correct polarity.
- Replace the batteries with fresh AAA batteries.
- Ensure there are no obstructions between the remote control and the projector's IR receiver.
- Confirm the remote is pointed directly at the projector's IR receiver.
- Some functions not working:
- As noted in the 'Operating Instructions', some advanced or specific functions (e.g., page flip, keystone correction) may not be fully compatible with all projector models. This is normal behavior for universal replacement remotes.
- Ensure the projector is powered on and not in a standby mode that restricts certain commands.
- ON Indicator light not illuminating:
- This indicates very low or no battery power. Replace the batteries immediately.
Specifications
| Product Dimensions | 5.7 x 1.6 x 0.8 inches |
| Item Weight | 2 ounces |
| Batteries Required | 2 AAA batteries (not included) |
| Compatible Devices | Mitsubishi WD570U Video Projector |
| Brand | Tekswamp |
Warranty and Support
Specific warranty information for this TeKswamp remote control is not provided within this manual. For details regarding warranty coverage, technical support, or replacement parts, please contact TeKswamp directly through their official website or customer service channels. Keep your purchase receipt as proof of purchase.