1. Product Overview
The Glacier Bay 6-Spray 5-inch Dual Wall Mount Fixed and Handheld Shower Head (Model 8469100HC) in Chrome offers a versatile showering experience. This unit combines a fixed shower head and a detachable handheld shower head, both featuring multiple spray settings. It is designed for wall-mounted installation and operates at a flow rate of 1.8 Gallons Per Minute (GPM).

Image 1.1: The Glacier Bay 6-Spray 5-inch Dual Wall Mount Fixed and Handheld Shower Head, showcasing both the fixed and handheld units in chrome finish.
2. Safety Information
Please read all instructions carefully before installation and use. Failure to follow these instructions may result in property damage or personal injury.
- Ensure the main water supply is turned off before beginning any installation or maintenance.
- Wear appropriate personal protective equipment, such as safety glasses, during installation.
- Do not overtighten connections, as this may damage the product or plumbing.
- Use only tools and materials suitable for plumbing work.
- If you are unsure about any part of the installation process, consult a qualified plumber.
3. Package Contents
Verify that all components are present before beginning installation. If any parts are missing or damaged, do not proceed with installation and contact customer support.
- Fixed Shower Head
- Handheld Shower Head
- Shower Hose
- Diverter/Mounting Bracket
- Washers/Gaskets
- Plumber's Tape (PTFE tape)

Image 3.1: The flexible metal shower hose, a key component for the handheld shower head.
4. Setup and Installation
Follow these steps for proper installation of your Glacier Bay dual shower head. Tools required: adjustable wrench, plumber's tape.
- Prepare the Shower Arm: Ensure the existing shower arm is clean and free of debris. Remove any old shower head.
- Apply Plumber's Tape: Wrap plumber's tape clockwise around the threads of the shower arm 3-4 times.
- Install the Diverter/Mounting Bracket: Screw the diverter/mounting bracket onto the shower arm by hand until snug. Then, use an adjustable wrench to tighten it an additional 1/4 to 1/2 turn. Do not overtighten.
- Attach the Fixed Shower Head: Apply plumber's tape to the threads on the top outlet of the diverter. Screw the fixed shower head onto this outlet by hand until snug.
- Connect the Shower Hose:
- Ensure a washer is inside each end of the shower hose.
- Attach the conical nut end of the hose to the handheld shower head. Hand-tighten.
- Attach the hex nut end of the hose to the side outlet of the diverter. Hand-tighten.
- Place Handheld Shower Head: Insert the handheld shower head into the holder on the diverter/mounting bracket.
- Test for Leaks: Turn on the main water supply and check all connections for leaks. If leaks occur, tighten the connections slightly until they stop.

Image 4.1: The Glacier Bay dual shower head system shown installed on a bathroom wall, demonstrating its integrated design.

Image 4.2: A detailed view of the diverter valve and mounting bracket, showing the connection points for the shower arm, fixed head, and hose.
5. Operating Instructions
Your Glacier Bay dual shower head offers flexibility in water delivery and spray patterns.
- Water Flow Selection: Use the diverter lever or knob on the mounting bracket to switch water flow between the fixed shower head, the handheld shower head, or both simultaneously (if supported by the model).
- Spray Pattern Adjustment: Both the fixed and handheld shower heads feature 6 spray settings. Rotate the spray face or a dedicated lever on each shower head to cycle through the available spray patterns.
- Handheld Use: To use the handheld shower head, simply lift it from its cradle. Return it to the cradle when finished.
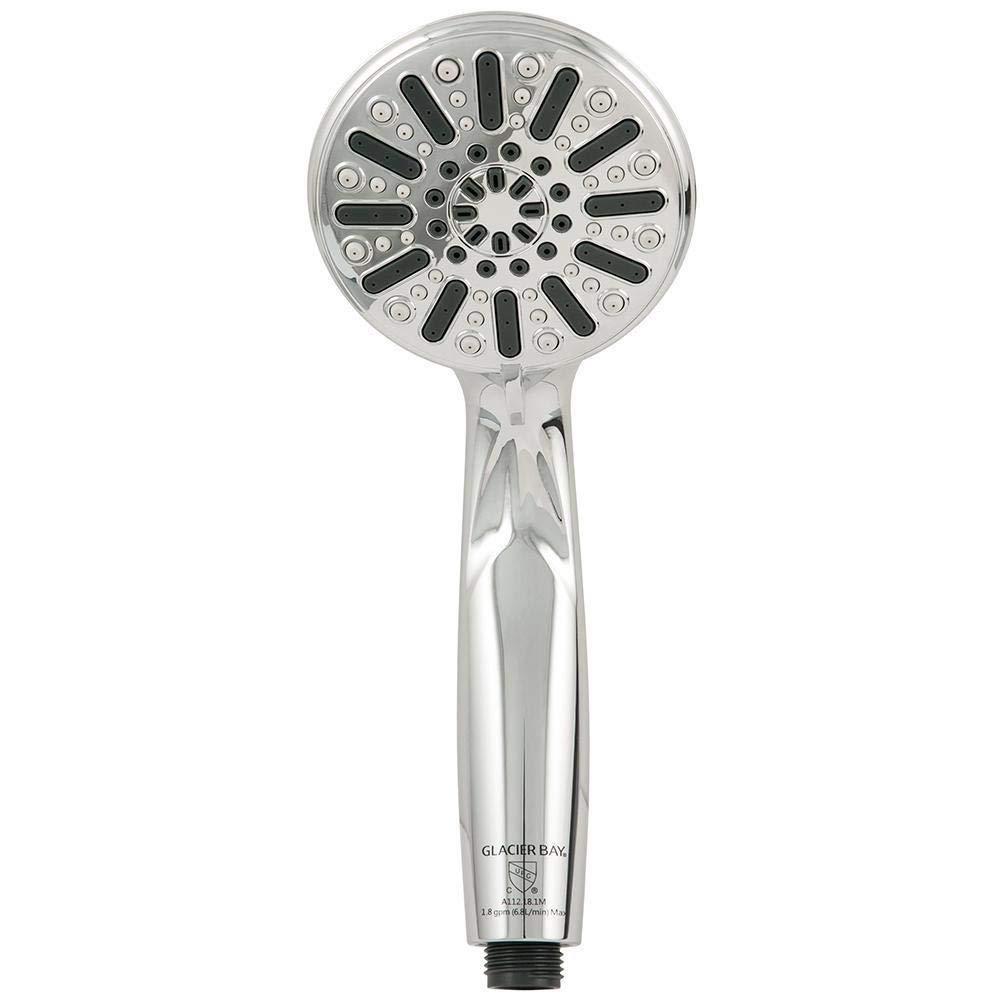
Image 5.1: A close-up of the handheld shower head, highlighting its spray face and the mechanism for adjusting spray patterns.

Image 5.2: A detailed view of the fixed shower head's spray face, showing the nozzles and design.
6. Maintenance
Regular cleaning will help maintain the performance and appearance of your shower head.
- Cleaning the Finish: Clean the chrome finish with a soft, damp cloth. Avoid abrasive cleaners, harsh chemicals, or scouring pads, as these can damage the finish.
- Cleaning Nozzles: If mineral deposits build up on the spray nozzles, gently rub them with your finger or a soft brush to dislodge the deposits. For stubborn buildup, a solution of equal parts white vinegar and water can be applied to the nozzles for a short period, then rinsed thoroughly.
- Hose Maintenance: Periodically check the shower hose for kinks or damage. Clean the hose exterior with a soft, damp cloth.
7. Troubleshooting
Refer to the following table for common issues and their solutions.
| Problem | Possible Cause | Solution |
|---|---|---|
| Low Water Pressure |
|
|
| Leaking Connections |
|
|
| Diverter Not Switching Properly |
|
|
8. Specifications
| Brand | Glacier Bay |
| Model Number | 8469100HC |
| Product Dimensions | 11 x 5 x 3.5 inches |
| Item Weight | 1.85 Pounds |
| Flow Rate | 1.8 GPM (Gallons Per Minute) |
| Number of Spray Settings | 6 (for both fixed and handheld) |
| Finish Type | Polished Chrome |
| Material | Plastic |
| Installation Type | Wall Mount |

Image 8.1: The WaterSense certification logo, indicating water efficiency, and a performance rating of 7 out of 10.
9. Warranty and Support
Glacier Bay products are manufactured to high-quality standards. For specific warranty details, please refer to the documentation included with your purchase or visit the official Glacier Bay website. If you require assistance with installation, operation, or troubleshooting that is not covered in this manual, please contact Glacier Bay customer support.
Note: Specific warranty terms and contact information may vary. Please consult your product packaging or the manufacturer's website for the most current information.