1. Product Overview
The LST 12V 5A Automatic Battery Charger Maintainer is designed for charging and maintaining various 12V lead-acid batteries, including Pb/SLA/GEL/AGM/VRLA/sealed, WET, and FLOODED types. It is suitable for a wide range of applications such as automotive, marine, motorcycle, lawn mower, and RV batteries. This smart charger features a microprocessor-controlled 7-stage charging process to optimize battery performance and lifespan.

Figure 1: LST 12V 5A Automatic Battery Charger Maintainer and included accessories.

Figure 2: The charger performs 3 key functions: desulphation, charging, and maintaining batteries.
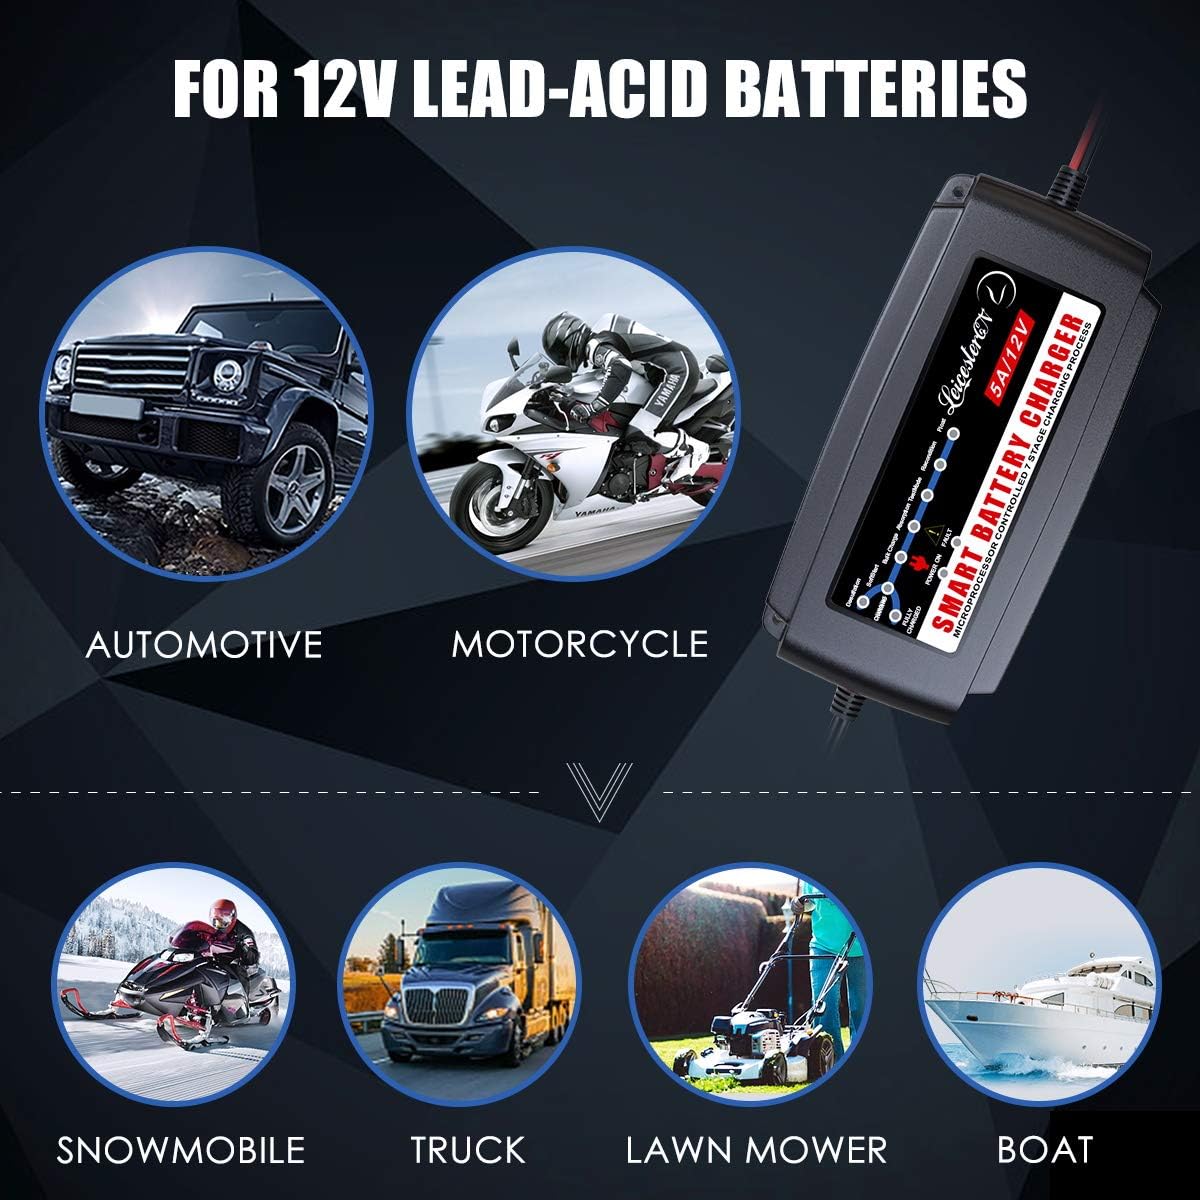
Figure 3: Compatibility with various 12V lead-acid batteries found in automotive, motorcycle, snowmobile, truck, lawn mower, and boat applications.
2. Safety Information
Read all safety warnings and instructions before using the charger. Failure to follow the warnings and instructions may result in electric shock, fire, and/or serious injury.
- Indoor Use Only: This charger is designed for indoor use. Do not expose it to rain or wet conditions.
- Ventilation: Ensure adequate ventilation during charging. Do not cover the charger.
- Battery Type: Only charge 12V lead-acid batteries (Pb/SLA/GEL/AGM/VRLA/sealed, WET, FLOODED). Do not attempt to charge non-rechargeable batteries or other battery types.
- Polarity: Always connect the red (+) clamp to the positive battery terminal and the black (-) clamp to the negative battery terminal. Reverse polarity protection is built-in, but correct connection is crucial.
- Spark Prevention: Connect and disconnect the output clamps only after unplugging the charger from the AC power outlet to prevent sparks.
- Children and Pets: Keep the charger and battery out of reach of children and pets.
- Damaged Cables: Do not operate the charger with damaged cords or clamps. Contact customer support for replacement.

Figure 4: The charger incorporates multiple safety protections including over-temperature, short-circuits, over-charge, over-discharges, over-volt, over-power, over-current, and reverse polarity.
3. Package Contents
Verify that all items are present in the package:
- 1 x LST Smart Battery Charger
- 1 x DC Output Cable with Alligator Clips
- 1 x DC Output Cable with Fused Ring Terminal Harness
- 1 x Dual SAE Extension Cable
- 1 x Storage Case
- 1 x Instruction Manual
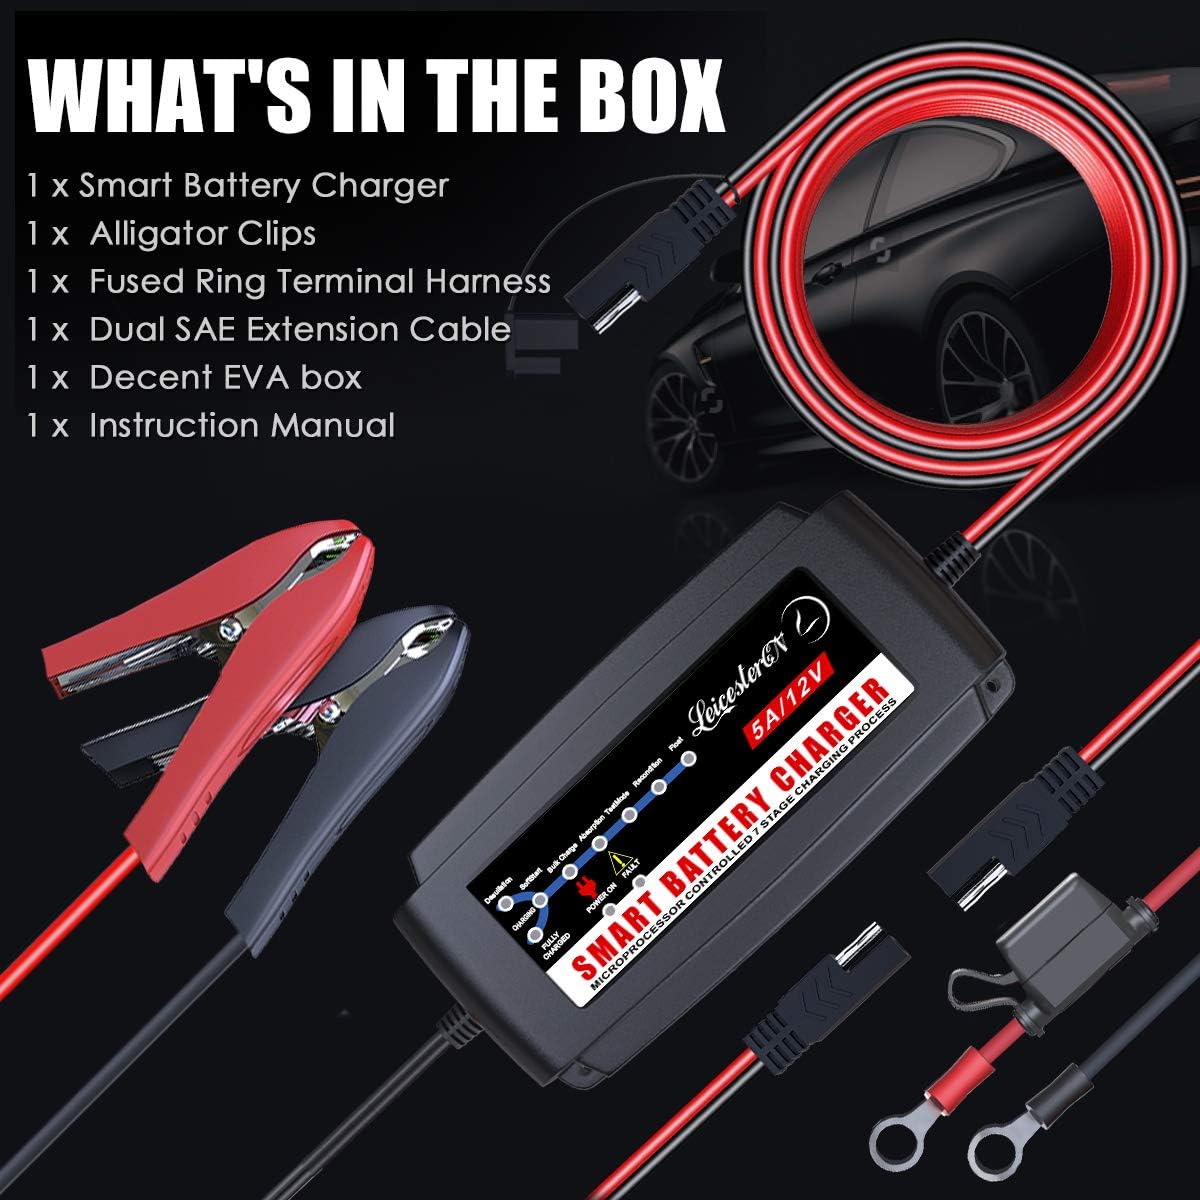
Figure 5: Contents of the product package, including the charger, various connection cables, and a storage case.
4. Setup
Follow these steps to set up your LST Battery Charger:
- Prepare the Battery: Ensure the battery terminals are clean and free of corrosion. If necessary, clean them with a wire brush.
- Select Connection Method: Choose between the alligator clips or the ring terminal harness based on your battery's terminals. For permanent installation or hard-to-reach batteries, the ring terminals are often preferred.
- Connect to Battery:
- Connect the red (+) clamp/ring terminal to the positive (+) battery terminal.
- Connect the black (-) clamp/ring terminal to the negative (-) battery terminal.
- Connect to Power: Plug the charger's AC power cord into a standard 100-240V AC electrical outlet.
- Verify Connection: The charger's 'POWER ON' indicator light will illuminate, and the charging process will begin automatically.

Figure 6: Demonstrates the ease of connecting the charger to a vehicle battery.
Video 1: This video demonstrates the process of connecting the LEICESTERCN 12V 5A Automatic Battery Charger to a car battery and initiating the charging process.
5. Operating Instructions
The LST Battery Charger features a fully automatic 7-stage charging process controlled by a microprocessor. Once connected, it intelligently assesses the battery condition and proceeds through the stages without manual intervention.
7-Stage Automatic Charging Process:
- Desulfation: Recovers sulfated batteries by applying high-frequency pulse charges.
- Soft Start: Gradually introduces power to the battery to prevent damage, especially for deeply discharged batteries.
- Bulk Charge: Charges the battery at maximum current until it reaches approximately 80% capacity.
- Absorption: Charges the battery at a decreasing current to bring it to 100% capacity.
- Test Mode: Monitors the battery voltage to determine if it can hold a charge.
- Recondition: Applies a controlled overcharge to recondition and maximize battery capacity.
- Float: Maintains the battery at full charge with a small, constant voltage, preventing self-discharge.
LED Indicator:
The intuitive LED indicator provides visual feedback on the charging status and diagnostic information:
- Charging Indicator: Illuminates during the charging process.
- Fully Charged Indicator: Illuminates when the battery is fully charged and the charger switches to float mode.
- Power On Indicator: Indicates the charger is connected to AC power.
- Fault Indicator: Illuminates if a fault is detected (e.g., reverse polarity, short circuit).

Figure 7: The LED indicator panel provides clear visual cues for the charging process and status.
6. Maintenance
Proper maintenance ensures the longevity and optimal performance of your LST Battery Charger:
- Cleaning: Disconnect the charger from power and the battery before cleaning. Wipe the exterior with a soft, dry cloth. Do not use harsh chemicals or abrasives.
- Storage: Store the charger in a cool, dry place when not in use. Use the provided storage case to protect it from dust and physical damage.
- Cable Inspection: Regularly inspect the AC power cord and DC output cables for any signs of damage, fraying, or exposed wires. Do not use if damaged.
- Battery Terminals: Keep battery terminals clean to ensure good electrical contact.
7. Troubleshooting
If you encounter issues with your LST Battery Charger, refer to the following common problems and solutions:
| Problem | Possible Cause | Solution |
|---|---|---|
| Charger not turning on (no lights) | No AC power; Faulty outlet; Damaged charger. | Check AC outlet; Try another outlet; Ensure charger is properly plugged in. If still no power, contact support. |
| Fault light illuminated | Reverse polarity; Short circuit; Damaged battery. | Disconnect and reconnect clamps ensuring correct polarity (+ to +, - to -); Check for short circuits in cables/clamps; Have battery tested by a professional. |
| Battery not charging or charging slowly | Battery deeply discharged/sulfated; Incorrect battery type; Poor connection; Battery fault. | Allow charger to run through desulfation/soft start stages; Ensure battery is 12V lead-acid; Clean battery terminals; Have battery tested. |
| Charger gets hot | Normal operation during bulk charge; Insufficient ventilation. | Some heat is normal. Ensure charger is in a well-ventilated area and not covered. If excessively hot, disconnect and contact support. |
If the problem persists after attempting these solutions, please contact LEICESTERCN customer support.
8. Specifications
Detailed technical specifications for the LST 12V 5A Automatic Battery Charger Maintainer:
| Feature | Specification |
|---|---|
| Model Number | EPA1205MT |
| Input Voltage | 100-240V AC |
| Output Voltage | 12 Volts DC |
| Current Rating | 5 Amps |
| Recommended Battery Capacity | 15-120AH |
| Charging Stages | 7-Stage Automatic (Desulfation, Soft Start, Bulk Charge, Absorption, Test, Recondition, Float) |
| Protection Features | Reverse Polarity, Short Circuit, Over Voltage/Current, Over Charge/Discharge, Overload, Overheat |
| Dimensions | 6 x 2.7 x 2.1 inches |
| Weight | 1.85 pounds |
| Water/Dust Resistance | IP65 Rated |

Figure 8: Estimated charging times for different battery capacities (15-120AH).
9. Warranty and Support
LEICESTERCN offers a lifetime quality warranty and a 12-month refund policy for this product. For any questions, concerns, or technical assistance, please contact our customer service team. We are committed to providing timely 24/7 after-sale services to ensure your satisfaction.
For support, please refer to the contact information provided with your purchase or visit the official LEICESTERCN store on Amazon.