1. Introduction
Welcome to the Secura Bread Maker Machine. This appliance is designed to simplify the bread-making process, offering a variety of settings to create delicious homemade breads, doughs, cakes, jams, and yogurts. With its user-friendly interface and robust features, you can enjoy fresh baked goods with minimal effort.
Key features include 19 preset menu settings, options for 3 different loaf sizes (1.1lb, 1.7lb, 2.2lb), and 3 crust color selections (light, medium, dark). It also boasts a 15-hour delay timer and an automatic 1-hour keep warm function for convenience.

Image: The Secura Bread Maker Machine, showcasing its sleek stainless steel design alongside a freshly baked, sliced loaf of bread and fresh strawberries, highlighting its primary function.
2. Parts Identification
Familiarize yourself with the components of your bread maker:
- Bread Pan: The non-stick container where ingredients are mixed, kneaded, and baked.
- Stirring Blade: Attaches to the shaft inside the bread pan for kneading dough.
- Hook: A tool provided to easily remove the stirring blade from the baked bread.
- Measuring Spoon: For accurate measurement of smaller ingredients.
- Measuring Cup: For accurate measurement of liquid and dry ingredients.
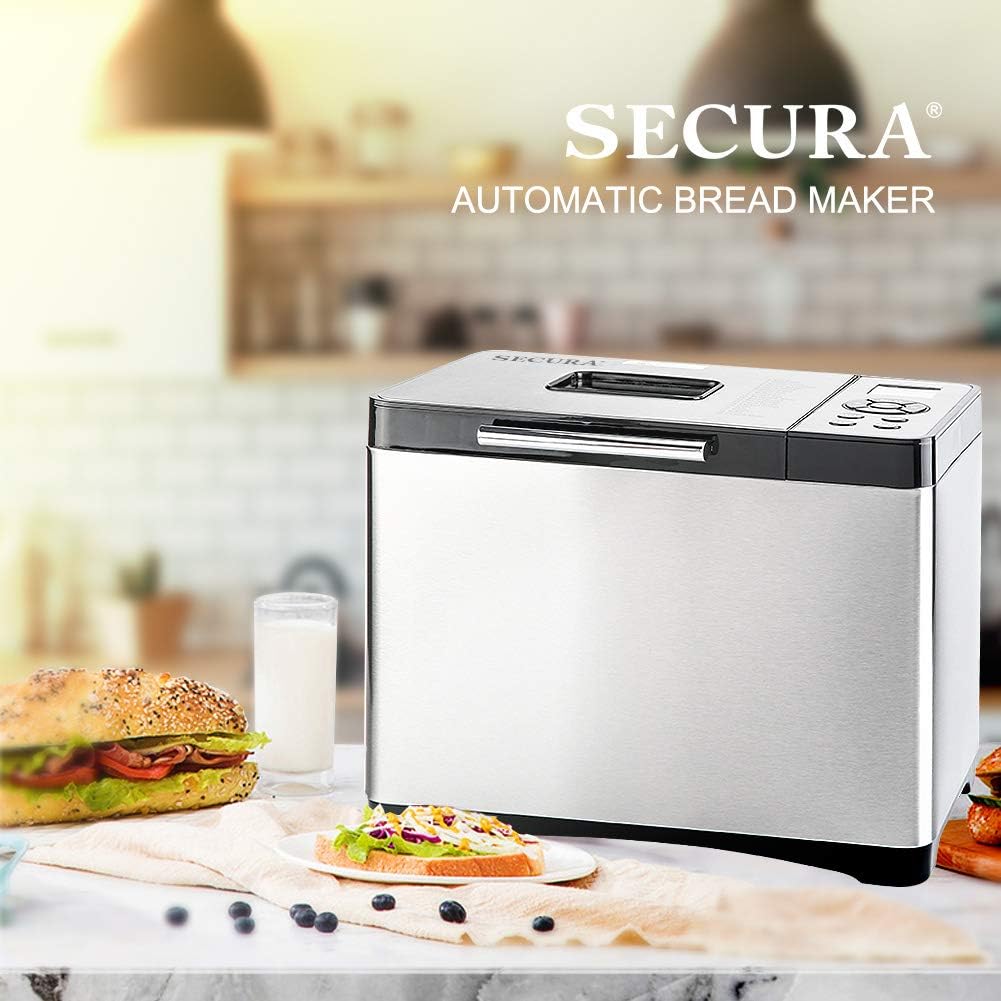
Image: A visual guide to the Secura Bread Maker's components, including the bread pan, stirring blade, hook, measuring spoon, and measuring cup, with dimensions of the bread pan shown.
3. Setup Before First Use
- Unpack: Carefully remove the bread maker and all its accessories from the packaging. Retain packaging for future storage or transport.
- Clean: Wash the bread pan, stirring blade, measuring spoon, and measuring cup with warm, soapy water. Rinse thoroughly and dry completely. Wipe the exterior of the main unit with a damp cloth. Do not immerse the main unit in water.
- Placement: Place the bread maker on a stable, flat, heat-resistant surface. Ensure there is adequate ventilation around the appliance, keeping it away from walls or other heat sources.
- Assemble: Insert the stirring blade onto the shaft at the bottom of the bread pan. Then, place the bread pan securely into the baking chamber of the bread maker.
- Power: Plug the power cord into a grounded electrical outlet. The LCD display will illuminate, indicating the unit is ready for operation.
4. Operating Instructions
Operating your Secura Bread Maker is straightforward. Follow these general steps for most recipes:
- Add Ingredients: Always add liquid ingredients first, followed by dry ingredients. Make a small indentation in the dry ingredients and add the yeast last, ensuring it does not come into direct contact with liquids or salt initially.
- Select Menu: Use the "MENU" button to cycle through the 19 preset programs until you reach your desired setting. The selected program number and estimated time will appear on the LCD display.
- Select Loaf Size: Use the "LOAF" button to choose your desired loaf size (1.1lb, 1.7lb, or 2.2lb).
- Select Crust Color: Use the "COLOR" button to select your preferred crust color (Light, Medium, or Dark).
- Set Delay Timer (Optional): If you wish to delay the start of the baking process, use the "+" and "-" buttons to set the desired delay time (up to 15 hours). This allows you to wake up to fresh bread.
- Start: Press the "START/PAUSE" button to begin the selected program. The bread maker will automatically proceed through the mixing, kneading, rising, and baking cycles.
- Ingredient Reminder: For programs that allow additional ingredients (like nuts or fruits), the bread maker will "beep" to remind you to add them during the appropriate mixing stage. Simply open the lid and add the ingredients.
- Keep Warm: After baking is complete, the bread maker will automatically switch to a 1-hour "Keep Warm" cycle to maintain the bread's temperature.
- Remove Bread: Once the cycle is complete, unplug the appliance. Carefully remove the bread pan using oven mitts. Invert the pan to release the bread onto a wire rack to cool. Use the provided hook to remove the stirring blade if it remains embedded in the loaf.
4.1. Menu Programs Overview
Your Secura Bread Maker offers 19 versatile programs:
| No. | Program Name | Description |
|---|---|---|
| 1 | Soft Bread | For basic white bread recipes. |
| 2 | Sweet Bread | Ideal for breads with high sugar or fat content. |
| 3 | Natural Sourdough | For recipes incorporating sourdough. |
| 4 | French Bread | Suitable for European-style breads. |
| 5 | Whole Wheat | For breads made with a high percentage of whole wheat flour. |
| 6 | Quick Bread | A rapid or express bake cycle for quicker results. |
| 7 | Sugar-free | For breads using alternative sweeteners like sucralose or stevia. |
| 8 | Multigrain | For breads made with various types of whole grain cereals. |
| 9 | Gluten-free | Specifically designed for gluten-free bread mixes. |
| 10 | Buttermilk Bread | For recipes that include buttermilk. |
| 11 | Bread Dough | Prepares dough for manual baking (kneading and rising only). |
| 12 | Pizza Dough | Prepares dough specifically for pizza. |
| 13 | Pasta Dough | Kneads dough for homemade pasta. |
| 14 | Leaven Dough | Another dough preparation cycle. |
| 15 | Cake | For baking cakes or quick breads using baking powder/soda. |
| 16 | Jam | Prepares homemade jams. |
| 17 | Yogurt | For making homemade yogurt. |
| 18 | Bake | For baking pre-made dough. |
| 19 | Custom Mode | Allows users to set custom times for each stage of the bread-making process. |
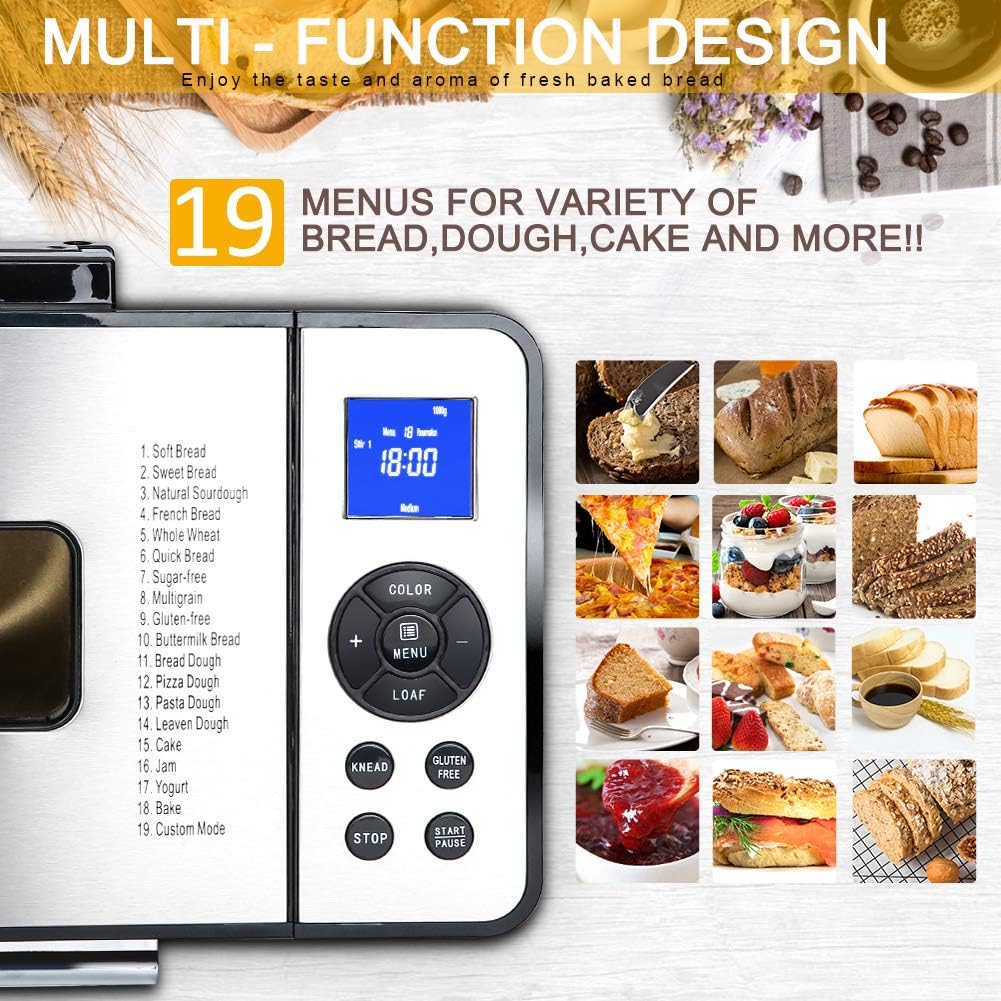
Image: The control panel of the Secura Bread Maker, displaying the 19 available menu options and various function buttons for easy selection.
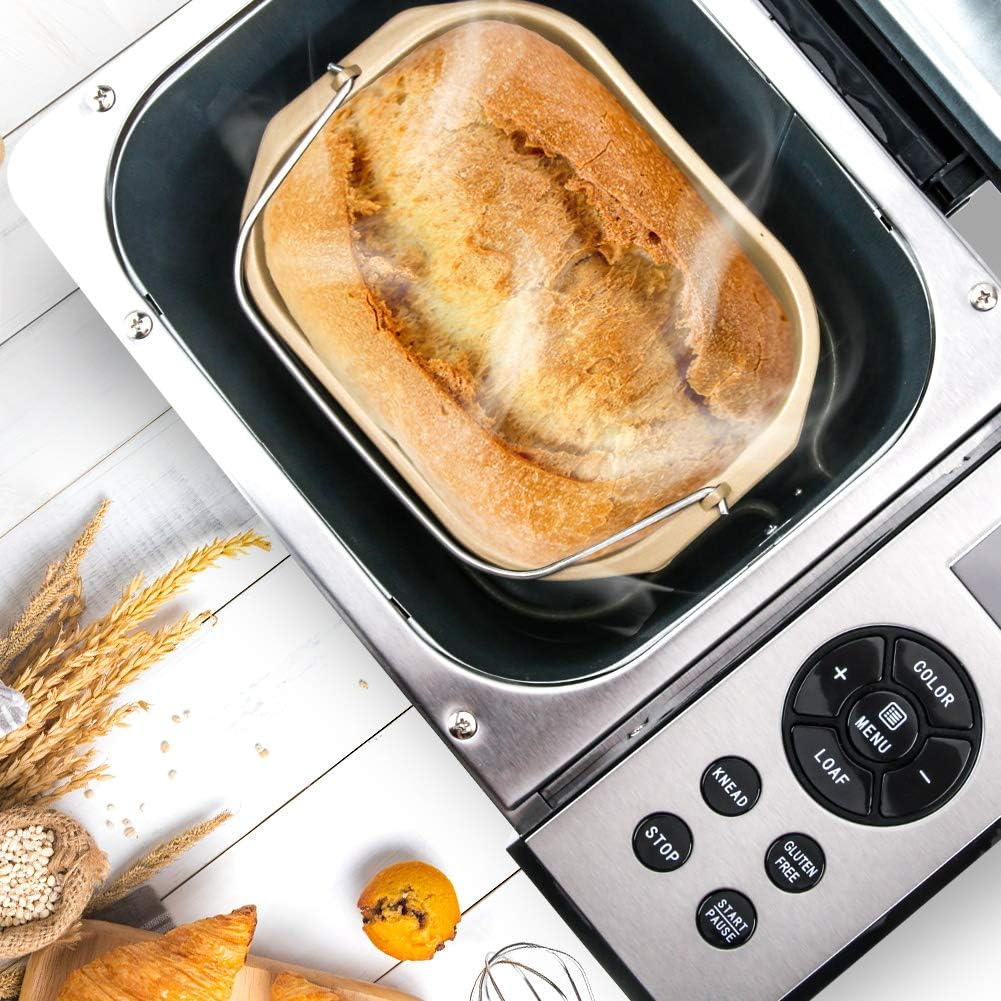
Image: A visual representation of the three available loaf sizes (500g, 750g, 1000g, serving 1-2, 3-4, and 4-5 people respectively) and three crust color options (Light, Medium, Dark) that can be selected on the bread maker.

Image: The Secura Bread Maker with a clock in the foreground, illustrating the convenience of its 15-hour delay timer and automatic 1-hour keep warm feature for fresh bread anytime.
5. Maintenance and Cleaning
Proper maintenance ensures the longevity and optimal performance of your bread maker. Always unplug the appliance and allow it to cool completely before cleaning.
- Bread Pan and Stirring Blade: The non-stick bread pan and stirring blade are dishwasher safe. For manual cleaning, wash with warm, soapy water using a soft sponge. Avoid abrasive cleaners or scouring pads that could damage the non-stick coating.
- Exterior: Wipe the exterior of the bread maker with a soft, damp cloth. Do not use harsh chemicals. Never immerse the main unit, power cord, or plug in water or any other liquid.
- Interior Chamber: Use a soft, damp cloth to wipe the interior baking chamber. Remove any crumbs or residue.
- Storage: Ensure all parts are thoroughly dry before reassembling and storing the bread maker in a cool, dry place.
6. Troubleshooting
If you encounter issues with your Secura Bread Maker, refer to the common problems and solutions below:
- Power Interruption: The bread maker features an electricity disconnection memory. If power is restored within 15 minutes of a power loss, the timer will resume counting down from where it left off. For longer power outages, the cycle may need to be restarted.
- Diagnostic Error Codes: If the appliance malfunctions, a corresponding error code may appear on the LCD display. For a comprehensive list of error codes and their solutions, please consult the full user manual.
- Excessive Vibration/Movement: Some vibration during the kneading cycles, especially the second stir, is normal. Ensure the bread maker is placed on a stable, level, and sturdy surface to minimize movement. If the movement is excessive or causes the unit to shift significantly, ensure the bread pan is correctly seated and the stirring blade is properly installed.
- Bread Sticks to Pan: Ensure the non-stick coating is intact. Always allow the bread to cool slightly in the pan before attempting to remove it. Using a non-stick spray or a small amount of oil on the stirring blade shaft before adding ingredients can also help.
For more detailed troubleshooting or issues not listed here, please refer to the comprehensive user manual available via the link in the "Warranty & Support" section.
7. Specifications
| Feature | Detail |
|---|---|
| Brand | Secura |
| Model | MBF-016 |
| Power | 650W |
| Loaf Capacity | 1.1 lb, 1.7 lb, 2.2 lb |
| Product Dimensions (D x W x H) | 16.1" x 16.5" x 12" |
| Item Weight | 13.97 pounds |
| Number of Programs | 19 |
| Crust Settings | Light, Medium, Dark |
| Delay Timer | Up to 15 hours |
| Keep Warm Function | 1 hour automatic |
| Bread Pan Material | Non-stick (Ceramic Coated) |
| Display Type | LCD Digital Display |
8. Warranty and Support
For detailed warranty information, technical support, or specific troubleshooting not covered in this manual, please refer to the official User Manual PDF or contact Secura customer support.
Official User Manual (PDF): Download Here
For further assistance, please visit the official Secura website or contact their customer service department directly.
9. Product Videos
No official product videos from the seller were available for embedding at this time. For additional product demonstrations or user-generated content, please refer to the product page on Amazon.com.