Important Safety Instructions
Please read all instructions carefully before operating the Caso GourmetVAC 280 Vacuum Sealer. Retain this manual for future reference.
- Ensure the appliance is connected to a grounded power outlet with the correct voltage (230V).
- Do not immerse the appliance, power cord, or plug in water or other liquids.
- Keep hands and fingers clear of the sealing bar during operation to prevent burns.
- This appliance is not intended for use by persons with reduced physical, sensory, or mental capabilities, or lack of experience and knowledge, unless they have been given supervision or instruction.
- Unplug the appliance from the outlet when not in use and before cleaning.
- Do not operate the appliance with a damaged cord or plug, or after the appliance malfunctions or has been damaged in any manner.
- Use only Caso-approved vacuum bags and accessories.
Product Overview
The Caso GourmetVAC 280 is a high-performance vacuum sealer designed to preserve food freshness up to 8 times longer than conventional storage methods. It features a robust design and intuitive controls for various vacuum sealing tasks.
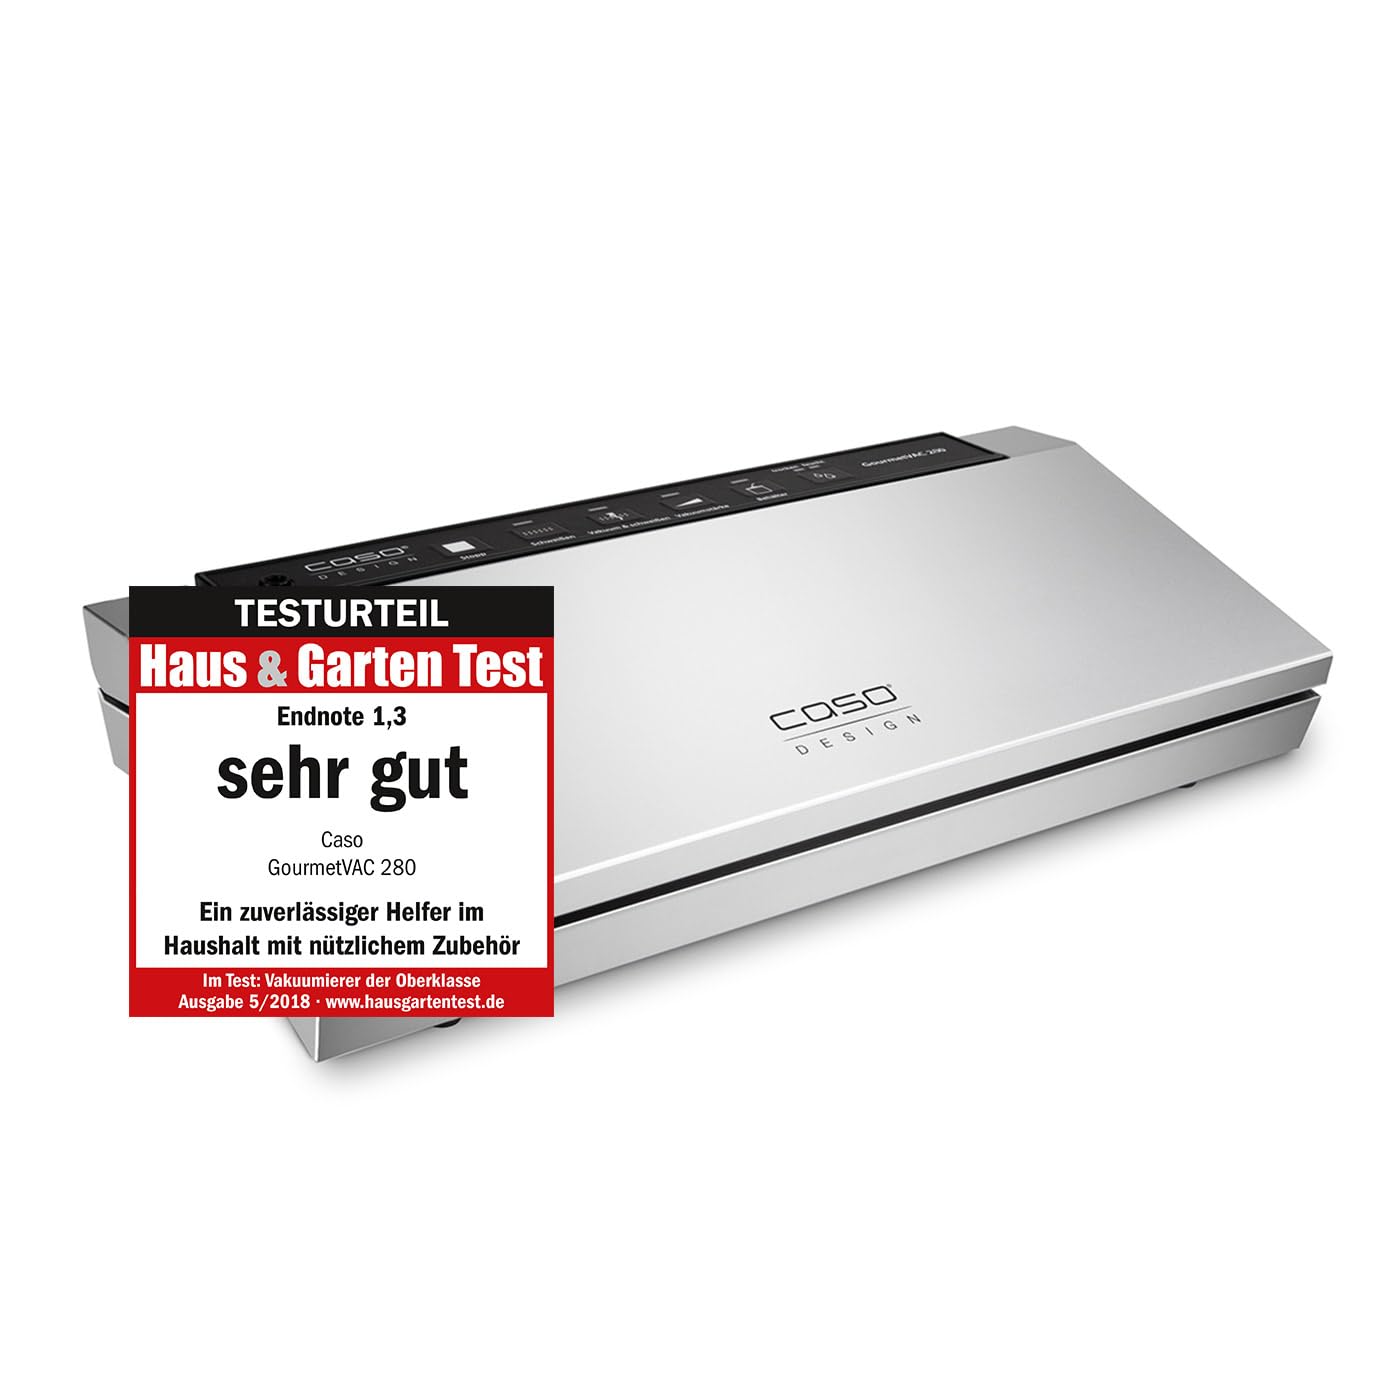
Image: Caso GourmetVAC 280 Vacuum Sealer in its closed position, showcasing its sleek silver design.

Image: The vacuum sealer with its lid open, revealing the sealing bar, vacuum chamber, and drip tray.
Control Panel Features:
- Stop: Immediately stops the current operation.
- Seal: Seals the bag without vacuuming.
- Vacuum & Seal: Automatically vacuums and seals the bag.
- Vacuum Strength: Adjusts vacuum pressure for delicate foods.
- Canister: For vacuuming external canisters (requires adapter, sold separately).
- Food (Dry/Moist): Selects appropriate sealing time for dry or moist foods.
Setup
- Unpack the Appliance: Carefully remove the vacuum sealer and all accessories from the packaging. Check for any damage.
- Clean the Appliance: Before first use, wipe the exterior of the appliance with a damp cloth. Ensure the sealing area and drip tray are clean and dry.
- Position the Appliance: Place the vacuum sealer on a flat, stable, and dry surface. Ensure there is enough space around the appliance for proper ventilation.
- Connect to Power: Plug the power cord into a suitable 230V grounded electrical outlet. The appliance is now ready for use.
Operating Instructions
Vacuum Sealing Bags:
- Prepare the Bag: Place the food item into a suitable vacuum sealer bag. Ensure there is at least 6-8 cm of empty space at the top of the bag for sealing. The open end of the bag must be clean and dry.
- Open the Lid: Lift the lid of the vacuum sealer.
- Position the Bag: Place the open end of the bag into the vacuum chamber, ensuring it lies flat over the sealing bar and within the drip tray area. The bag opening should be fully inside the vacuum chamber.
- Close the Lid: Press down firmly on both sides of the lid until it clicks into place, indicating it is securely locked.
- Select Food Type (Optional): If sealing moist food, press the 'Food' button to select the 'Moist' setting. For dry food, ensure 'Dry' is selected.
- Start Vacuum & Seal: Press the 'Vacuum & Seal' button. The appliance will automatically remove air from the bag and then seal it.
- Release the Bag: Once the process is complete, the vacuum sealer will release the lid. Remove the sealed bag.
Sealing Only (without vacuum):
- Follow steps 1-3 from 'Vacuum Sealing Bags'.
- Close the lid firmly until it clicks.
- Press the 'Seal' button. The appliance will only seal the bag without removing air.
- Once complete, release the lid and remove the sealed bag.
Vacuuming Canisters:
This function requires a Caso vacuum canister and an adapter hose (both sold separately).
- Connect one end of the adapter hose to the 'Canister' port on the vacuum sealer and the other end to the port on the vacuum canister.
- Ensure the canister lid is properly closed and sealed.
- Press the 'Canister' button. The appliance will vacuum air from the canister.
- The process will stop automatically when the desired vacuum level is reached. Disconnect the hose.
Maintenance and Cleaning
Regular cleaning ensures optimal performance and extends the lifespan of your vacuum sealer.
- Always unplug the appliance before cleaning.
- Exterior Cleaning: Wipe the exterior surfaces with a soft, damp cloth. Do not use abrasive cleaners or solvents.
- Drip Tray: The removable drip tray collects any excess liquids. Empty and clean it after each use, especially when sealing moist foods. Wash with warm, soapy water and dry thoroughly.
- Sealing Bar: Carefully wipe the sealing bar with a damp cloth to remove any food residue. Ensure it is completely dry before closing the lid.
- Gaskets: Check the rubber gaskets around the vacuum chamber for food particles or damage. Clean gently with a damp cloth. Ensure they are dry and properly seated for an effective seal.
- Do not immerse the main unit in water.
Troubleshooting
| Problem | Possible Cause | Solution |
|---|---|---|
| Appliance does not turn on. | Not plugged in; power outlet malfunction. | Ensure power cord is securely plugged in. Test outlet with another appliance. |
| Bag does not vacuum properly. | Lid not closed securely; bag not positioned correctly; bag has a hole; gaskets are dirty or damaged. | Press down firmly on lid until it clicks. Ensure bag opening is flat inside vacuum chamber. Check bag for leaks. Clean or inspect gaskets. |
| Bag does not seal. | Sealing bar or heating element dirty/damaged; bag material incompatible; too much moisture in sealing area. | Clean sealing bar. Use Caso-approved bags. Ensure bag opening is dry. Allow appliance to cool if used continuously. |
| Vacuum is weak. | Gaskets are dirty or damaged; vacuum pump issue. | Clean or replace gaskets. If problem persists, contact customer support. |
Specifications
| Feature | Detail |
|---|---|
| Brand | Caso |
| Model Number | 1385 |
| Power | 130 Watts |
| Voltage | 230V |
| Dimensions (L x W x H) | 17 x 40 x 9 cm (6.7 x 15.7 x 3.5 inches) |
| Weight | 1.9 Kilograms (4.2 lbs) |
| Material | Plastic |
| Color | Metallic Silver |
| Operation Mode | Automatic |
Warranty and Support
For warranty information, technical support, or service inquiries, please refer to the warranty card included with your product or visit the official Caso website. Do not attempt to repair the appliance yourself, as this may void the warranty.
Please have your model number (1385) and purchase date available when contacting support.