Introduction
This manual provides detailed instructions for the operation and maintenance of your MIABOO Retro Portable Bluetooth Speaker and Digital Radio Alarm Clock. Please read this manual thoroughly before use to ensure proper functionality and to maximize your experience with the device.
The MIABOO M20 is a versatile device combining multiple functions:
- Portable Bluetooth Speaker
- Wireless Music Player (TF Card, AUX-IN)
- Hands-free Calling
- AM/FM Radio
- Digital Alarm Clock

Image: Front view of the MIABOO Retro Portable Bluetooth Speaker and Digital Radio Alarm Clock, showcasing its wooden casing, speaker grille, digital display with time and equalizer, and top control knob.
Setup
Unpacking and Initial Charge
Carefully remove the device from its packaging. Before first use, it is recommended to fully charge the device. Connect the provided USB charging cable to the device's USB port and to a compatible USB power adapter (not included) or computer USB port.
The device contains 1 Lithium-Ion battery, which is included and required for operation.
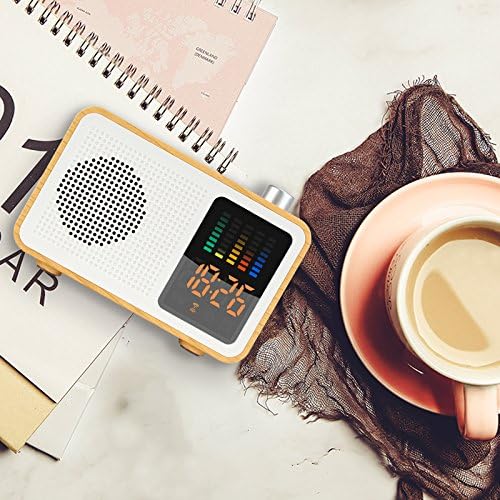
Image: Side view of the MIABOO speaker showing the USB charging port with a cable connected, along with TF card and AUX ports.
Operating Instructions
Power On/Off
To power on the device, press and hold the power button (usually located on the side or top) until the display illuminates. To power off, press and hold the power button again.
Mode Selection
Press the 'M' button (Mode button) to cycle through available modes: Bluetooth, FM Radio, AM Radio, TF Card, and AUX-IN.

Image: Graphic illustrating the multiple functions of the MIABOO speaker, including Bluetooth play, AUX play, TF card play, FM radio, and alarm clock.
Bluetooth Pairing
- Switch the device to Bluetooth mode. The display will show a Bluetooth icon, and the device will enter pairing mode.
- On your mobile device, enable Bluetooth and search for available devices.
- Select "MIABOO M20" (or similar name) from the list of devices.
- Once paired, the device will emit a confirmation sound, and the Bluetooth icon on the display will become solid.
- You can now play audio from your mobile device through the speaker.
FM/AM Radio Operation
- Switch the device to FM or AM Radio mode using the 'M' button.
- To automatically scan and save available stations, press and hold the Play/Pause button. The device will scan and store stations.
- To manually tune, use the '+' and '-' buttons to adjust the frequency.
- To switch between saved stations, briefly press the Play/Pause button or use the '+' and '-' buttons.
Tip: For improved radio reception, connect a pair of headphones to the AUX-IN port, as the headphone cable can act as an external antenna. Alternatively, ensure the charging cable is connected, as it can also aid reception.

Image: The MIABOO speaker placed on a table in a cafe, demonstrating its use for listening to FM radio.
TF Card Playback
- Insert a TF (MicroSD) card with MP3 audio files into the TF card slot.
- Switch the device to TF Card mode.
- The device will automatically begin playing audio files from the card.
- Use the Play/Pause button to pause/resume playback and the '+' and '-' buttons to skip tracks.
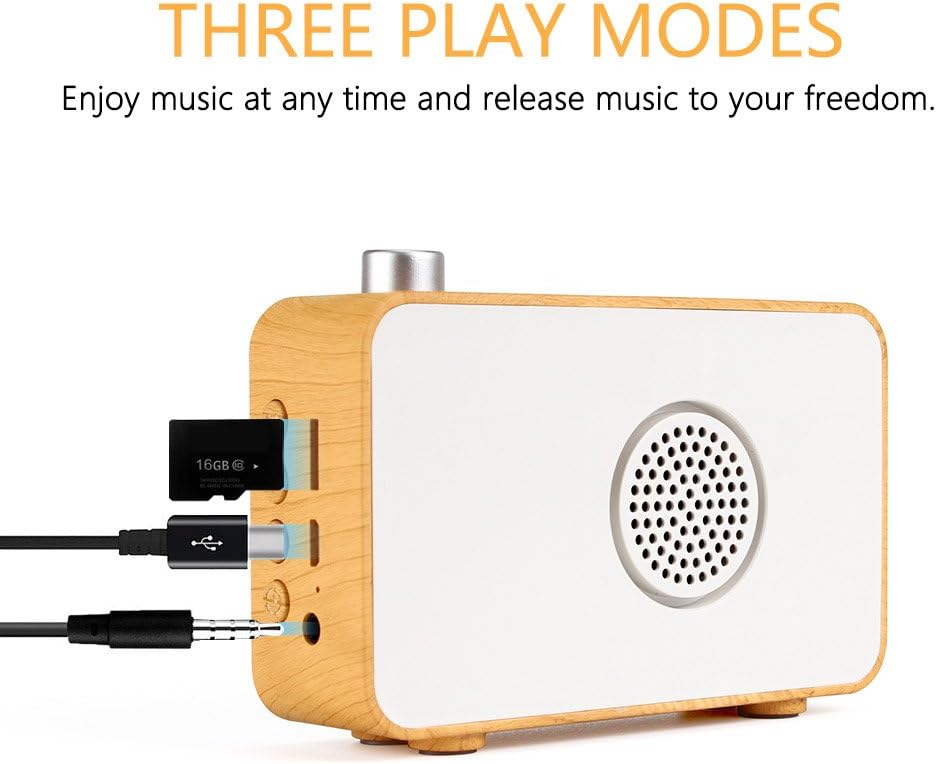
Image: Side view of the MIABOO speaker showing the TF card slot with a TF card inserted, along with USB and AUX ports.
AUX-IN Mode
- Connect an external audio device (e.g., smartphone, MP3 player) to the AUX-IN port using a 3.5mm audio cable (not included).
- Switch the device to AUX-IN mode.
- Audio from the connected device will now play through the speaker. Control playback from the external device.
Alarm Clock Function
- In standby mode or while displaying the time, press and hold the 'Alarm' button (often labeled with a bell icon).
- Use the '+' and '-' buttons to set the hour, then press the 'Alarm' button again to confirm.
- Use the '+' and '-' buttons to set the minute, then press the 'Alarm' button again to confirm.
- The alarm icon will appear on the display, indicating the alarm is set.
- To deactivate the alarm, press the 'Alarm' button briefly.
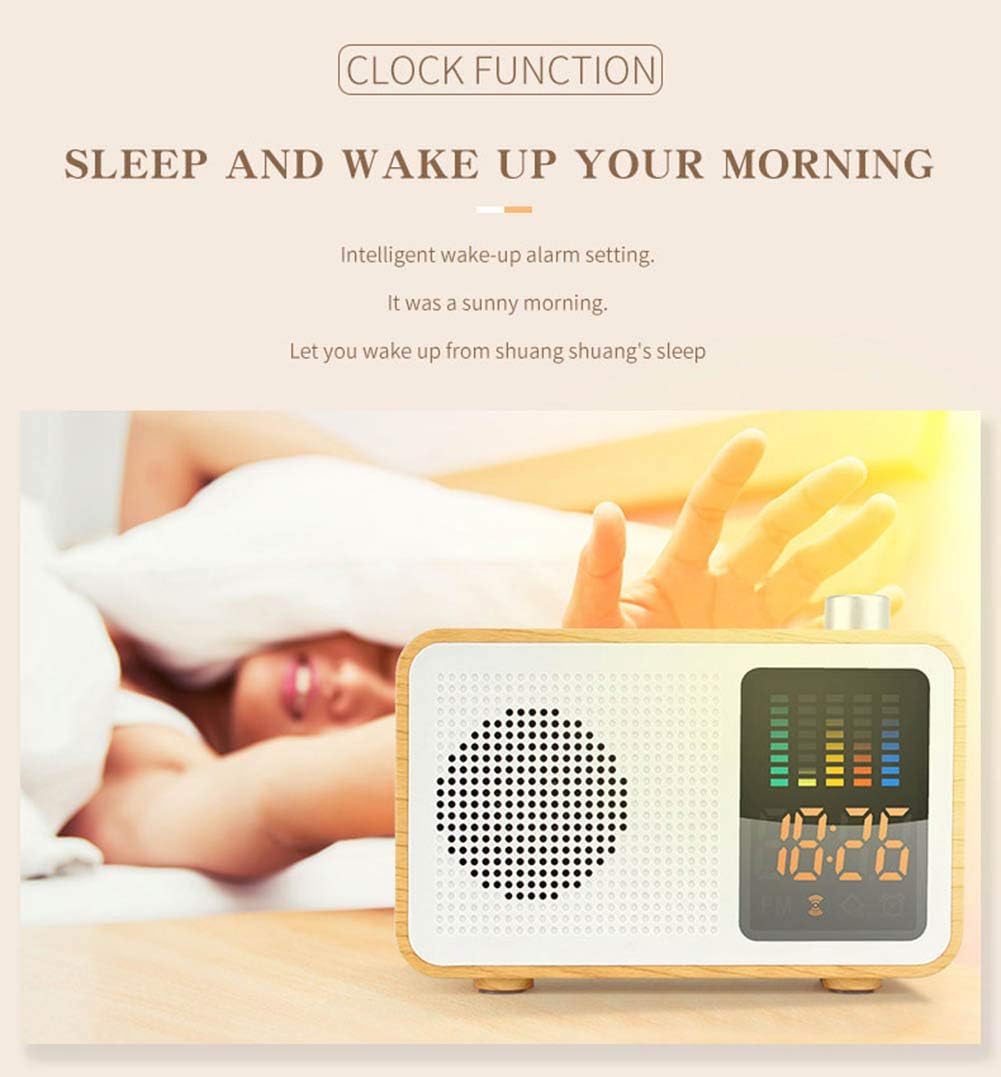
Image: The MIABOO speaker on a bedside table, displaying the time, illustrating its alarm clock function.
Maintenance
Cleaning
Wipe the device with a soft, dry cloth. Do not use abrasive cleaners or solvents, as these may damage the surface. Avoid exposing the device to excessive moisture.
Battery Care
To prolong battery life, avoid fully discharging the battery frequently. Charge the device regularly, even if not in use for extended periods. Store the device in a cool, dry place.
Troubleshooting
- No Power: Ensure the device is charged. Connect the USB charging cable and allow it to charge for at least 30 minutes before attempting to power on again.
- Poor Radio Reception: Connect headphones to the AUX-IN port or the USB charging cable to improve antenna reception. Try repositioning the device.
- Bluetooth Pairing Issues: Ensure the device is in Bluetooth pairing mode. Check that Bluetooth is enabled on your mobile device and that it is within range. Forget previous pairings on your mobile device and try pairing again.
- No Sound: Check the volume level on both the speaker and the connected audio source. Ensure the correct mode (Bluetooth, FM, TF, AUX) is selected.
- Buttons Unresponsive: If buttons become unresponsive, try resetting the device by powering it off and on again. If the issue persists, ensure the battery is sufficiently charged.
Specifications
| Feature | Detail |
|---|---|
| Brand | MIABOO |
| Model Number | M20 |
| Bluetooth Version | 4.2 |
| Frequency Response | 20Hz-20KHz |
| Output Power | 5W |
| Wireless Range | 10m |
| Impedance | 4 Ohm |
| Battery | 1200mAh Lithium battery (included) |
| Case Material | ABS, Wood |
| Dimensions (L x W x H) | 120mm x 84.5mm x 33.8mm |
| Weight | 360 Grams |
| Display Type | Digital |
| Power Source | Battery Powered |

Image: Diagram showing the dimensions of the MIABOO speaker (120mm length, 84.5mm height, 33.8mm width) and listing key specifications like Bluetooth version, frequency, output power, battery capacity, and materials.
Warranty and Support
For warranty information and customer support, please refer to the purchase documentation or contact your retailer. Keep your proof of purchase for any warranty claims.


