Parkside IAN-100373880
Parkside Automatic Cross Line Laser Level
Model: IAN-100373880
Introduction
This instruction manual provides comprehensive information for the safe and effective use of your Parkside Automatic Cross Line Laser Level, Model IAN-100373880. This precision instrument is designed for easy and accurate projection of horizontal and vertical laser lines, making it ideal for various leveling, alignment, and layout tasks in construction, renovation, and DIY projects. Please read this manual thoroughly before first use and keep it for future reference.
Safety Instructions
Always observe the following safety precautions to prevent injury and damage to the device.
General Safety
- Keep the work area clean and well-lit. Cluttered or dark areas invite accidents.
- Do not operate power tools in explosive atmospheres, such as in the presence of flammable liquids, gases, or dust. Power tools create sparks which may ignite the dust or fumes.
- Keep children and bystanders away while operating the laser level. Distractions can cause you to lose control.
Laser Safety
This device emits a Class 2 laser. Observe the following:
- Do not stare into the laser beam. Direct eye exposure can cause eye injury.
- Do not intentionally direct the laser beam at people or animals.
- Avoid reflecting the laser beam off highly reflective surfaces.
- Do not modify the laser device. Unauthorized modifications can increase laser radiation.
- Use only in accordance with the instructions provided in this manual.
Battery Safety
- Use only the specified battery type (AAA alkaline batteries).
- Ensure correct polarity when inserting batteries.
- Do not mix old and new batteries, or different types of batteries.
- Remove batteries if the device will not be used for an extended period.
- Do not dispose of batteries in fire.
Package Contents
Please check that all items are present and undamaged upon unpacking:
- Parkside Automatic Cross Line Laser Level
- Universal 360° rotating mounting bracket
- 2 x AAA Alkaline Batteries
- Instruction Manual
Product Overview and Features
The Parkside Automatic Cross Line Laser Level is designed for versatility and ease of use. Its key features include:
- Precise Line Projection: Projects clear horizontal and vertical laser lines for accurate alignment.
- Two Operating Modes:
- Automatic Leveling Mode: Self-levels within a range of ±4° with an LED indicator for out-of-level conditions.
- Cross-Line Locking Mode: Allows projection of inclined lines by deactivating the self-leveling function.
- Compact Design: Easy to handle and store.
- Tripod Thread: Equipped with a 6.35 mm (¼”) tripod thread for versatile mounting options.
- Universal Mounting Bracket: A removable 360° rotating bracket for flexible positioning and attachment to various surfaces.
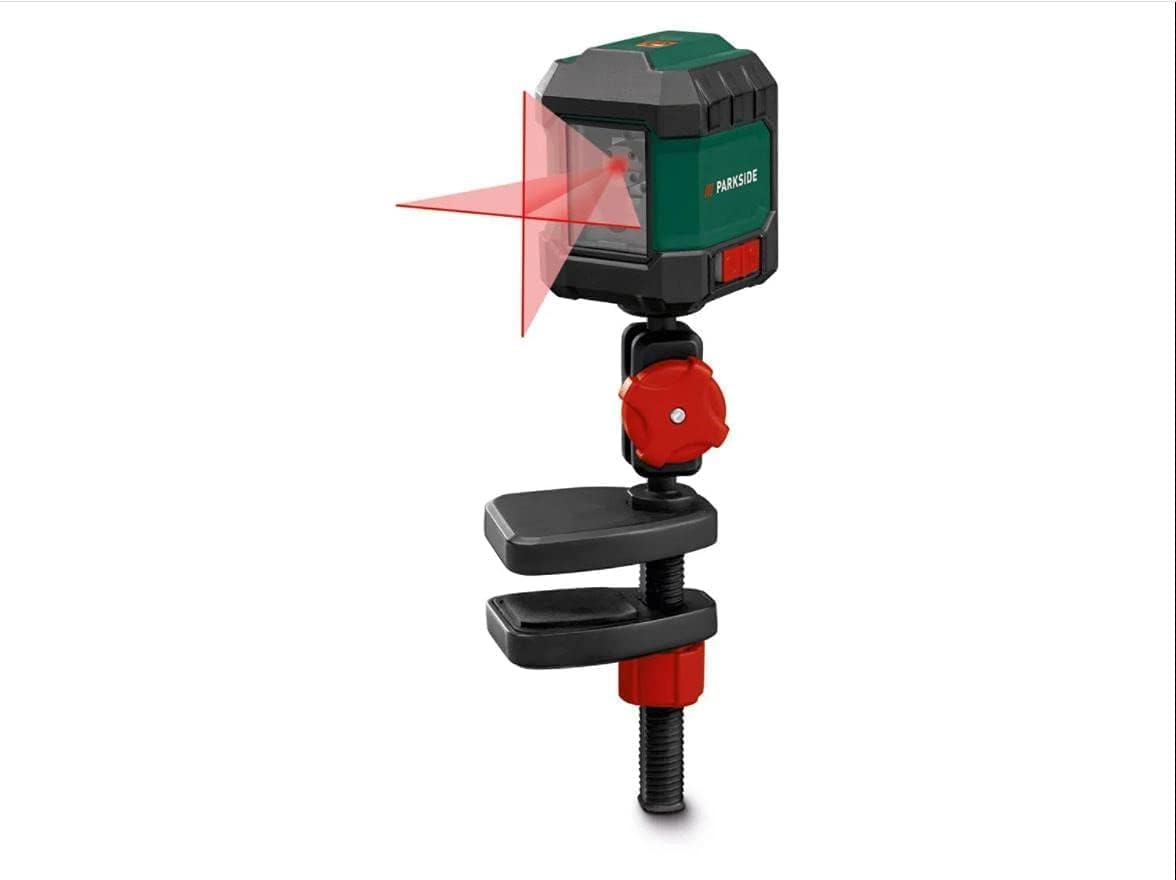
Figure 1: The Parkside Automatic Cross Line Laser Level showing its compact design and the projected cross lines, attached to its universal mounting bracket.
Setup
1. Battery Installation
- Locate the battery compartment cover on the device.
- Open the cover by sliding or unlatching it.
- Insert two AAA alkaline batteries, ensuring correct polarity (+ and -) as indicated inside the compartment.
- Close the battery compartment cover securely.
2. Mounting the Device
The laser level can be used freestanding or attached to the universal mounting bracket.
- Using the Universal Mounting Bracket:
Attach the laser level to the mounting bracket using the ¼” tripod thread at the bottom of the device. The bracket allows for 360° rotation and can be clamped onto various surfaces like tables or shelves. Ensure the clamp is securely fastened before operation.
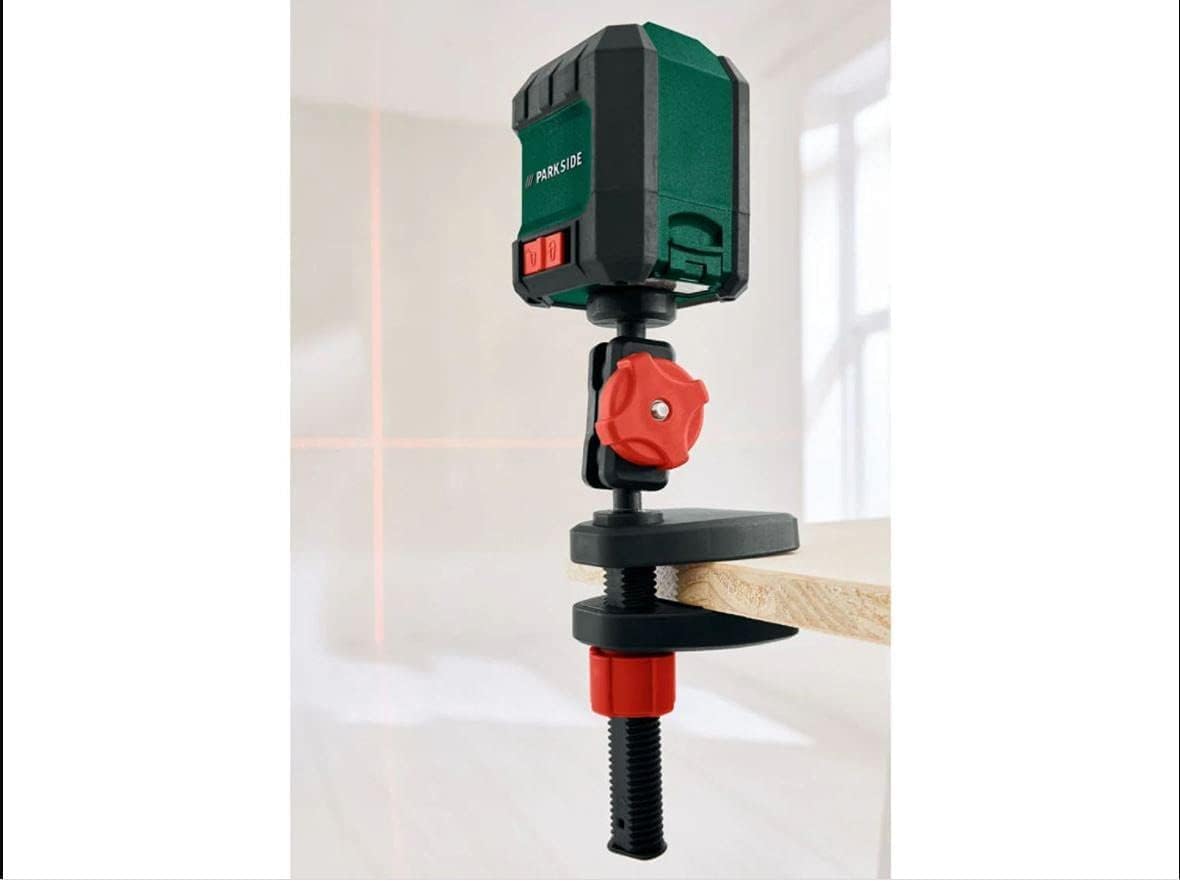
Figure 2: The laser level securely clamped to a wooden board using its universal mounting bracket.
- Using a Tripod (Optional):
The ¼” tripod thread also allows direct attachment to a standard camera tripod or a dedicated laser level tripod for more precise height adjustments.
Operating Instructions
Powering On/Off
Locate the power button on the device. Press it once to turn the laser level on. Press it again to turn it off.

Figure 3: Front view of the laser level, highlighting the power button and laser aperture.
1. Automatic Leveling Mode
This mode is used for projecting perfectly horizontal and vertical lines. It is ideal for tasks like hanging pictures, tiling, or installing cabinets.
- Turn on the device. The laser lines will appear.
- Place the laser level on a stable surface or mount it using the bracket.
- The device will automatically self-level. If the device is within its ±4° leveling range, the laser lines will become stable and continuous.
- If the device is outside its leveling range, the laser lines will flash, and an LED indicator may light up, signaling that the device needs to be adjusted to a more level position.

Figure 4: A close-up view of the laser level actively projecting a sharp, visible cross line.
2. Cross-Line Locking Mode (Manual Mode)
This mode allows you to project laser lines at any desired angle, useful for tasks like installing handrails or decorative patterns.
- To activate this mode, typically there is a switch or a long press of the power button (refer to specific button markings on your device if different). In this mode, the self-leveling mechanism is locked.
- The laser lines will be projected, but they will not self-level. You can manually tilt the device to project lines at an incline.
- The LED indicator for out-of-level conditions will typically be off or show a different status in this mode.

Figure 5: Example of the laser level being used in a practical application, assisting with wallpaper installation.
Maintenance
Cleaning
- Wipe the device with a soft, dry cloth.
- Do not use abrasive cleaners, solvents, or harsh chemicals, as these can damage the housing or optics.
- Keep the laser aperture clean and free of dust.
Storage
- Store the laser level in a dry, dust-free environment, away from direct sunlight and extreme temperatures.
- If storing for an extended period, remove the batteries to prevent leakage and damage to the device.
Troubleshooting
| Problem | Possible Cause | Solution |
|---|---|---|
| No laser line or device does not turn on. | Batteries are dead or incorrectly inserted. | Check battery polarity. Replace with new AAA alkaline batteries. |
| Laser line is flashing or LED indicator is on in Automatic Leveling Mode. | Device is outside its self-leveling range (±4°). | Adjust the position of the laser level until it is within its self-leveling range. Place it on a more level surface. |
| Laser line is dim or unclear. | Low battery power; dirty laser aperture; too much ambient light. | Replace batteries. Clean the laser aperture. Reduce ambient light if possible. |
Specifications
- Model Number: IAN-100373880
- Laser Range: Up to 7 meters
- Leveling Range: ± 4°
- Leveling Accuracy: ± 0.8 mm/m
- Laser Class: 2
- Power Supply: 2 x AAA Alkaline Batteries
- Dimensions (L x W x H): Approximately 15 x 8 x 0.1 cm
- Weight: Approximately 450 grams (without batteries)
- Material: Metal, Plastic
- Color: Green
- Manufacturer: PARKSIDE
Warranty and Support
This Parkside product comes with a standard manufacturer's warranty. For specific warranty terms and conditions, please refer to the warranty card included with your purchase or contact Parkside customer support.
If you encounter any issues or have questions regarding the operation, maintenance, or troubleshooting of your laser level, please contact the retailer or the manufacturer's customer service department. Keep your proof of purchase for warranty claims.
Ask a question about this manual
Ask about setup, troubleshooting, compatibility, parts, safety, or missing instructions. Manuals+ will review the question and use this page’s manual context to help answer it.