
1. Introduction
The Bryton Rider 410 is a GPS bike computer designed to provide comprehensive cycling data. It features a 2.3-inch large display capable of showing up to 8 data points per page. The device supports a full Global Navigation Satellite System (GNSS) including GPS, Glonass, BDS, Galileo, and QZSS for enhanced accuracy and faster signal acquisition. It offers compatibility with ANT+ and Bluetooth Low Energy (BLE) sensors for speed, cadence, heart rate, and power meters. The Rider 410 integrates with the Bryton Active App for easy setup, data management, and automatic synchronization with platforms like Strava and TrainingPeaks. Smart notifications for calls, texts, and emails are also supported.
1.1. Product Overview
This video provides a general introduction to the Bryton Rider 410 GPS Bike Computer, highlighting its main features and design.
Video: Rider 410 | Introduction. This video introduces the Bryton Rider 410, showcasing its design and core functionalities.
2. Setup
2.1. Initial Device Charging
Before first use, fully charge your Bryton Rider 410 using the provided USB cable. Connect the cable to the device's charging port and a standard USB power source. A full charge typically takes a few hours.
2.2. Mounting the Device
The Bryton Rider 410 can be securely mounted on your bicycle handlebar using the included mount. Ensure the mount is firmly attached and the device clicks into place to prevent accidental detachment during rides.
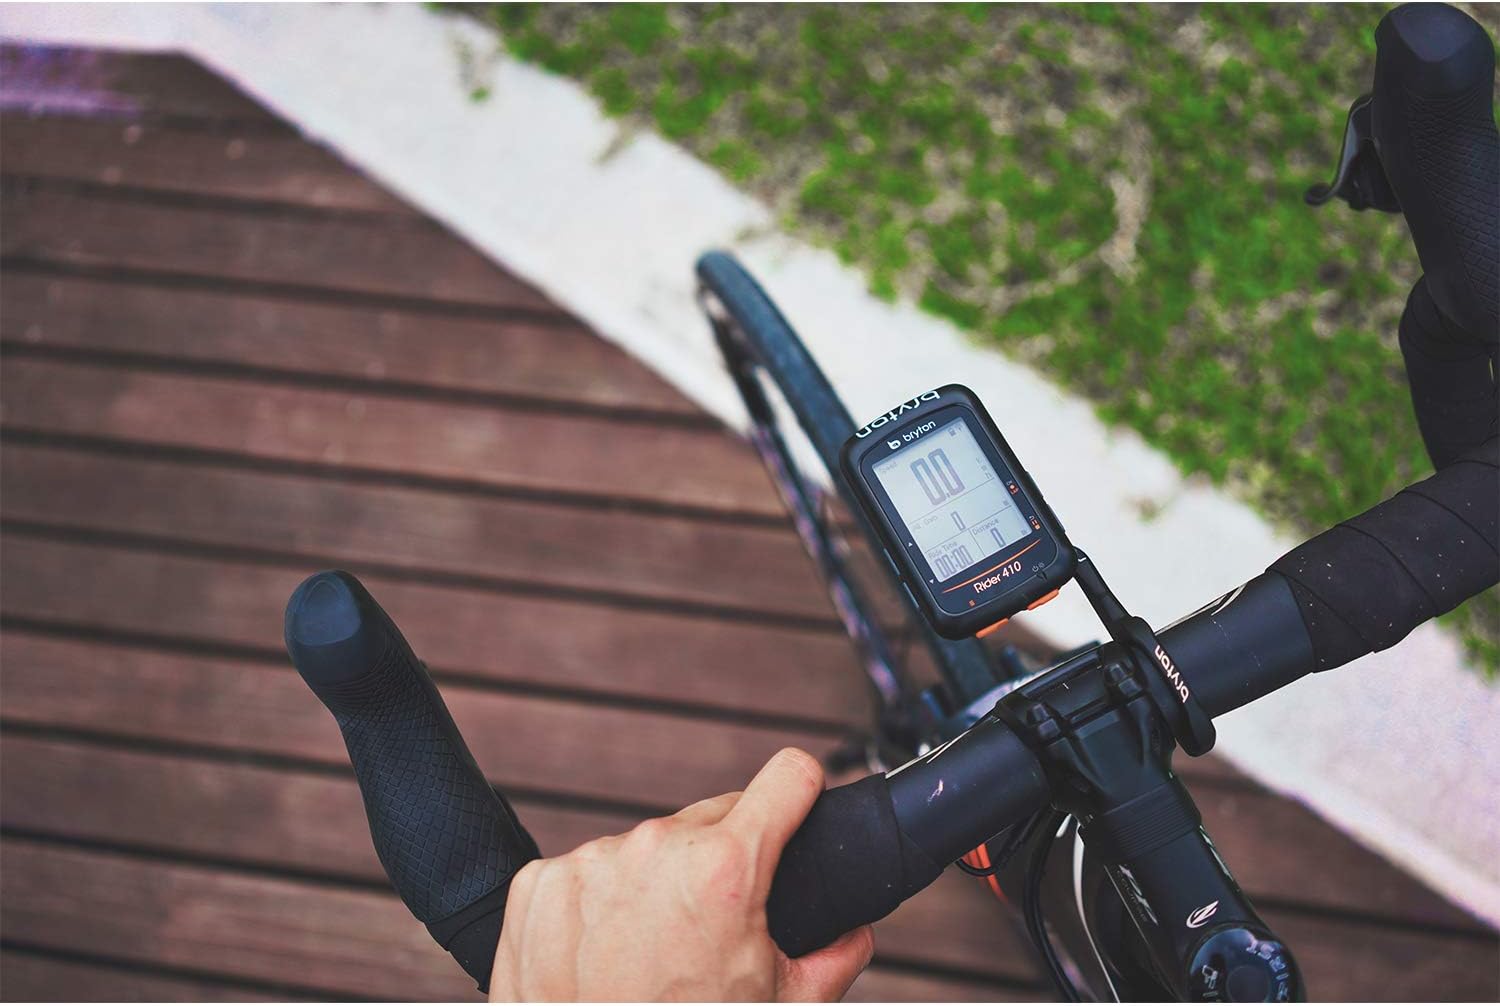
Image: Bryton Rider 410 mounted on a bicycle handlebar, viewed from the rider's perspective. This image shows the device positioned for optimal viewing during a ride.

Image: Bryton Rider 410 mounted on a bicycle handlebar, showing the device in context on a road bike. The device is centrally positioned on the handlebars.
2.3. Bryton Active App Installation & Account Setup
The Bryton Active App is essential for managing your Rider 410, customizing settings, and syncing ride data. Download the app from your smartphone's app store (App Store for iOS or Google Play for Android). Follow the on-screen instructions to create an account and log in.
Video: Getting started with the brand new Bryton Active app. This video guides users through the process of installing the Bryton Active app and setting up their account.
2.4. Device Pairing (Bluetooth)
To pair your Rider 410 with the Bryton Active App, ensure Bluetooth is enabled on your smartphone and the Rider 410 is powered on. Open the Bryton Active App, navigate to the device manager, and select to add a new device. Follow the prompts to connect your Rider 410 via Bluetooth. The device's unique ID (UUID) can be found on the back of the unit.
2.5. GPS System Settings
The Rider 410 supports multiple satellite systems for improved accuracy. You can configure the GPS mode through the device settings or via the Bryton Active App.
Video: How To Switch the Satellite Systems with Bryton Active APP. This video demonstrates how to change GPS system settings using the Bryton Active App for optimal signal reception.
2.6. Sensor Pairing (ANT+/BLE)
The Rider 410 is compatible with ANT+ and BLE sensors for speed, cadence, heart rate, and power. To pair a sensor, ensure the sensor is active and within range of the Rider 410. Navigate to the 'Sensors' menu on the device or within the Bryton Active App to search for and connect new sensors.
2.7. Smart Notification Setup
Receive incoming call, text message, and email notifications directly on your Rider 410 display when paired with your smartphone. This feature requires enabling notification access for the Bryton app on your phone.
Video: Bryton Rider 410-Notification Setup (Android). This video provides instructions on setting up smart notifications for Android devices.
Video: Bryton Rider 410- Notification Setup (iOS). This video provides instructions on setting up smart notifications for iOS devices.

Image: Bryton Rider 410 displaying an incoming call notification. The screen shows 'Phone' and 'Incoming Call' with a phone number.
2.8. Data Page Customization
The 2.3-inch display allows for up to 8 data fields per page. You can customize these data pages via the Bryton Active App to show the metrics most important to your ride, such as speed, altitude, heart rate, cadence, and distance.
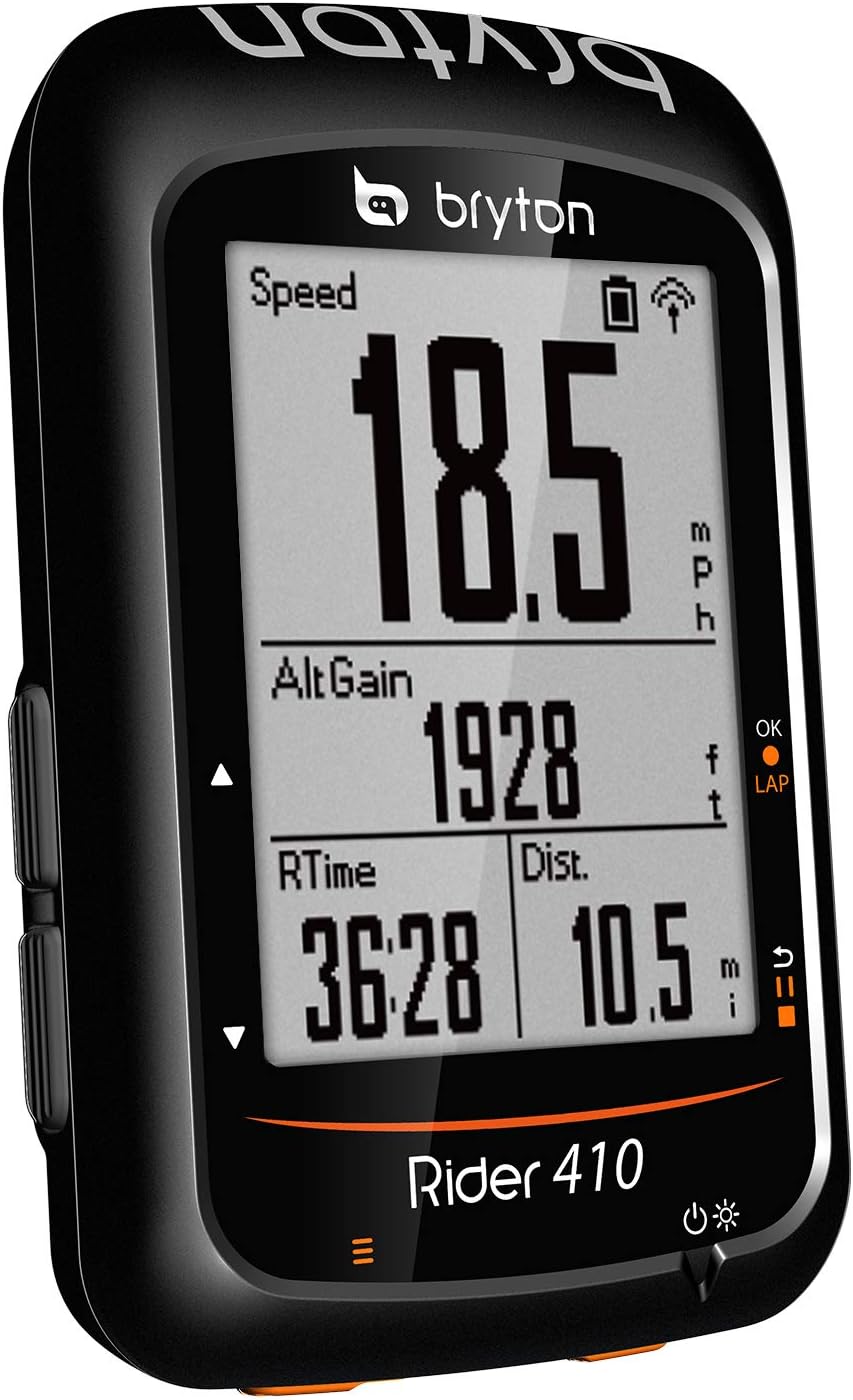
Image: Bryton Rider 410 display showing speed, altitude gain, ride time, and distance. This image illustrates the clear display of multiple data fields.
3. Operating the Device
3.1. Power On/Off
To power on the Rider 410, press and hold the power button located on the side of the device. To power off, press and hold the power button again until the device shuts down.
3.2. Starting and Stopping a Ride
Once powered on and GPS signal is acquired, press the 'OK' button to start recording your ride. Press the 'OK' button again to pause the ride. To end and save the ride, press and hold the 'OK' button.
3.3. Viewing Data During Ride
During a ride, use the navigation buttons on the side of the device to scroll through your customized data pages. The large 2.3-inch display ensures clear visibility of your performance metrics.
3.4. Syncing Ride Data
After completing a ride, ensure your Rider 410 is paired with the Bryton Active App. The device will automatically sync your ride data to the app. From the app, you can configure automatic synchronization to third-party platforms such as Strava and TrainingPeaks to share your journey and analyze your performance.
4. Maintenance
4.1. Cleaning
Regularly clean your Rider 410 with a soft, damp cloth. Avoid using harsh chemicals or abrasive materials that could damage the screen or casing. Ensure the charging port cover is properly sealed to prevent water and dust ingress.
4.2. Battery Care
The Rider 410 features a 35-hour battery life. To maximize battery longevity, avoid fully discharging the device frequently. Store the device in a cool, dry place when not in use for extended periods. Recharge the battery periodically if stored for a long time.
4.3. Firmware Updates
Bryton periodically releases firmware updates to improve device performance and add new features. These updates can be performed easily through the Bryton Active App when your device is connected via Bluetooth. Ensure your device is sufficiently charged before initiating a firmware update.
5. Troubleshooting
5.1. GPS Signal Acquisition Issues
If the device struggles to acquire a GPS signal, ensure you are in an open area away from tall buildings or dense tree cover. Verify that the correct GNSS mode (e.g., GPS+Glonass+BDS+Galileo+QZSS) is selected in the device settings or Bryton Active App. A factory reset may also resolve persistent issues.
5.2. Sensor Connection Problems
If a sensor (speed, cadence, heart rate, power) is not connecting, check the sensor's battery and ensure it is active and within range. Re-pair the sensor through the device's 'Sensors' menu or the Bryton Active App. Confirm the sensor type (ANT+ or BLE) is correctly recognized.
5.3. App Synchronization Failures
If ride data fails to sync with the Bryton Active App, ensure Bluetooth is enabled on your phone and the device is paired. Check your internet connection. Try restarting both the Rider 410 and your smartphone. Ensure the Bryton Active App has the necessary permissions on your phone.
5.4. Smart Notifications Not Appearing
For smart notifications to function, ensure your Rider 410 is paired via Bluetooth to your smartphone. Verify that the Bryton Active App has notification access enabled in your phone's settings. Check the notification settings within the Bryton Active App to ensure desired notifications are toggled on.
6. Specifications
| Feature | Specification |
|---|---|
| Screen Size | 2.3 Inches |
| Battery Life | 35 Hours |
| Connectivity Technology | ANT, Bluetooth |
| Connectivity Protocol | Bluetooth |
| Compatible with Vehicle Type | Bicycle |
| Mounting Type | Handlebar Mount |
| Display Type | LCD or LED |
| Human-Interface Input | Buttons |
| Control Method | App |
| Map Types | Satellite |
| Sport Type | Training |
| Built-In Media | Cadence Sensor, Heart Rate Monitor (Note: External sensors may be required for full functionality) |
7. Warranty and Support
For warranty information, technical support, or service inquiries, please refer to the official Bryton website or contact Bryton customer service directly. Keep your proof of purchase for warranty claims. Online resources, including FAQs and additional user guides, may be available on the Bryton support page.
Visit the Bryton support page for further assistance: Bryton Support


